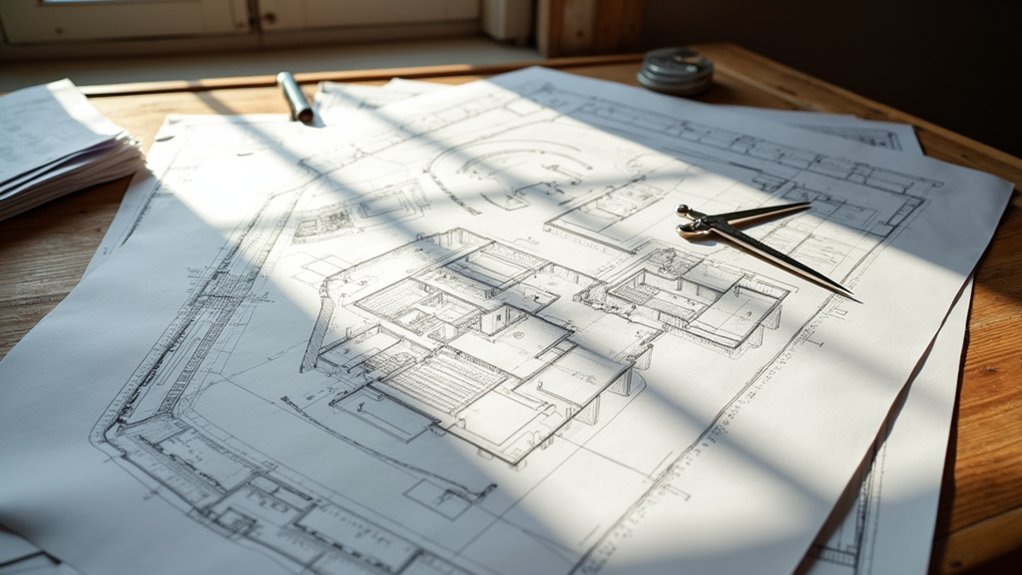

Morning light cuts through cracked boards, catching dust in the old piggery as you measure wall plumb and headroom. You start by confirming the shell’s sound, then line up surveys, planning, and building regs so you don’t burn budget on rework. You sketch a layout that earns its keep with daylight, access, and services routes, and you tackle damp, ventilation, and insulation before finishes. Next comes the make-or-break decision that protects character and cashflow…
Key Takeaways
- Survey the structure: measure footprint, headroom, bay spacing, and inspect foundations, roof, walls, damp, and asbestos before designing.
- Confirm permissions early: check zoning, heritage, agricultural ties, and choose permitted development, prior approval, or full planning routes.
- Commission risk surveys: structural, drainage, ecology, flood, and contamination reports to prevent redesigns and budget shocks.
- Plan a practical layout: optimize daylight, access, ventilation, and separate clean/dirty flows while placing storage where headroom is limited.
- Upgrade envelope and services: fix damp sources, add gutters and ventilation, improve insulation, and map water, drainage, electrics, and broadband before finishes.
Check If Your Piggery or Stable Can Be Converted
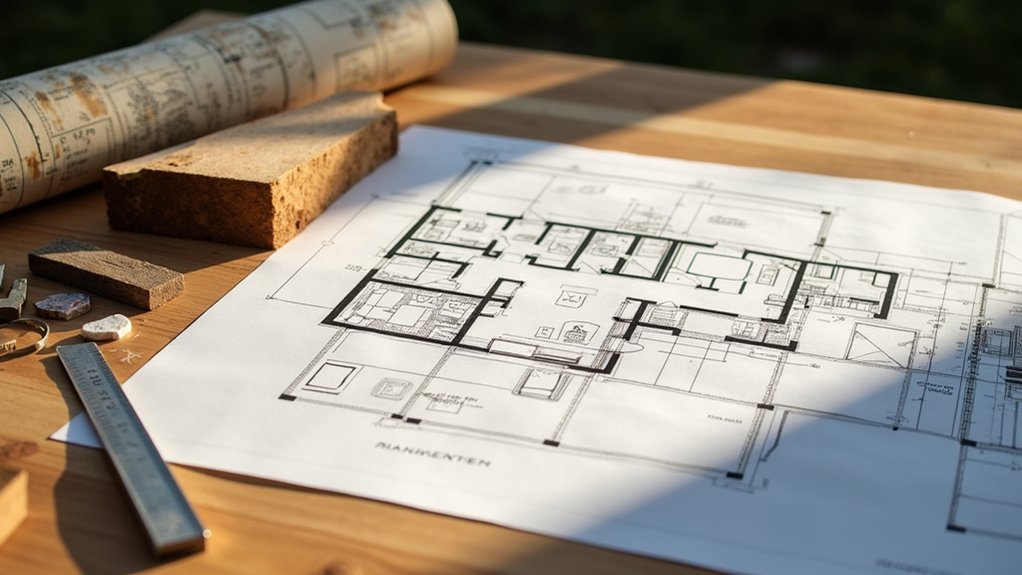
Before you spend money on designs or materials, confirm your existing piggery or stable can realistically be converted without triggering major rebuild costs. Measure footprint, ridge height, and bay spacing so you know if you can fit compliant room sizes, circulation, and storage without expensive extensions.
Inspect foundations, slab condition, and drainage falls; soft spots, heave, or standing water usually mean costly remedial work. Check wall and roof structure for rot, corrosion, sagging trusses, and asbestos-cement sheets.
Map services: power capacity, water pressure, foul drainage route, and broadband; long runs kill ROI.
Review ventilation, daylight, and noise transfer so you can meet Animal welfare needs nearby and reduce environmental impact through efficient insulation and low-leakage detailing.
Price fixes early, then decide.
Sort Planning Permission, Building Regs, and Surveys
Next, you’ll map the fastest planning permission pathway for your piggery or stable conversion so you don’t burn time and fees on the wrong application route.
You’ll then line up Building Regs requirements early—structure, fire safety, insulation, drainage—so your design passes first time and costly rework doesn’t erode ROI.
Finally, you’ll commission the right surveys (measured, structural, drainage, ecology, contamination) to price risk accurately and keep your build programme predictable.
Planning Permission Pathways
Three decisions drive your conversion budget long before you pick up a hammer: whether you need planning permission, which building regulations apply, and what surveys will de-risk the design.
Start by mapping the site’s zoning restrictions and any heritage or agricultural ties, because they dictate whether change-of-use is even viable.
Next, choose the fastest route: permitted development (if eligible), prior approval, or full planning.
Run a pre-app chat to surface deal-breakers early, then price your submission around the likely conditions.
Flag environmental approvals upfront—drainage, protected species, flood risk, and contamination can add months and specialist fees.
Build a timeline that includes validation, consultation, and decision windows, and keep ROI tight by designing to satisfy policy with minimal floor area, access, and parking changes.
Building Regs And Surveys
Although planning permission gets the headlines, building regs and the right surveys usually decide whether your piggery or stable conversion makes money or turns into a rework sink. Start with a pre-app chat with Building Control, then price compliance: structure, fire separation, ventilation, drainage, electrics, and insulation.
Get measured drawings that confirm property boundaries, access widths, and escape routes before you order materials. Commission surveys that remove uncertainty: structural and roof condition, damp, asbestos, services location, ecology (bats/barn owls), and ground/drainage soakaway tests.
If you’re near watercourses or slurry stores, assess environmental impact early to avoid redesign. Use survey findings to fix the spec, quantify contingencies, and negotiate with contractors—every unknown you close protects cashflow and timelines.
Plan the Piggery/Stable Conversion Layout (Light, Access, Headroom)
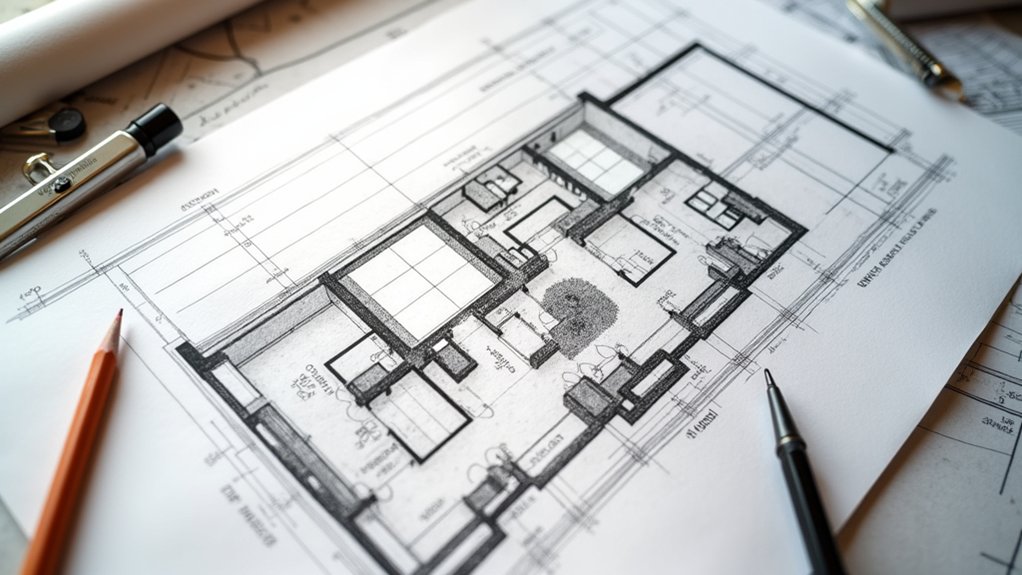
Before you move a wall or pour a slab, map the piggery-to-stable layout around three ROI drivers: usable daylight, efficient access routes, and guaranteed headroom where horses and people actually stand and work.
Start with lighting design: mark existing openings, sun path, and shadow lines, then place stalls, tack, and wash bays where you’ll get even daylight and safe task lighting without glare.
Next, draw access pathways from trailer drop-off to stable doors, feed store, muck heap, and turnout; keep turns wide, avoid pinch points, and separate clean and dirty flows to cut labour.
Finally, confirm headroom along aisles, cross-ties, and hay handling zones; put storage and services where heights fall short to protect usability and resale value.
Fix Structure, Damp, Ventilation, and Insulation First
Once you’ve locked in the layout, tackle the building envelope and air quality straight away—because every pound you spend on stalls, rubber, or electrics gets devalued if the structure moves, moisture creeps, or ammonia hangs in the air.
Start by checking foundations, walls, and roof for cracks, rot, and loose trusses; stitch or replace now, not after finishes. Strip back suspect linings and confirm where damp originates: ground, leaks, or condensation.
Build moisture control in with repaired gutters, sound flashing, capillary breaks, and breathable finishes that let walls dry. Improve ventilation with clear air paths and high/low openings sized to purge stale air without drafts at animal height.
Then add thermal insulation where it won’t trap moisture: insulated roof, thermally-broken doors, and sealed junctions to cut heat loss and bedding costs.
Install Utilities: Water, Drainage, Electrics, Heating, Ventilation
Because utilities lock in your daily running costs and labor time, plan and rough-in water, drainage, electrics, heating, and ventilation as one coordinated system—then pressure-test, load-test, and commission it before you close walls or pour final floors.
Map the Water supply route, size pipes for peak demand, add isolation valves, and protect against freezing.
Design drainage with correct falls, rodding access, traps, and a vented stack to prevent smells and slow flow.
Separate dirty and clean runs to cut future call-outs.
For electrics, specify circuits by load, allow for future appliances, and keep Electrical wiring clear of wet zones and rodents; use RCD/RCBO protection and accessible junctions.
Choose heating that matches insulation levels, zone it, and balance radiators or loops.
Install controlled ventilation with humidity sensing to prevent mold and protect timber.
Choose Finishes That Keep the Stable’s Character (Windows, Floors, Joinery)
With your utilities pressure-tested and signed off, you can lock in the finishes that protect the building fabric while keeping the stable’s original feel. Prioritise breathable systems: limewash, clay paint, and natural oils over plastic coatings so moisture can escape and repairs stay cheap.
Specify Rustic finishes where guests touch: hand-brushed timber, blackened ironmongery, and simple skirtings that won’t date.
For openings, restore and draught-proof Vintage windows first; it’s often a higher-ROI move than full replacement. If you must upgrade, match glazing bars, sightlines, and timber profiles, then add slimline double glazing only where it pays back in comfort and bookings.
Choose hardwearing floors: sealed brick, reclaimed boards, or polished concrete with rugs. Keep joinery built-in, minimal, and storage-rich to boost nightly rate.
Frequently Asked Questions
What Conversion Costs Can I Expect per Square Metre?
Ballpark, you’ll spend £1,800–£3,500 per m² depending on spec and structure. For ROI, tighten Cost estimation early, and confirm material requirements (insulation, glazing, services) to avoid scope creep and overruns.
How Long Does a Typical Piggery or Stable Conversion Take?
You can expect 4–9 months, or 10–14 months with planning delays. You’ll speed ROI by clearing farm equipment early, sequencing trades tightly, and meeting animal welfare rules fast to avoid redesigns.
Can I Convert It Into a Holiday Let or Short-Term Rental?
Yes, you can—if you plan smart, budget tight, and market fast. Check Local planning regulations, secure Historical preservation approvals, run occupancy and pricing projections, and design for guests. You’ll boost ROI, cut delays.
How Do I Handle Asbestos, Lead Paint, or Other Hazardous Materials?
You handle asbestos or lead paint by commissioning surveys, then hiring licensed contractors for Hazardous material removal. You follow Safety precautions: isolate areas, document disposal, retest air, and budget contingencies to protect ROI and timelines.
Will My Insurer Cover the Building During and After Conversion?
Often yes, but only if you update your policy; 1 in 10 renovation claims get denied for non-disclosure. Confirm insurance coverage for works and completed use, document safety, and tighten liability considerations via contractor limits.