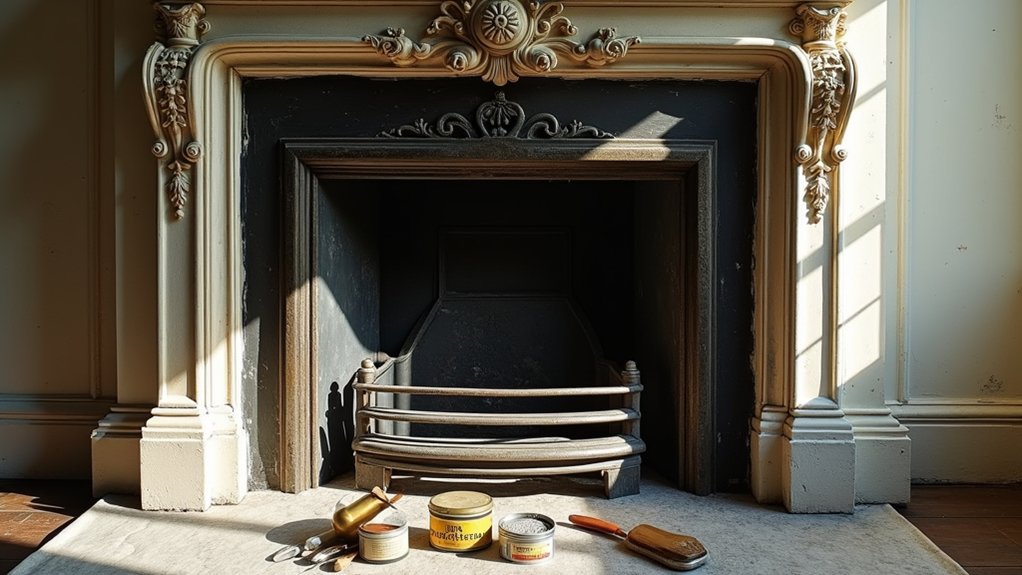

You can restore an ornate Victorian fireplace without overspending if you work in order and protect the original detail. Start by inspecting the cast iron, tile, and surround for cracks, loose parts, and heat damage, then note measurements for any replacements. Gear up with gloves, a respirator, and the right scrapers before you tackle soot and failing paint. Once it’s clean, you’ll see what actually needs repair—and what finish will match the period.
Key Takeaways
- Identify fireplace materials and document damage with photos and measurements before buying parts or starting work.
- Wear P3 respirator, goggles, and gloves; control dust with drop cloths and a HEPA vacuum throughout restoration.
- Dry-clean first, then wash gently; remove soot with a soot sponge and strip paint in tested patches using gel stripper or steam.
- Repair cracks and chips with compatible fillers, and re-bed loose tiles with flexible adhesive before regrouting and curing fully.
- Refinish authentically: blacken or high-heat paint cast iron, clean and seal tiles, and polish marble with fine wet-sanding and sealer.
Inspect Your Victorian Fireplace (Materials, Damage, Hazards)
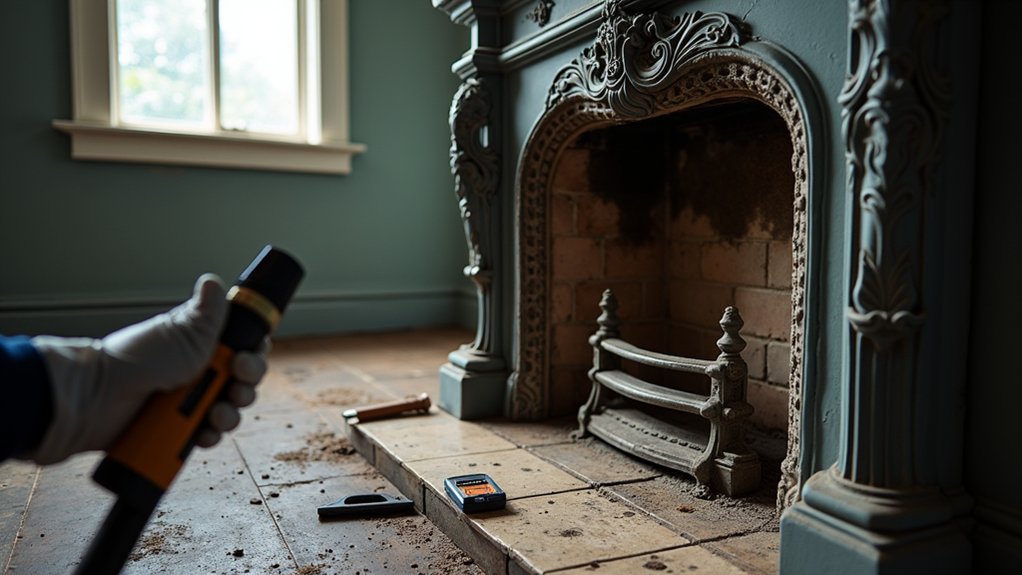
Before you buy mortar or book a sweep, inspect the fireplace you’ve got and write down what it’s made from (cast iron insert, tiled cheeks, brick firebox, stone or timber surround), because the materials determine both the repair method and the cost.
Start with Material identification: note cracks, spalls, loose tiles, failed pointing, rust, and charred timber. Photograph everything and measure the opening so you don’t overpay for parts that won’t fit.
Check for movement: tap tiles, wiggle the surround, and look for gaps where heat can leak.
Then assess hazards that drive budget fast: soot staining, crumbling flue throat, damp salts, and previous cement patches.
Finally, record Historical significance: any original tiles, grates, or carved surrounds justify gentler, pricier repairs than replacements.
Tools and Safety Gear for Victorian Fireplace Restoration
Now that you’ve logged the fireplace’s materials, damage, and hazards, match your tool kit and safety gear to what you’ll actually be cutting, cleaning, and lifting so you don’t waste money on the wrong kit—or risk injury.
Start with PPE: P3 respirator, safety goggles, nitrile gloves, and hearing protection; add a hard hat if you’ll work under a loose surround.
For cast iron, budget for wire brushes, non-sparking scrapers, a small hammer, and a torque-limited screwdriver set.
For stone or tile, choose nylon brushes, plastic wedges, and a padded pry bar to protect edges.
Keep a HEPA shop vac and drop cloths to control dust.
Use a moisture meter and magnet to confirm materials, supporting Historical accuracy and the right Restoration techniques.
Remove Soot and Strip Paint Without Losing Detail
Where do you start when every surface looks blackened or buried under thick paint? Begin dry: vacuum with a brush nozzle, then sweep carvings with a soft paintbrush to lift loose soot without grinding it in.
Next, wash gently—warm water, a drop of dish soap, and microfiber cloths—rinsing often so you don’t redeposit grime. For stubborn soot, use a soot sponge; it’s cheap and doesn’t soak the surface.
Now strip paint in layers. Test a small spot first, then choose a low-odor gel stripper or steam; both are Modern restoration methods that protect fine relief.
Scrape with plastic tools, then detail with nylon brushes and wooden picks. Avoid aggressive wire wheels.
Finish by neutralizing per product directions, ready for Painting techniques.
Fix Cracks, Chips, and Loose Hearth Tiles
A cracked surround or a loose hearth tile won’t fix itself, and the longer you leave it, the more movement you’ll get. After Victorian fireplace cleaning, mark every crack and hollow-sounding tile so you don’t miss one later.
First, rake out loose debris with a scraper and vacuum. For hairline cracks in plaster or stone filler, force in a compatible repair compound with a filling knife, then tool it flush.
For chips, square the edges, dampen the area, and rebuild in thin layers to save on product.
For loose hearth tiles, lift carefully, scrape off old adhesive, and re-bed using a budget flexible tile adhesive; keep joints even with spacers.
Finally, grout small gaps and let everything cure fully per the label. These Fireplace restoration techniques prevent repeat failures.
Refinish Cast Iron, Tile, and Marble for a Period Look
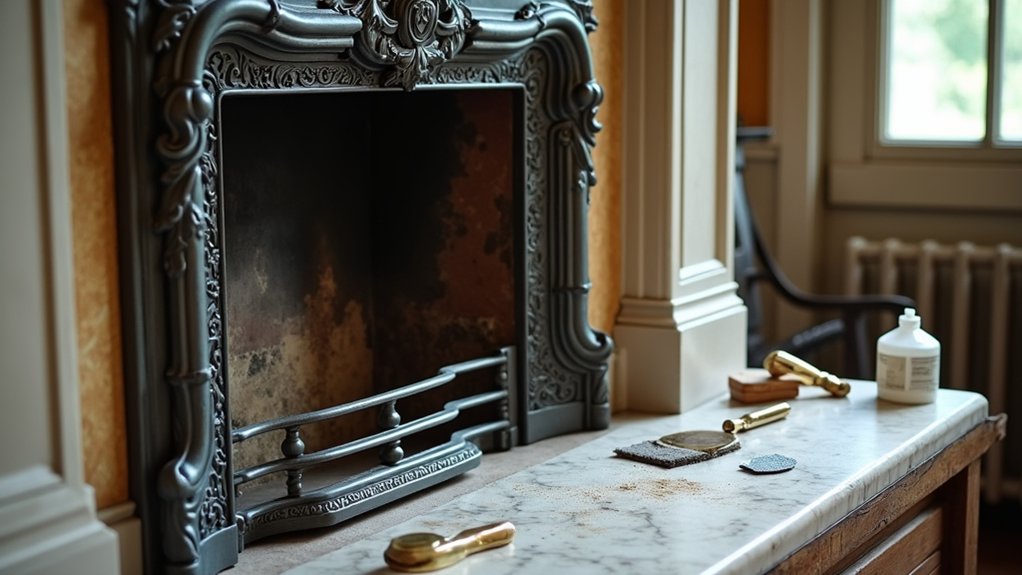
Once you’ve stabilised the surround and hearth, refinish the cast iron, tiles, and marble in that order so you don’t undo your own work.
Strip old paint with a wire brush and vacuum, then wipe with mineral spirits. Apply stove blacking or high-heat paint in thin coats; it’s cheaper than replating and suits Victorian design.
Next, clean tiles with a pH-neutral cleaner and soft brush; avoid acids that etch glazes. Regrout only where needed to save money, using a colour-matched grout and a small float. Seal if the tile is porous.
Finish marble last. Use a poultice for stains, then wet-sand lightly with 800–1500 grit. Buff and seal with a penetrating stone sealer—simple Restoration techniques for a period look.
Frequently Asked Questions
How Much Does Professional Victorian Fireplace Restoration Typically Cost?
Like a litmus test, you’ll pay $1,500–$8,000 for professional Victorian fireplace restoration. Step 1: assess fireplace design. Step 2: choose restoration techniques. Step 3: repair/cast. Step 4: finish. Complex tiling increases costs.
Do I Need Planning Permission or Listed-Building Consent Before Restoring?
You might need planning permission, and you’ll need listed-building consent if it’s listed. Step 1: check council records. Step 2: confirm Building regulations. Step 3: plan Historical accuracy. Step 4: budget consent fees.
How Long Does a Full Ornate Fireplace Restoration Usually Take?
Brace yourself: you’ll spend 1–3 days for light work, or 1–3 weeks for full restoration. Start with fireplace cleaning, then repairs, then finishing. Use rental restoration tools to cut costs and time.
Can I Convert a Restored Fireplace to Gas or Electric Safely?
Yes, you can convert it safely if you hire certified pros. Step-by-step: inspect chimney, choose gas insert or electric unit, meet Gas safety rules, upgrade electrical wiring, add shutoffs, test ventilation, then commission.
Where Can I Source Authentic Replacement Tiles and Period-Accurate Parts?
Source authentic tiles and Period accurate parts through architectural salvage yards first. Next, try reclamation dealers and online marketplaces for Vintage tile sourcing. Finally, contact specialist reproduction makers; request samples, compare prices, confirm dimensions.