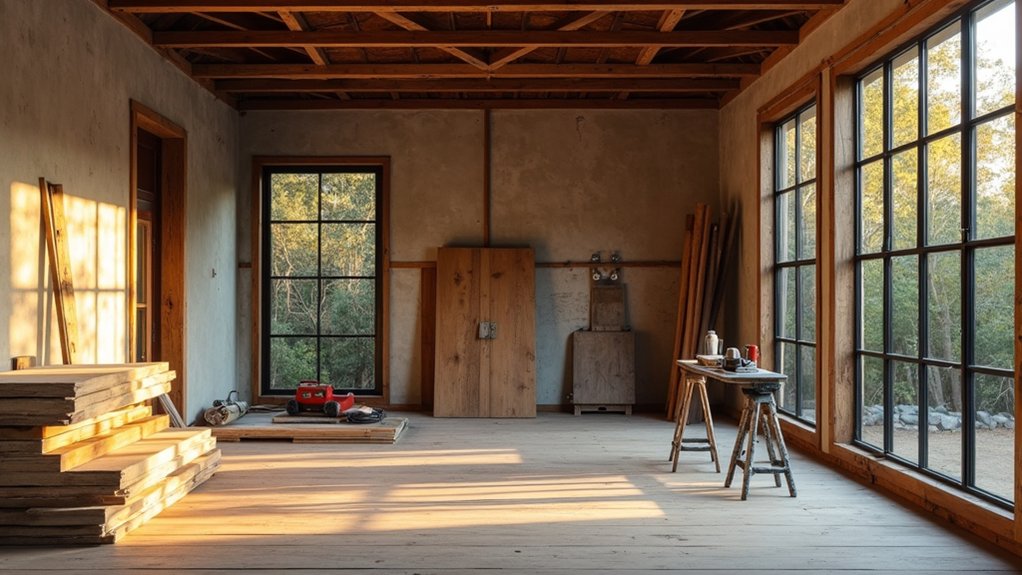

In many markets, a well-executed outbuilding conversion can lift total property value by 5–15%, depending on usable square footage and local demand. You’ll get the best ROI when you pick a use that tenants or buyers actually pay for, confirm the structure can meet regs, and lock a budget that protects your margin. But one early decision tends to make or break the numbers—and it’s not the finish level…
Key Takeaways
- Choose the highest-ROI use by estimating monthly value, validating demand with local comparables, and confirming physical fit and access.
- Check permitted development limits and local constraints, then map required Building Regs for structure, fire safety, insulation, ventilation, electrics, and drainage.
- Build a return-driven budget: price major items first, add 10–15% contingency, and phase payments by milestones for cashflow control.
- Follow a shell-to-finish sequence: fix water/air leaks, upgrade insulation and windows, then complete rough-in services before closing up walls.
- Finish for durability and appeal using low-maintenance materials, efficient heating/lighting/ventilation, and thorough documentation for inspections, lenders, buyers, and resale.
Choose Your Outbuilding Conversion Use and Feasibility

Before you spend a dollar on design or permits, you need to lock in the best-use conversion for your outbuilding and confirm it’s feasible. Start with ROI math: estimate monthly value (rent, office productivity, storage savings) minus operating costs, then divide by your rough build budget to gauge payback.
Next, test physical fit: measure footprint, headroom, access, daylight, and distance to utilities; these determine whether a studio, gym, workshop, or short-let is realistic.
Use local comps to validate demand and pricing, not gut feel.
Gather Design inspiration only after you’ve picked the highest-return use.
Then align Material selection to durability and maintenance: moisture-resistant finishes for sheds, impact-resistant surfaces for workshops, and efficient insulation where comfort drives revenue.
Check Outbuilding Conversion Planning and Building Regs
Once you’ve nailed the best-use case, you need to confirm whether planning permission and Building Regulations will let you build it without blowing your timeline or ROI. Start by checking if your outbuilding falls under permitted development; size, height, proximity to boundaries, and listed status can trigger a full application.
If you’re in a conservation area, Historical preservation rules may limit windows, cladding, and roof changes, so confirm constraints early.
Next, map the Building Regs that affect value: structure, fire separation, insulation, ventilation, electrics, and drainage. Ask Building Control what evidence they’ll accept for existing foundations and moisture protection to avoid costly redesigns.
Finally, quantify Environmental impact: upgrade U-values, airtightness, and heating efficiency; compliance can raise rental appeal and reduce operating costs. Document every decision for lenders and buyers.
Set Your Outbuilding Conversion Budget and Timeline
Planning and Building Regs set the rules of the game; your budget and timeline decide whether the numbers still work.
Start with Budget planning that ties every spend to a return: rental yield, resale uplift, or workspace productivity. Price the big drivers first—structural repairs, insulation upgrades, glazing, heating, electrics, and professional fees—then add a 10–15% contingency for unknowns.
Stress-test cashflow by phasing payments against milestones, not calendar dates.
For Timeline management, map the critical path: design approvals, surveys, lead times for windows/doors, and utility connections. Build in slack for inspections and weather, and decide your “must-finish” date (tenancy, sale, or tax year).
Track weekly variances and cut scope before you cut quality.
Build Your Outbuilding Conversion: Shell to Finishes
Although the drawings and approvals set the intent, your ROI gets locked in during the build, where each shell-to-finish decision affects energy bills, maintenance, and achievable rent or resale value.
Start with water and air control: repair the roof, flash openings, and seal penetrations before you cover anything.
Add Interior insulation to meet or beat code; every R-value jump lowers HVAC size and operating costs, improving net income.
Upgrade windows and doors for U-factor, not looks, then install durable cladding that supports Exterior aesthetics and reduces repaint cycles.
Run rough-in plumbing and electrical with future access panels to cut service calls.
Choose moisture-tolerant drywall, LVP, and washable paints; they reduce turnover damage.
Finish with efficient lighting and ventilation to protect indoor air and materials.
Frequently Asked Questions
Will Converting My Outbuilding Increase My Home Insurance Premium?
Yes, you’ll likely see a premium increase because you’re raising replacement value and liability. You’ll limit hikes by securing Building permits, meeting insulation standards, and documenting upgrades; compare quotes to protect ROI and costs.
Can I Rent the Converted Space on Airbnb or as a Long-Term Let?
Yes—you can rent it on Airbnb or long-term if you meet Rental regulations. In many markets, short-term lets can earn 2–3x monthly rent. You’ll boost cashflow and potentially Property value, but check permits and taxes.
How Do I Manage Neighbour Objections or Party Wall Issues During Conversion?
You manage objections by engaging early, sharing drawings, and documenting boundary agreements. Trigger party wall agreements fast with written notices and a surveyor. Log decisions, control noise/times, and quantify ROI impacts from delays.
What Maintenance Will the Converted Outbuilding Need Over the Next 10 Years?
Over 10 years, you’ll schedule annual roof/gutter clearing, damp checks, and Foundation inspection; service Ventilation systems every 12–24 months; repaint/exterior seal every 5–7 years; test electrics/alarms yearly. This protects ROI, reduces repair risk.
How Can I Make the Conversion Accessible for Wheelchair Users?
Trade tight thresholds for wide clearances: install Accessible design with 36-inch doors, 60-inch turning circles, and lever handles. Add wheelchair ramps (1:12 slope) and zero-step entries. You’ll boost usability and resale ROI, fast.