If you’re restoring historic stained glass, you can’t start with tools—you start with costs, risk, and approvals. You’ll decide what you can handle versus what must go to a qualified conservator to protect ROI and meet preservation rules. Then you’ll inspect for cracks, bulges, and failing lead, document each panel with photos and maps, and plan safe removal and transport. But one overlooked step can trigger rework, fines, or irreversible loss…
Key Takeaways
- Assess historic significance, damage severity, and compliance requirements, then set restoration goals, budget, and decide between DIY tasks or hiring qualified conservators.
- Inspect panels for cracks, bulging, loose lead, and failed cement, then photograph systematically and create a numbered map for accurate reassembly.
- Remove panels carefully, label immediately, and pack in padded, braced crates with moisture control and orientation markings to prevent transit damage.
- Clean using dry methods first, then minimal distilled water and non-ionic surfactant tests; avoid abrasives, harsh chemicals, and pressure washing.
- Repair by replacing failed lead came, reinforcing as needed, re-cementing, and reinstalling with setting blocks, sealed perimeters, clear weep paths, and final QA documentation.
Decide DIY vs Pro for Historic Stained Glass
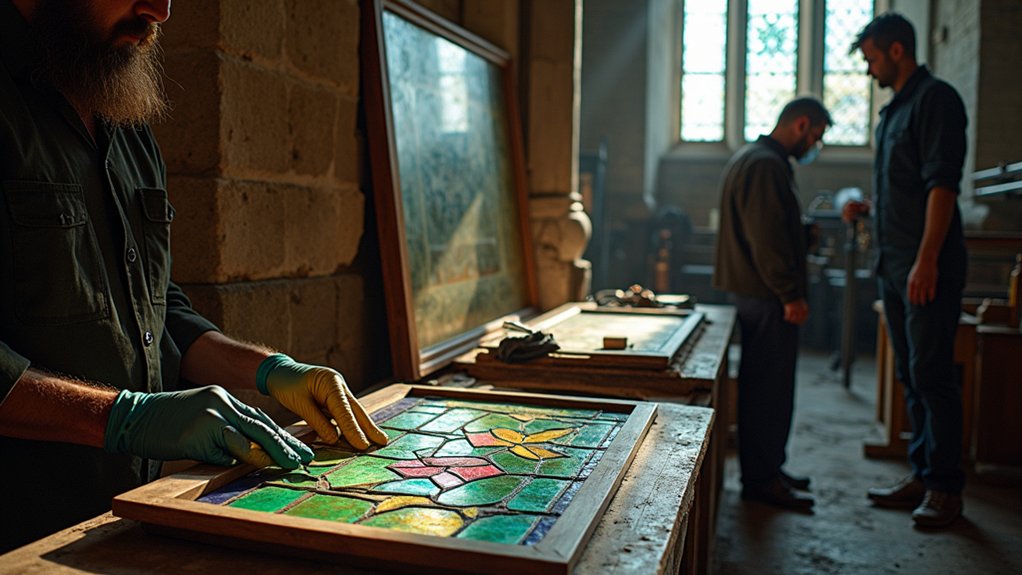
While a DIY touch-up can look like a quick cost saver, you’ll get the best ROI by choosing your approach based on the window’s historic value, damage severity, and compliance requirements—because improper cleaning, re-leading, or glazing can permanently reduce appraisal value, trigger preservation-code violations, and turn a low-dollar repair into a full replacement project.
Start with a Cost assessment: document your goals (stability, weather tightness, appearance), your budget, and any landmark or HOA rules. If the window contributes to a protected façade, hire a qualified studio to preserve documentation, matching materials, and permitted methods.
Compare bids by scope, not hourly rates, and insist on written conservation steps. Choose DIY only for noninvasive tasks you can reverse, and only when your Skill requirements match the risk.
Inspect Stained Glass for Cracks, Bulges, and Loose Lead
Before you spend money on cleaning or repairs, inspect the panel for hairline cracks, bowing/bulges, and loose or torn lead came because those defects drive both your true project cost and your compliance risk.
Use raking light and a gentle fingertip check to spot fractures, shifted pieces, and open cement lines that compromise Glass integrity.
Check for bulges by sighting along the panel; any bowing signals Structural concerns, failed saddle bars, or moisture-swollen frames.
Lightly wiggle lead joints; movement means the came’s fatigued and may need re-leading, not spot putty.
Note any missing tie wires or corroded supports that could trigger safety or historic-review issues.
If you find active movement, stop and stabilize before proceeding to protect budget, schedule, and liability exposure.
Photograph and Map Each Stained Glass Panel
You’ll photograph every stained glass panel in consistent lighting and resolution so you can document condition, prove scope, and reduce costly rework.
Next, you’ll create a numbered layout map that ties each photo to its exact location, supporting accurate removal, shop work, and reinstallation.
This documentation trail strengthens compliance, streamlines approvals, and protects your budget by preventing mix-ups and change orders.
Panel Photo Documentation
How do you prevent costly rework once the window comes apart? You document every panel with disciplined, high-resolution photos before you touch a solder line. Shoot straight-on and raking-light views to capture paint loss, lead fatigue, bowing, and prior repairs.
Include scale, date, and location in each frame so your records satisfy grant requirements, insurer questions, and preservation review boards. Lock in the window’s color palette under consistent lighting to avoid expensive mismatches when you source replacement glass.
Photograph cracks, edge chips, and corrosion to justify scope and protect your budget from change orders. Add detail shots of inscriptions and unique motifs to preserve historical significance.
Store files in a backed-up, shared folder so your team, consultant, and fabricator work from one compliant source.
Numbered Layout Mapping
Where do restoration budgets usually blow up—after a panel gets separated and nobody can prove what went where? Prevent that by creating a numbered layout map before anything leaves the frame.
Assign a unique ID to every panel and every removable segment, then photograph each piece beside its number and orientation arrow. Transfer those IDs onto a scaled drawing or printed elevation, noting lead lines, breaks, edge conditions, and paint layers tied to Color preservation decisions.
Record which pieces are original versus later repairs to protect historical significance and support compliance reviews. Store files in a shared folder with date, location, and chain-of-custody notes.
This mapping cuts reassembly labor, avoids costly rework, reduces dispute risk with stakeholders, and strengthens your bid accuracy for faster approvals.
Remove, Pack, and Transport Stained Glass Safely
When you remove each stained glass panel, you’ll document and label it immediately to prevent mix-ups that trigger rework, schedule delays, and added labor costs.
You’ll pack with compliant protective materials and build sturdy crates that control vibration, moisture, and impact so you don’t pay twice for repairs.
Document And Label Panels
Before you remove anything, document and label every stained-glass panel like it’s a controlled asset, because one misidentified piece can trigger expensive rework, breakage claims, and schedule delays.
Photograph each elevation, then each panel front and back, including edge conditions, cracks, bulges, and prior repairs. Create a panel map keyed to window bays, rows, and orientation so you can preserve glass aesthetics and verify historical significance during reinstallation.
Assign a unique ID, record dimensions, lead came profile, and any protective glazing notes, and log it in a shared register for chain-of-custody compliance.
Mark labels on temporary tags (not the glass), and capture sign-offs at removal, handoff, and receipt.
This documentation reduces change orders, supports insurance, and protects your budget.
Protective Packing And Crating
Once your panel IDs, photos, and chain-of-custody register are in place, you need packing and crating that protects the glass—and your budget—through removal, storage, and transport. Choose Padding materials that won’t shed fibers or off-gas: closed-cell foam, acid-free tissue, and corrugated plastic barriers. Avoid bubble wrap directly on painted surfaces.
Standardize crate design to cut labor hours and replacement costs. Use rigid, screw-fastened plywood with internal bracing, shock-absorbing corners, and labeled orientation arrows. Create vertical slots or A-frame supports so panels travel upright, separated, and immobilized.
Seal crates against moisture, add desiccant, and document closure with tamper-evident tape for compliance. Specify lift points and weight on the exterior to reduce handling claims. You’ll spend a bit more now, then save on breakage, rework, and insurance disputes later.
Clean Historic Stained Glass Without Stripping Patina
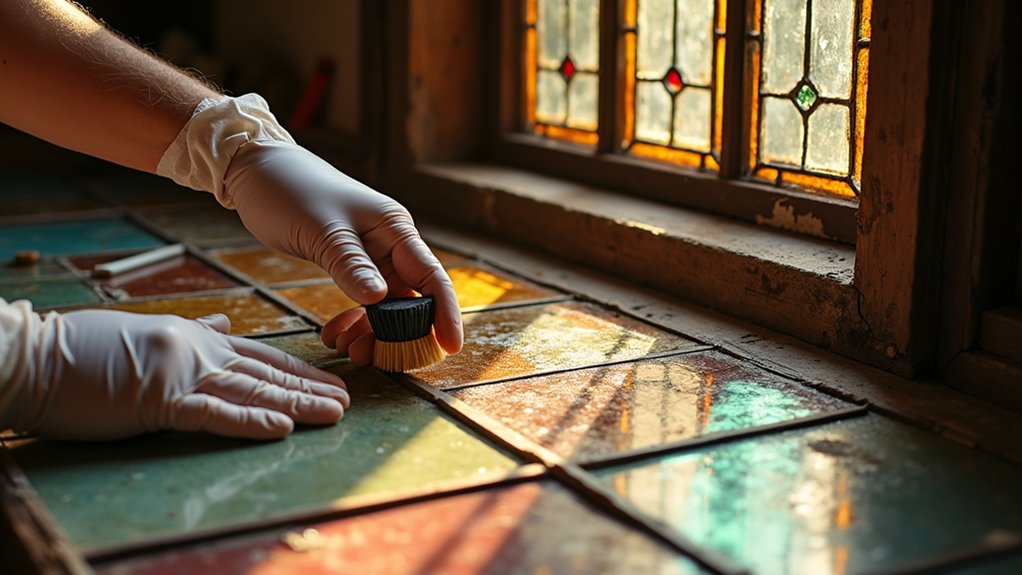
Although it’s tempting to “make it shine,” you’ll get the best ROI by cleaning historic stained glass in a way that preserves its patina, paint layers, and protective corrosion products while still meeting conservation and safety requirements.
Start with documentation, then dry-remove loose dust using a soft natural-bristle brush and HEPA vacuum to cut labor and rework.
For Patina preservation, test in an inconspicuous area and choose Gentle cleaning: distilled water with a non-ionic surfactant on cotton swabs, minimal dwell time, and no soaking.
Avoid ammonia, acids, abrasives, pressure washing, and razor scraping; they erase historic surface and can trigger compliance issues.
Rinse with distilled water sparingly and blot dry.
Keep runoff controlled, use PPE, and follow your site’s hazardous-waste and lead-safe practices.
Repair Lead Came, Re-Cement, and Reinstall Weather-Tight
When you stabilize failing lead came and reset the panel with fresh cement, you’re buying decades of weather resistance and cutting call-backs, water-damage claims, and code-risk in one scope.
Start by mapping bulges, splits, and fatigue, then open joints and replace only the compromised came to control labor. Add Lead reinforcement where spans need stiffness, and re-solder intersections to meet structural expectations without overbuilding.
Brush in waterproofing compound and push it under flanges for Cement stabilization, then clean residue so glazing reads crisp. Reinstall with setting blocks, true the panel, and seal perimeter joints to stop capillary leaks.
Verify weep paths, fastener spacing, and tempered-protection rules for adjacent safety glass. Document materials for preservation approvals and warranty defensibility.
Frequently Asked Questions
How Do I Verify My Stained Glass Is Historically Significant or Protected?
Start a historical significance assessment with your local preservation office; they’ll confirm protections. Verify stained glass authenticity via appraiser, maker marks, photos, and invoices. Check landmark registers, easements, permits. Document findings to avoid fines and protect resale ROI.
What Permits or Approvals Are Required Before Restoring Historic Stained Glass?
You’ll usually need local landmark/heritage commission approval, building permits, and sometimes state or federal sign-off. Get written specs for window frame repairs and glazing techniques; preapproval prevents costly rework, delays, and protects tax credits.
How Much Does Professional Historic Stained Glass Restoration Typically Cost?
Like repairing a timeworn jewel, you’ll typically pay $100–$400 per square foot, or $1,000–$10,000+ per window. Pricing estimates depend on Restoration techniques, access, damage, and compliance reviews—budgeting protects ROI.
How Long Does a Full Restoration Project Usually Take From Start to Finish?
You’ll usually need 8–24 weeks start to finish, depending on damage and approvals. Faster timelines come with higher labor costs. Cleaning techniques and glass preservation reduce rework, protect ROI, and support compliance documentation.
Will Restoration Affect the Window’s Appraised Value or Insurance Coverage?
Yes—if you document work, restoration can raise appraised value and strengthen insurance coverage. Coincidentally, using stained glass techniques aligned with conservation best practices cuts risk, proves compliance, and boosts ROI through lower premiums.