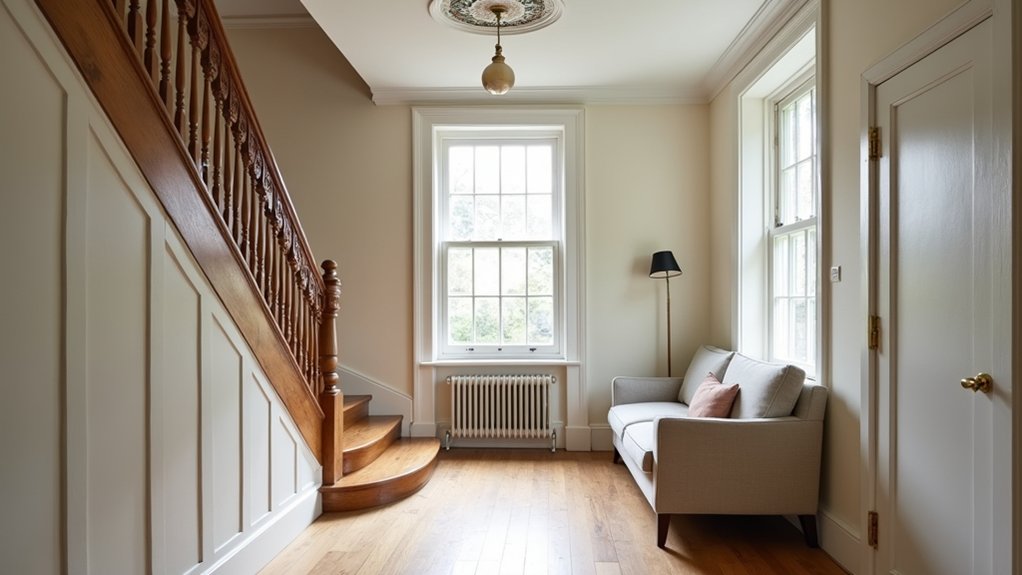

You can’t boost comfort in an older home without risking what makes it valuable, so you need a roadmap that protects ROI. Start by setting clear goals and a hard budget, then decide which character features you won’t touch—floors, trim, windows. After that, you sequence insulation, HVAC, wiring, and plumbing so you don’t pay twice to open walls. The expensive mistakes usually happen right where you least expect…
Key Takeaways
- Set clear restoration goals, budget caps, and ROI targets, and document priorities to prevent scope creep and permit delays.
- Audit the home’s historic significance and protect character-defining elements like windows, trim, floors, doors, and built-ins whenever repair beats replacement.
- Fix the building envelope first—roof, flashing, drainage, and moisture control—to safeguard original materials and avoid rework.
- Upgrade comfort discreetly with air-sealing, insulation, and mini-splits or high-velocity ducts routed through closets or secondary spaces.
- Modernize wiring and plumbing safely with permits, targeted access, and inspection-driven sequencing before insulation, plaster repairs, and finish restoration.
Plan Your Older Home Restoration Goals First
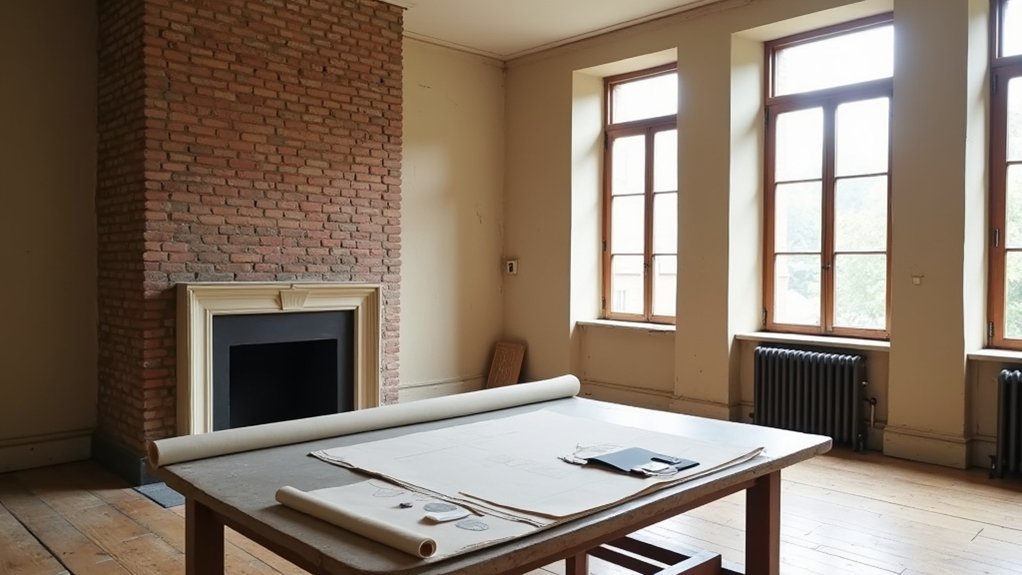
Before you spend a dollar on paint, plumbing, or period trim, set clear restoration goals for your older home so every decision earns its keep. Start with a budget and a target ROI: resale boost, lower utilities, fewer repairs, or better daily function.
Audit the building’s Historical significance and Architectural style so you don’t bankroll changes that undermine value or trigger permit delays. Rank projects by payback and risk: stop water intrusion, fix wiring, and improve insulation before cosmetic upgrades.
Define comfort upgrades you’ll fund—HVAC zoning, safer stairs, quieter windows—then cap allowances to prevent scope creep. Build a timeline that matches cash flow, lead times, and inspections.
Put every goal in writing and use it to approve, defer, or cut bids.
Decide What Original Features to Keep
Once your restoration goals and budget are on paper, decide which original features you’ll keep because they’re expensive to replace and often drive resale value. Prioritize items buyers notice and appraisers credit: intact hardwood floors, original windows worth restoring, solid-wood doors, built-ins, trim profiles, and stair parts.
Walk room by room and tag “save” versus “swap” based on condition, repair cost, and visibility. If you can refinish for less than replacement, keep it and document the work for ROI.
Use Architectural preservation rules to avoid tearing out character-defining elements that anchor the home’s era. Aim for Historical accuracy where it’s affordable: match hardware finishes, moldings, and paint sheens.
When you must replace, source salvage or replica parts to protect value.
Add Insulation and HVAC Without Losing Character
Although comfort upgrades can wreck period details if you rush them, you can add insulation and modern HVAC in ways that cut energy bills and lift resale without touching the trim, plaster, or millwork buyers pay for.
Start with air-sealing in the attic and basement rim joists, then blow in cellulose or add mineral wool where cavities are accessible; you’ll get strong ROI because reducing drafts lets you downsize equipment and lower operating costs.
Choose high-velocity mini-duct or ductless mini-splits to avoid bulky chases and preserve ceilings, picture rails, and medallions.
Hide registers in toe-kicks or floor corners, and route linesets through closets, chimneys, or secondary rooms.
Keep moisture control front-and-center for Historic preservation and long-term Energy efficiency.
Update Wiring and Plumbing Safely in Old Walls
Tighter insulation and new HVAC can expose the next weak link in an older house: undersized wiring and tired supply lines hidden behind plaster and lath. If you ignore them, you’ll pay later in nuisance trips, appliance damage, leaks, and inflated insurance premiums.
Prioritize Electrical safety by replacing knob-and-tube, adding grounded circuits, AFCI/GFCI protection, and a modern panel sized for today’s loads. Use fish tape and targeted access holes to limit patching, then document runs for future resale value.
For Plumbing upgrades, swap galvanized or failing copper for PEX or copper, add shutoffs, and pressure-test before closing walls. Focus on kitchens, baths, and laundry first; those rooms drive appraisals and buyer confidence.
Get permits—unpermitted work kills ROI and financing options.
Schedule Restoration Work to Avoid Costly Rework
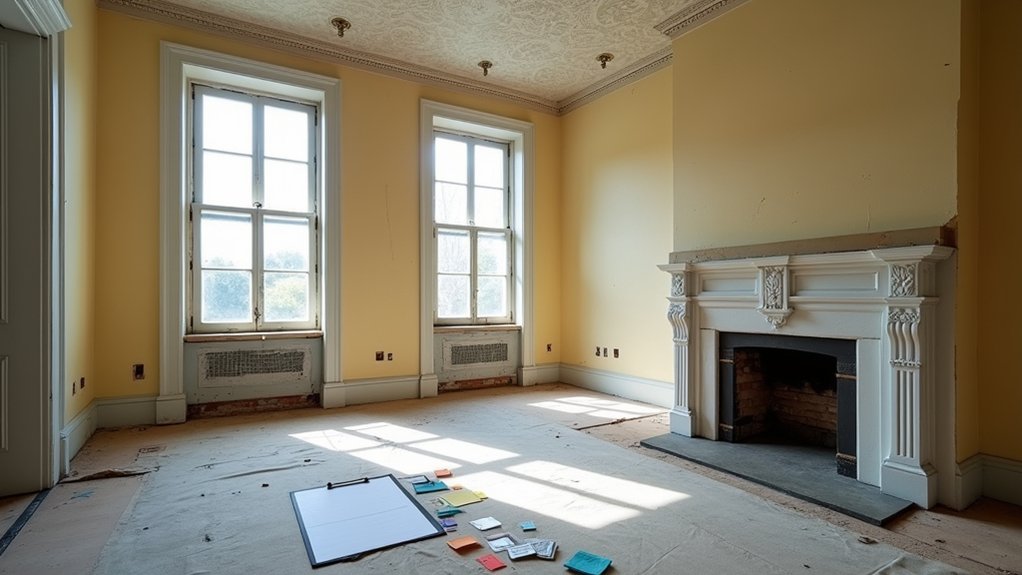
If you don’t lock in the right sequence, you’ll pay twice—first for the work, then for tearing it out to reach what should’ve been done earlier. Start with diagnostics: structural, moisture, and hazardous materials.
Next, tackle envelope repairs (roof, flashing, drainage) so new interiors don’t get soaked. Then run mechanicals—wiring, plumbing, HVAC—before insulation, plaster, and trim restoration.
Finish with surfaces: floors, paint, fixtures, and finally landscaping.
Use cost estimation tied to each phase, with contingencies for hidden conditions, and don’t release full payments until inspections pass.
Tight contractor selection protects ROI: choose trades who coordinate schedules, document change orders, and respect heritage details.
A clear critical path shortens downtime and preserves original fabric while keeping your budget predictable.
Frequently Asked Questions
How Do I Choose Period-Appropriate Paint Colors for My Home’s Era?
Match your home’s era by researching Color palettes from local archives, paint chips, and preserved trim, then test samples in real light. Prioritize Historical accuracy that boosts resale value, avoids costly repaints, and complements existing materials.
Do I Need Special Permits to Restore a Historically Designated Property?
Yes—you’ll likely need special permits and Historic preservation review before exterior changes, major repairs, or Modern upgrades. Check your local commission early, budget extra fees, and document scope to protect ROI and avoid stop-work fines.
What Are the Best Ways to Remove Lead Paint Safely?
Like defusing a hidden bomb, you’ll tackle Lead paint hazards by hiring an EPA RRP pro, using containment, wet scraping, HEPA sanding/vac, and proper disposal. These Safe removal techniques cut liability, protect value, and boost ROI.
How Can I Restore Original Windows Instead of Replacing Them?
Restore original windows through window restoration: remove sash, strip paint, reglaze, and weatherstrip. You’ll tackle sash repair by tightening joints and replacing cords. Add storm windows for efficiency, boosting ROI and avoiding replacement costs.
Which Grants or Tax Credits Can Help Fund Heritage Restorations?
You can cut costs with Heritage grants from local councils, state preservation offices, and nonprofits, plus Tax credit programs like federal historic rehabilitation credits and state credits. Check eligibility, match requirements, deadlines, and documentation to maximize ROI.