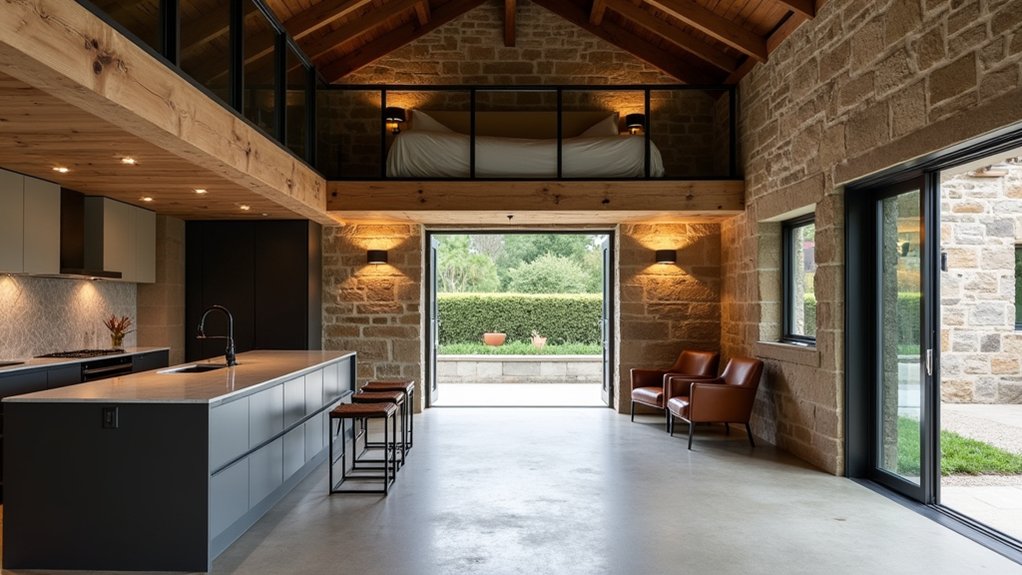

A barn conversion is like turning a weathered workhorse into a performance car—you can’t skip the inspection. You start by checking structure, access, drainage, and existing services, then map planning risk and building-code gaps before you spend on design. You’ll budget by square metre, add contingency for surprises, and target ROI through layout efficiency and energy performance. But one early constraint can flip your numbers, and it usually shows up before you expect it…
Key Takeaways
- Start with a structural and utilities survey; walk away if remedial costs exceed 15–20% of the finished value.
- Check planning routes early: permitted development versus full permission, plus green belt, heritage, occupancy ties, and rights of way.
- Build a detailed cost plan with 10–15% contingency, or 20%+ for unknown masonry, roof, drainage, and service-connection risks.
- Design the layout around fixed bays and openings; stack wet rooms on a service spine and keep circulation routes 900–1,000 mm clear.
- Upgrade performance with continuous insulation, airtightness, and vapour control, then size heating and specify HRV/ERV for healthy, efficient ventilation.
Can This Barn or Stable Be Converted? (Survey Checklist)
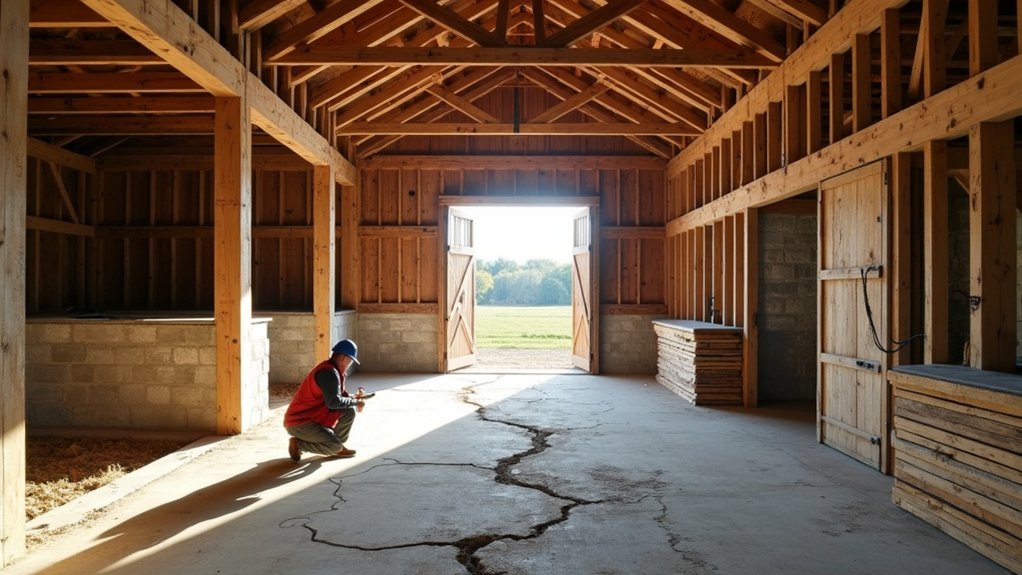
Before you spend money on architects or planning fees, run a quick survey-style checklist to confirm the barn or stable can realistically take a conversion and deliver a solid ROI.
Start with a Structural assessment: check roof sag, cracked masonry, timber rot, uneven slab levels, and bay spacing that suits room layouts; note steelwork or underpinning costs early.
Confirm utilities: power capacity, water pressure, drainage fall, and distance to mains, because long runs crush margins.
Measure access: turning circles for trades, delivery routes, and parking potential for future guests or tenants.
Map constraints fast: flood risk, contaminated ground, protected species signs, and easements.
Screen Legal restrictions such as agricultural occupancy ties, rights of way, and listed-building status.
If remedial costs exceed 15–20% of end value, walk away.
Do You Need Planning Permission for a Barn Conversion?
Although some barn conversions slip through under permitted development, you can’t assume you’ll avoid planning permission—your ROI depends on getting the route right upfront. Start by confirming the site’s Zoning regulations: agricultural-only designations, green belt constraints, access limits, and heritage listings can trigger a full application or restrict change of use.
Next, map your proposal against prior approvals and local plan policies; planners usually scrutinize highway visibility, drainage, protected species, and external appearance because these factors drive approval risk and timeline variance.
Even if planning is simpler, you still must satisfy Building codes for structural integrity, fire safety, insulation, ventilation, and accessibility.
Treat permission as a risk-managed workflow: document existing use, record constraints, and get pre-application feedback to reduce refusal probability.
What Does a Barn Conversion Cost (and Why)?
To protect ROI, treat Cost factors as risk items and price them early.
Commission surveys, then allocate renovation budgeting contingencies: 10–15% for standard builds, 20%+ if masonry, roof timbers, or drainage are unknown.
Your biggest uplift usually comes from upgrading fabric (U-values, airtightness) and long utility runs.
Use a cost plan by work package, compare quotes on inclusions, and ring-fence compliance fees to avoid late-stage overruns.
How Do You Plan a Barn Conversion Layout?
Because the existing shell sets hard constraints, you’ll get the best ROI on a barn conversion layout by mapping use-cases to fixed elements first—structural bays, openings, ridge height, and service routes—then designing rooms around what you can’t easily move.
Start with a scaled survey, then rank spaces by revenue or lifestyle value per square foot: kitchen/living, primary suite, storage, ancillary.
Keep high-traffic zones on existing door lines to cut Structural modifications and preserve character.
Stack “wet” rooms along one service spine to minimize pipe runs and trenching.
Use bay spacing to set room widths; treat posts as intentional Interior design features, not obstacles.
Model daylight: place living where glazing already exists, and reserve deeper bays for utility.
Validate circulation with 900–1,000 mm clear paths.
How Do You Insulate, Heat, and Ventilate a Barn?
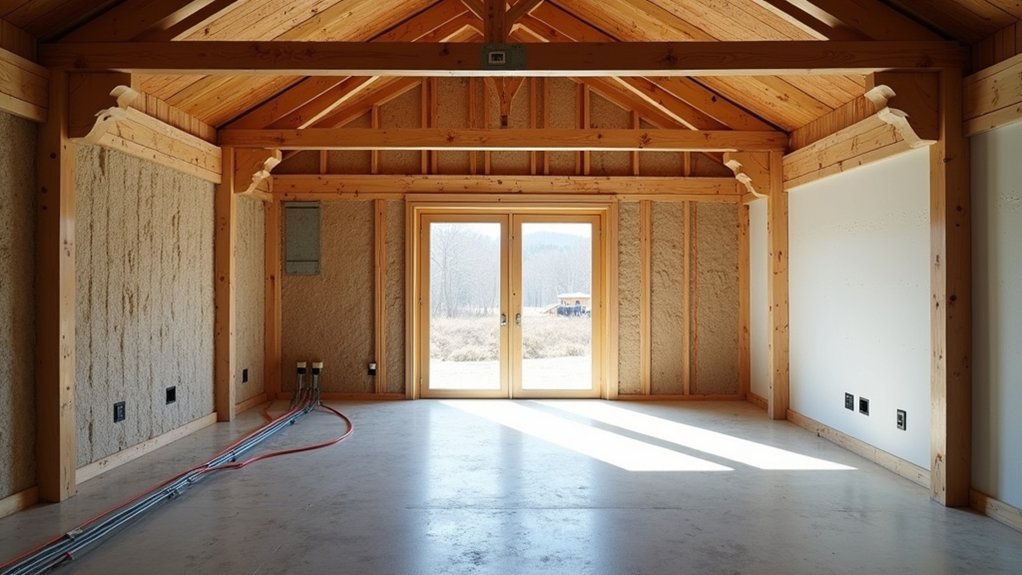
You’ll lock in comfort and protect your budget by specifying insulation materials and methods that hit target R-values, control moisture, and minimize thermal bridging.
You’ll then size heating to your calculated heat loss so you’re not paying for oversized equipment and higher running costs.
Finally, you’ll plan ventilation around measured airflow needs (fresh air, humidity, and extract rates) so indoor air quality stays high without dumping expensive heat outdoors.
Insulation Materials And Methods
While a barn’s heavy timbers and thick cladding may look substantial, they rarely deliver modern thermal performance, so insulation, heating, and ventilation need to work as one system to protect your build and your budget.
Start with airtightness: tape sheathing seams, seal service penetrations, and add a continuous vapour-control layer where your climate requires it to prevent interstitial condensation.
For insulation techniques, prioritise continuous layers to cut thermal bridging at posts and purlins; even a 10–20% bridge penalty can erase headline R-values.
In material comparisons, closed-cell spray foam gives high R/inch and air-seals but costs more; mineral wool offers fire resistance and acoustic gains; wood fibre improves moisture buffering; rigid PIR/PUR boards deliver strong R but need meticulous jointing.
You’ll maximise ROI by matching thickness to target U-values and payback, not guesswork.
Heating And Ventilation Planning
Insulation only pays off when your heating and ventilation plan matches the new airtight envelope, otherwise you’ll trap moisture, oversize plant, and bleed energy through unmanaged air changes.
Start with a room-by-room heat-loss/heat-gain calculation, then size HVAC systems to the actual loads, not the barn’s original volume.
Target 0.35–0.5 ACH for occupied spaces, and use balanced HRV/ERV ventilation to recover 60–80% of exhaust heat while keeping indoor RH near 40–55%.
Build airflow management around pressure: keep bathrooms and mudrooms under negative pressure, and supply tempered air to living zones.
Seal ducts (≤5% leakage) and zone with smart thermostats so you don’t heat unused bays.
Add ceiling fans to destratify tall volumes and cut runtime.
How Do You Keep Original Features in a Barn Conversion?
Because original barn details often drive resale premiums and planning approval, you’ll protect your ROI by identifying, documenting, and designing around the features that buyers—and conservation officers—actually value: primary timber frames, trusses, masonry plinths, vaulted bays, stable doors, and ventilation openings.
Build a measured survey, photo log, and condition schedule so you can price risk and avoid change orders.
Choose Restoration techniques that keep fabric in place: resin repairs, scarfed splices, lime repointing, and reversible fixings.
Tackle Preservation challenges early—woodworm, moisture, differential settlement—by commissioning timber, damp, and structural reports before layout finalization.
Route services through new floor zones or freestanding pods, not historic walls.
Specify secondary glazing, internal insulation, and discreet fire protection to meet regs without erasing character.
You’ll gain faster approvals and higher valuations.
Frequently Asked Questions
How Long Does a Typical Barn Conversion Take From Start to Finish?
You can expect 6–12 months, sometimes 12–18 for complex builds. You plan, you permit, you build. Historical preservation and Structural reinforcement add weeks, but protect appraisal value, reduce defects, and strengthen ROI.
What Insurance Do I Need During and After a Barn or Stable Conversion?
You’ll need builder’s risk and construction Insurance coverage plus workers’ comp and liability protection for contractors. Afterward, switch to homeowners/landlord, add upgraded rebuild value, contents, and public liability; higher limits reduce downside-risk, protect ROI.
Can I Convert a Barn Into Multiple Separate Dwellings or Holiday Lets?
Yes, you can, if local zoning regulations allow subdivision and occupancy. Model ROI per unit night, capex, and utilities. Factor parking, access, fire separation, and Historic preservation constraints that can limit layouts and approvals.
How Do I Connect Utilities Like Water, Electricity, and Sewage to the Site?
You’ll coordinate utility connections by getting capacity quotes, surveys, and permits, then trenching to a metered service point. Hire certified trades for plumbing installation, electrical upgrade, and sewage treatment; compare capex, timelines, maintenance, ROI.
What Are Common Mistakes to Avoid When Hiring a Barn Conversion Contractor?
A client lost 12% ROI by skipping contractor credentials checks. You’ll avoid mistakes by verifying insurance, references, and conversion experience, locking a written project timeline, defining change orders, and requiring detailed, itemized bids with milestones.