You probably don’t know that most “failed” brick outbuildings are actually suffering from incompatible cement mortar that traps moisture and accelerates decay. If you want a renovation that pays back in usable space and lower maintenance, you’ve got to sequence the work: set rules and a budget, inspect roof-to-foundation, fix damp at the source, then repair brickwork with matching materials before you fit doors, windows, and finishes. Miss one step, and you’ll pay for it later…
Key Takeaways
- Verify zoning, permits, and any historical constraints, then build a line-item budget with 10–20% contingency and clear allowances.
- Start with a structural survey: roof sag, wall plumb, cracks, lintels, and foundation settlement; document brick bond and mortar profiles.
- Stop moisture first by fixing gutters, flashings, and grading; extend downspouts, seal penetrations, and add ventilation before closing walls.
- Repair brickwork gently: dry brush clean, rake failed joints 2–2.5x width, and repoint with compatible lime-rich mortar; replace damaged bricks to match.
- Install doors and windows before finishes, square openings, fix frames into sound masonry, and add insulation plus a service cavity to avoid cold bridges.
Plan Your Brick Outbuilding Renovation (Rules + Budget)
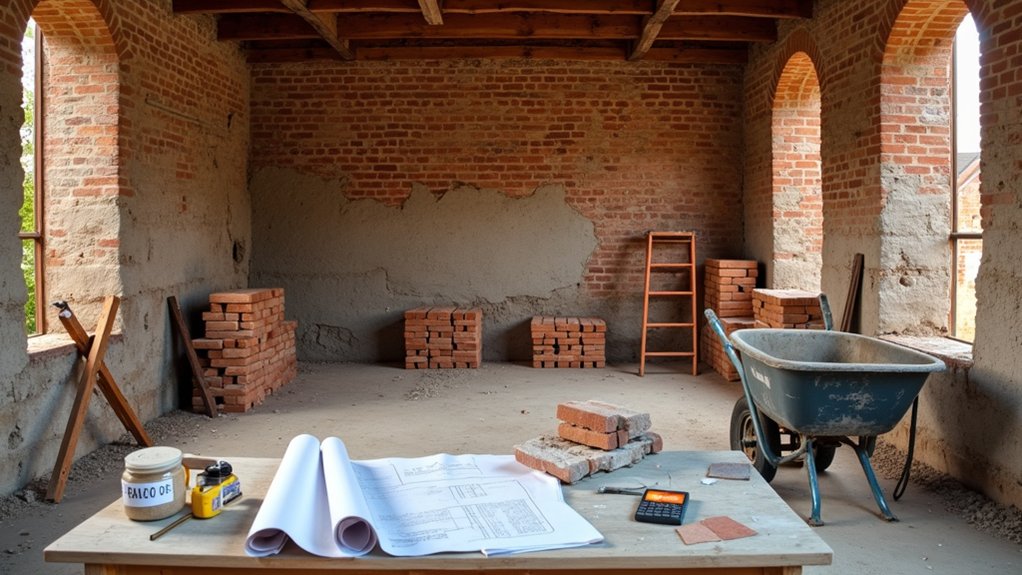
Before you pick up a hammer, map out your brick outbuilding renovation around two levers that make or break ROI: compliance and cost control. Start by confirming zoning, setbacks, allowable use, and permit triggers for electrical, plumbing, insulation, and openings. If Historical preservation applies, request written guidance on what must remain, what can change, and what documentation you’ll need, so you don’t pay twice.
Next, build a line-item budget with contingencies: 10% for straightforward work, 20% if unknowns are likely. Price bids by scope, not vague totals, and lock allowances for doors, windows, and finishes. Make Material selection early: match brick, mortar type, and moisture strategy to avoid callbacks and premature repairs.
Track every change order against projected rental or resale upside.
Inspect Structure First: Roof, Walls, Foundations
Once your permits and budget assumptions are set, verify the building can actually carry the renovation you’re about to fund by inspecting the roof, walls, and foundation in that order.
Start at the roof: look for sagging ridgelines, failed flashings, daylight at joints, and undersized rafters; price repairs before you plan interiors.
Move to walls: check plumb with a level, map stepped cracks, bulges, and spalled brick, and note lintel corrosion over openings. If you’re targeting Historical preservation, document original bond patterns and mortar profiles so your Material selection matches strength and vapor behavior.
Finish at foundations: probe for settlement, rotated corners, soft mortar at the base, and missing stones or bricks. Use findings to scope engineering, stabilize first, and protect resale value.
Fix Damp Causes Before Any Finishes
Even if the structure checks out, damp will erase your renovation ROI fast, so you need to trace and fix moisture at the source before you install insulation, drywall, flooring, or cabinetry. Start by mapping where water enters: check gutters, downpipes, flashing, and ground levels sloping toward the wall. Fix leaks, extend downspouts, and add drainage to move runoff away.
Next, stop rising and lateral moisture: install or repair moisture barriers at slabs and wall bases, and seal service penetrations. Don’t trap wet air inside—specify ventilation solutions like passive vents, a humidistat extractor, or a small MVHR if you’re conditioning the space.
Finally, dry the building: dehumidify, log RH, and only close up once readings stay stable.
Repair Brickwork: Clean, Repoint, Replace
With moisture under control, turn your attention to the brickwork, because open joints and spalled faces will invite water straight back in and undermine any insulation or interior finishes.
Start with cost-effective cleaning techniques: dry-brush loose debris, rinse with low-pressure water, and spot-treat algae with a mild biocide; avoid aggressive pressure washing that erodes faces and mortar.
Next, rake out failed joints to 2–2.5x the joint width, vacuum dust, and pre-wet so the new mortar bonds and cures slowly.
Choose compatible lime-rich mortar for older bricks, then pack it firmly and tool a weather-struck or flush finish; these repointing methods extend wall life and cut future maintenance.
Replace cracked bricks by stitching in salvaged matches, keeping course lines true.
Fit Doors/Windows and Finish the Interior
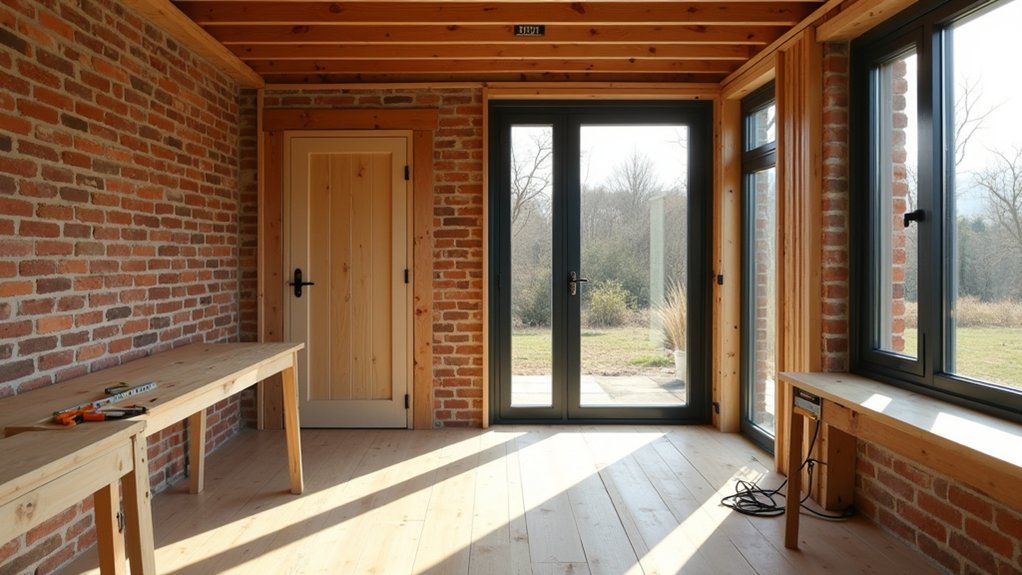
After you’ve stabilized the shell and fixed the masonry, install the doors and windows before you close up the inside, because airtight, square openings determine how well insulation, plasterboard, and trims will fit. Measure twice, pack and level the frames, then fix mechanically into sound masonry. Use compressible tape, low-expansion foam, and exterior-grade sealant to stop drafts that drive heating costs.
Choose double glazing for ROI; add Decorative glazing only where it earns value (privacy, light, or curb appeal) without killing U-values.
Next, build a straight service cavity, run electrics, and fit insulation tight to prevent cold bridges. Add Ventilation solutions early—trickle vents, a through-wall fan, or a passive grille—so moisture won’t wreck finishes.
Then board, tape, skim, and fit durable, paintable trims.
Frequently Asked Questions
Can I Add Plumbing and a Bathroom to My Renovated Outbuilding?
Yes, you can add plumbing and a bathroom if zoning allows it. You’ll pull Plumbing permits, plan drain/vent runs, and size water supply. Choose durable Bathroom fixtures, manage wastewater, and you’ll boost rental value and resale.
How Do I Insulate Without Trapping Moisture in Solid Brick Walls?
To insulate solid brick without trapping moisture, you’ll build a breathable, layered system—like a raincoat that breathes. Avoid interior Moisture barriers; use vapor-open boards, airtightness, and smart Ventilation strategies to purge humidity.
Will My Home Insurance Cover an Outbuilding Renovation and New Use?
Your insurance might cover it, but you’ll need endorsements and updated occupancy details. Tell your insurer about the renovation, new use, outbuilding landscaping, and outdoor lighting, then confirm limits, liability, permits, and replacement cost.
What Heating Options Work Best for Small Brick Outbuildings?
You’ll get the best results with electric heating: wall-panel heaters, infrared, or a small heat pump. Prioritize insulation and smart controls. Optimize radiator placement under windows. You’ll cut install cost, boost comfort, and improve resale.
How Can I Soundproof an Outbuilding for Music or Office Use?
You’ll soundproof an outbuilding by decoupling walls and sealing gaps; up to 30% of noise leaks through tiny openings. Use soundproofing techniques: resilient channels, mineral wool, double drywall, solid doors. Add acoustic treatment panels inside.