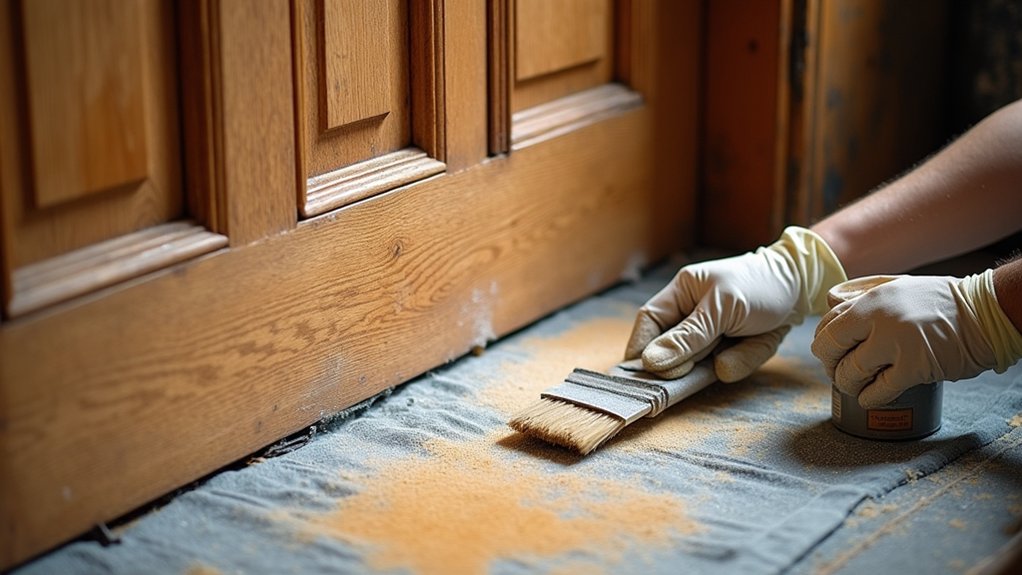

Is it really true that you can restore a traditional wooden front door for less than the cost of replacing it? You can, but only if you inspect it like a pro and commit to the right finish system from the start. You’ll pull the hardware, deal with old paint safely, fix rot and loose joints, then prime and seal for weather. The catch is knowing when you’re saving money—and when you’re just buying time…
Key Takeaways
- Inspect rails, stiles, and joints for rot, warping, and looseness; confirm the door is worth restoring before starting repairs.
- Test for lead paint; remove old finish safely with paste stripper or infrared heat, then wet-sand and feather edges smooth.
- Cut out punky wood, square the edges, and rebuild with wood hardener and epoxy; re-glue loose joints and clamp until cured.
- Remove, label, and bag hardware and weatherstripping; prime bare wood and patches, then apply two thin exterior topcoats, sealing top and bottom edges.
- Rehang and adjust reveals, hinges, sweep, and threshold; replace perimeter gaskets and lubricate hardware to stop drafts and prevent moisture intrusion.
Inspect the Wooden Front Door (Keep or Replace?)
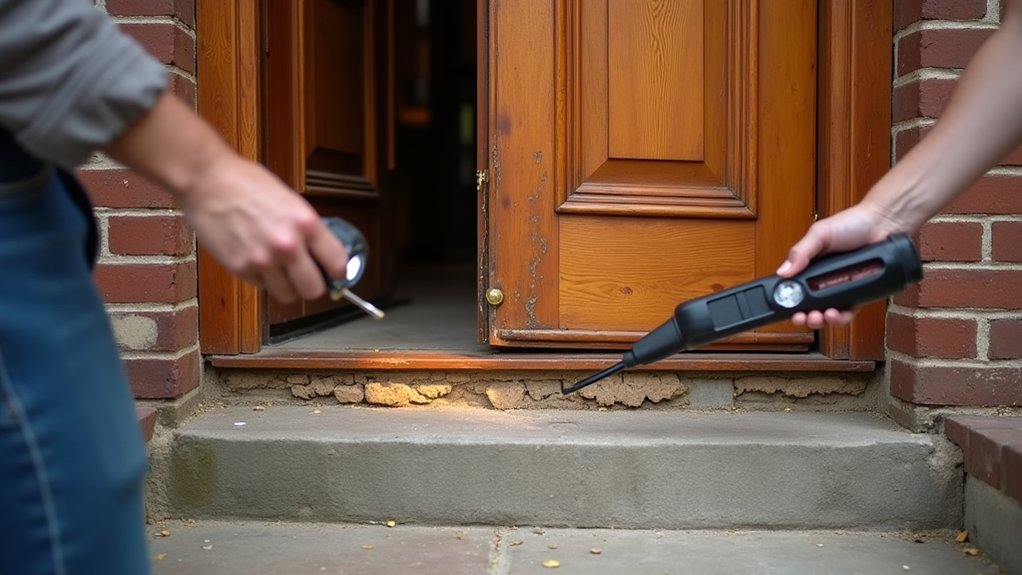
Before you spend money on stripper, stain, or new hardware, take a hard look at what you’ve actually got—because a careful inspection tells you whether restoring the door will pay off or if replacement is the smarter, cheaper long-term move.
Start at the bottom rail and jamb: probe for rot with an awl, check for spongy end grain, and note any black staining that signals deep decay.
Sight down the stiles for bowing, and measure gaps; uneven reveals often mean a twisted slab or settling frame.
Test joints by pushing on corners—movement suggests failed glue or loose pegs.
For door security, confirm the lock edge is solid and the hinge screws bite into sound wood.
If the door’s largely sound, you’ll preserve historical authenticity and save money.
Choose Paint vs Stain and the Finish System
Once you’ve decided your door’s worth saving, you need to pick paint or stain based on what you want to highlight and how much upkeep you’re willing to pay for later.
Paint gives you the best protection and hides flaws, while stain showcases grain but demands a tighter maintenance schedule.
Next, you’ll choose an exterior finish system—primer and topcoat for paint, or stain plus clear sealer—so you get durable results without wasting money on the wrong products.
Paint Or Stain Choice
Although paint and stain can both protect a traditional wooden front door, the right choice depends on how much of the wood you want to show, how rough the surface is, and how often you’re willing to maintain it.
Choose paint if your door has patches, filler, or uneven grain; it hides flaws and gives you more control over your color palette, especially for historic trims.
Choose stain if the wood is worth showing and you’ve stripped back to clean, even boards. Stain highlights character but demands better prep and more careful application techniques to avoid lap marks and blotching.
To stay on budget, match the product to the door’s condition: paint saves time on imperfect surfaces, while stain rewards patience on quality wood.
Test your choice on a hidden edge first.
Exterior Finish System Options
If you want your restored wooden front door to last without blowing your budget, pick a finish system—not just a color—based on exposure, prep level, and how often you’ll repaint or recoat.
For harsh sun and driving rain, paint wins: use an exterior bonding primer, then two coats of 100% acrylic enamel for strong weather resistance and easy touch-ups.
If you want to show grain, choose a penetrating exterior stain plus a UV-rated spar urethane or marine varnish; plan on more frequent maintenance.
For doors with raised panels and deep exterior texture, a high-build primer can level checks and save sanding time.
Add a clear topcoat only when compatible; mismatched layers peel fast.
Budget tip: buy fewer, better coats, not bargain paint.
Gather Restoration Tools and Safety Gear

Before you touch sandpaper or stripper, gather the right tools and safety gear so you don’t waste money on do-overs or risk injury. Start with a sharp carbide scraper, a putty knife, sanding block, assorted grits (80–220), tack cloths, rags, and a vacuum for dust control. Add a small random-orbit sander only if you’ll reuse it on other projects.
For chemicals, buy a quality brush, disposable trays, and a metal container for waste.
Protect yourself first: Protective gloves that resist solvents, safety glasses, and a Respirator mask rated for organic vapors plus particulates. Keep hearing protection handy, and lay down drop cloths to save cleanup time. Stock painter’s tape and labels for notes without overspending.
Remove Hardware, Weatherstripping, and the Door
Start by labeling each piece of hardware and removing it carefully so you don’t lose parts or pay to replace them later.
Next, strip off the existing weatherstripping to expose the true condition of the jamb and door edges for a tight, efficient seal.
Finally, pull the hinge pins and lift the door off the hinges so you can work faster and avoid damage.
Label And Remove Hardware
A quick hardware-and-weatherstrip pullout sets you up for a clean, low-cost restoration and prevents damage to parts you can reuse. Start with door labeling: stick painter’s tape on each piece—hinges, knob set, strike plate, kick plate—and mark its location (top/middle/bottom, interior/exterior). Snap a few photos so you won’t waste time later guessing screw lengths or orientations.
For hardware removal, use the right-size screwdriver to avoid stripping heads and turning simple work into replacements. Back out screws slowly, and drop each set into a labeled bag or cup. If paint glues parts in place, score edges with a utility knife and tap gently with a putty knife.
Keep all shims and hinge pins together for rehang.
Strip Existing Weatherstripping
Once the hardware’s bagged and labeled, pull off the existing weatherstripping so you can see what actually needs replacing and what you can reuse. Start at a loose end and peel gently; if it’s painted on, score the edge with a utility knife to avoid tearing wood fibers. Pry staples or nails with end-cutters, not a big crowbar, to keep the jamb crisp and save patching time.
Scrape leftover adhesive with a plastic putty knife, then wipe with mineral spirits on a rag. Inspect corners and the sill for gaps, rot, or crushed foam. Photograph profiles before you toss anything so weatherstripping replacement matches thickness and style.
Mark drafty spots with painter’s tape; it’ll guide your door sealing techniques later and prevent overbuying costly kits.
Lift Door Off Hinges
With the old weatherstripping out of the way, you can now pull the door so you’re working on a stable surface instead of fighting it in the jamb.
Wedge a shim under the door to take weight off the hinges, then score paint around hinge leaves so you don’t tear wood fibers.
For hinge removal, back out the screws on the jamb side first, keeping them labeled in a cup so you can reuse what isn’t stripped.
If pins are removable, tap them up with a nail set; it’s cheaper than replacing hinges.
For safe door lifting, grab the knob side with a helper, tilt slightly, and lift straight up and out.
Set it on padded sawhorses to avoid dents.
Strip Paint or Sand Safely (Lead Paint Tips)
Before you reach for a sander or chemical stripper, assume the old paint on a traditional front door could contain lead and plan your approach to protect your lungs, your wallet, and your finish.
Test first with an inexpensive lead swab; if it’s positive, skip dry sanding. For Lead paint removal, use a low-odor, paste-type stripper or an infrared heat tool that softens paint without scorching wood, then scrape into a lined box. Keep surfaces misted, and vacuum with a HEPA unit—shop-vac filters won’t cut it.
For Sanding safety, wet-sand only after most paint is off, start with 120–150 grit, and wear a P100 respirator, gloves, and goggles. Work outdoors on plastic sheeting, then bag and dispose of debris per local rules.
Repair Rot, Cracks, and Loose Door Joints
Even if your door’s paint looks rough, rot and loose joints do the real damage, so tackle them first to avoid wasting money on a finish that won’t last. Probe soft spots with an awl; if it sinks, you’ve got moisture damage. Cut out punky wood to sound fibers, keeping edges square so patches fit tight.
Consolidate questionable areas with a wood hardener, then pack voids with an exterior epoxy filler shaped to the surrounding wood grain. For cracks, open them slightly, blow out dust, and force in epoxy or waterproof wood glue, then clamp.
If the stile-and-rail joints wiggle, knock out loose pins, inject glue into the mortise, clamp diagonally, and add new dowels or screws where hidden. Let repairs cure fully.
Prime, Caulk, and Prep for a Smooth Finish
Once the rot is cut out, cracks glued, and joints locked tight, get the surface ready so your paint job actually stays put. Scrape any loose paint, then sand to a feathered edge so you don’t telegraph ridges through the finish. Vacuum dust and wipe with a damp rag; clean wood saves primer and prevents peeling.
Next, handle primer application: spot-prime bare wood and patched areas first, then coat the whole face if the old finish is chalky or uneven. Use an exterior bonding primer and work it into end grain and profiles. After it dries, sand lightly to knock down nibs.
Finish with caulk sealing: run paintable exterior caulk in small gaps at trim joints and panel seams, then tool it smooth. Let it cure fully.
Refinish and Rehang to Stop Sticking and Drafts

After the primer and caulk cure, put your finish coats to work and then rehanging becomes the final fix for sticking and drafts. Roll or brush on two thin coats of exterior enamel or spar varnish, sanding lightly between coats so you don’t waste product correcting runs later. Seal the top and bottom edges, because that’s where moisture sneaks in and swelling starts.
Before you hang it back, do door hinge maintenance: clean the knuckles, tighten or replace stripped screws with longer ones, and add a drop of lubricant. Shim hinges if the reveal is tight, and plane only what you must.
Finish with weatherproofing techniques—fresh perimeter gasket, adjusted sweep, and a snug threshold—to stop air leaks without buying a new door.
Frequently Asked Questions
How Do I Match the Restored Door to Historic District Requirements?
You’ll match historic district rules by checking local guidelines, photographing details, and getting pre-approval. Prioritize Historic accuracy, use paint color matching to existing samples, reuse original hardware, and choose reversible repairs to save money.
What Are the Best Ways to Soundproof a Wooden Front Door?
Add Door sealants and quality weatherstripping around the jamb, plus a door sweep to block gaps. Upgrade to a solid-core or add mass-loaded vinyl. Install discreet Acoustic panels inside, and tighten hinges.
Can I Add a Mail Slot Without Weakening the Door’s Structure?
Yes—you can, if you cut carefully: door cutouts can reduce stiffness up to 40% when oversized. For budget-friendly Mail slot installation, place it between stiles, avoid rails, and add a backing plate to protect Structural integrity.
How Do I Choose and Install a Smart Lock on an Old Door?
Choose a retrofit smart lock that fits your existing bore and deadbolt to save money. You’ll get keyless entry and solid digital security. Install by aligning the bolt, shimming gaps, and tightening screws.
What’s the Best Method to Prevent Sun Fading on South-Facing Doors?
Like sunscreen on skin, you’ll prevent fading by applying a UV protective coating over a Weather resistant finish. You’ll save money by choosing quality exterior products, recoating every 1–2 years, and adding a simple overhang.