
You probably don’t know that a barn conversion can fail on paper even when the structure looks solid, because the permission route and “existing building” tests can sink ROI before design starts. You’ll get ahead by commissioning the right surveys, picking Class Q or full planning with clear exit costs, and locking in a budget that includes drainage, utilities upgrades, and insulation-to-ventilation ratios that meet regs and prevent condensation claims. Next, you’ll need to spot the non-obvious red flags that change everything…
Key Takeaways
- Commission a measured survey and structural inspection to identify foundation, frame, roof, damp, rot, and hazardous-material risks before design.
- Confirm listing, curtilage, and local constraints early to avoid prohibited alterations and unexpected compliance costs.
- Choose the consent route: Class Q for eligible agricultural conversions, or full planning for extensions, major rebuilds, or wider design freedom.
- Build a risk-based budget with itemised remediation, utility connections, approvals, and a 10–20% contingency tied to survey findings.
- Prioritise envelope safety first: secure roof, repair masonry, control damp, then design insulation, ventilation, and services to meet regulations without trapping moisture.
Check If Your Barn Conversion Is Viable (Surveys + Red Flags)
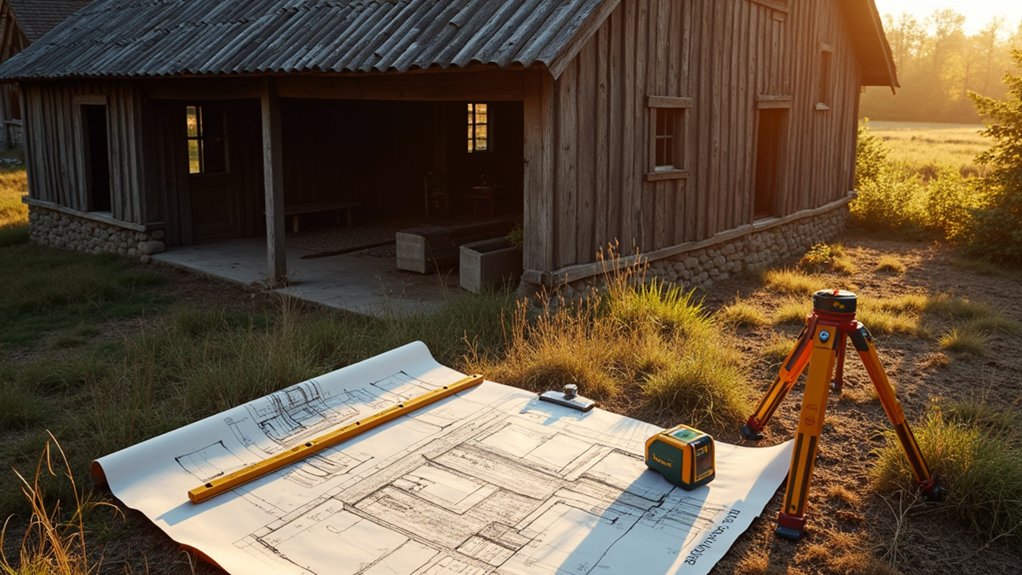
Before you price out finishes or sketch a floor plan, you’ll want to confirm the structure and the rules will actually let you convert the barn without blowing your budget.
Start with a Structural assessment: commission a measured survey, inspect foundations, frame geometry, roof spread, and moisture paths, then test timber for rot, beetle, and overload risk. Price remediation per defect so your ROI model reflects real capex, not wishful finishes.
Check services proximity and drainage; long runs for water, power, and sewage can erase margins fast.
Flag asbestos cement, contaminated hardcore, or unstable masonry early, because they trigger specialist removal and stricter site controls.
Finally, verify Historical significance: listing, curtilage, or protected settings can constrain alterations and raise specification costs, even before you design.
Choose the Right Permission Route (Class Q vs Full Planning)
Once your surveys confirm the barn can stand up structurally and financially, the next ROI lever is picking the permission route that keeps timeframes, conditions, and remediation scope under control: Class Q permitted developmentpermitted developmentor full planning.
Class Q (Permitted Development) can release programme risk, but only if the building is genuinely agricultural, capable of conversion without major rebuild, and within the unit limits. You’ll still need prior approval, so treat highways access, flooding, contamination, and design as decision gates, not afterthoughts.
If you need new openings, significant extensions, curtilage engineering, or a change the GPDO won’t cover, go straight to Planning Permission. Full planning takes longer, yet it can unblock flexibility on layout, appearance, and use class, reducing refusal risk by aligning early with local policy.
Price Your Barn Conversion Budget (Including Hidden Costs)
You can’t price a barn conversion like a standard refurb, because hidden cost drivers—structural steel, damp remediation, drainage upgrades, utility connections, insulation spec changes, and specialist surveys—quietly rewrite your totals.
You’ll protect ROI by mapping each risk to a line item, tagging it as “likely/possible,” and tying it to Building Regs triggers so scope creep doesn’t slip past you.
Then you’ll add a hard contingency buffer (often 10–20% depending on unknowns) and a time-cost buffer, so cashflow and programme don’t break when the barn reveals surprises.
Hidden Conversion Cost Drivers
Although square footage gets most of the attention, barn conversions usually blow budgets through “invisible” scope—code-triggered upgrades, unknown structural conditions, and trades you can’t easily price from a standard home remodel checklist.
Your biggest hidden costs often start at permitting: change of use can require engineered drawings, sprinklers, hardwired smoke/CO, egress windows, tempered glazing, and accessibility features.
Next, expect budget pitfalls in the shell: rot at sill plates, undersized rafters, foundation settlement, or insect damage that forces sistering, new footings, or a steel moment frame.
Utilities add another cost driver—bringing power to current amperage, adding septic capacity, fire-rated penetrations, and heat-loss-driven insulation thickness that steals interior area.
Finally, plan for specialty labor: timber repair, masonry repointing, and vapor-control detailing.
Contingency Planning And Buffers
Where do smart barn-conversion budgets stay intact—right in the contingency line item, sized for the risks your plans can’t fully reveal yet. Start with a quick risk assessment: structural unknowns, rot, asbestos, drainage, utility upgrades, and code-triggered requirements (egress, fire separation, insulation, accessibility).
Price each risk by likelihood × impact, then set a base buffer of 10–15% for straightforward shells, 15–25% for older timber frames or mixed-use changes of use.
Use tiered contingency planning: “design” (surveys, engineering), “construction” (hidden defects), and “compliance” (permit revisions, inspections).
Don’t spend it early—release it only after milestones and signed change orders. That discipline protects ROI and keeps lenders calm.
Track contingency burn weekly against schedule variance.
Make the Barn Conversion Structure Safe First (Roof, Walls, Damp)
Before you spend a pound on layouts or finishes, lock down the barn’s structural envelope—roof, walls, and damp control—because this is the part that protects your budget and keeps Building Control on side.
Start with a survey-led schedule of structural reinforcement: stitch cracked masonry, add discreet steel where spans have sagged, and confirm foundations can take new loads.
Tackle roofing repairs next—replace failed sheets, renew flashings, sort gutters, and stop wind-lift—so water can’t undo everything downstream.
Then address damp at source: improve site falls, repair thresholds, clear blocked drains, and install breathable detailing that suits solid walls.
Document methods, materials, and calculations for sign-off, and you’ll cut rework, avoid claims, and keep your programme bankable.
Insulate and Ventilate Your Barn Conversion to Stop Condensation
Once you’ve made the shell watertight, you need to control moisture movement with a matched insulation-and-ventilation strategy, because condensation can quietly wreck timbers, finishes, and air quality while still passing the “it looks dry” test.
Start by choosing insulation materials that suit your wall build-up: breathable woodfibre/mineral wool for old masonry, or closed-cell spray foam only where you can prove drying paths and fire compliance.
Detail continuity: tape seams, seal service penetrations, and fit a smart vapour control layer on the warm side to meet Part L targets without trapping moisture.
Then design ventilation strategies: trickle vents plus continuous mechanical extract in wet zones, balanced MVHR for whole-building control, and clear airflow paths behind linings.
Commission airflow rates to Part F, and you’ll cut mould risk and callbacks.
Plan Barn Conversion Utilities and a Guest-Ready Layout (Regs + Flow)
Moisture control keeps the fabric sound; utilities and layout make the conversion work day-to-day and pass sign-off without expensive rework. Map services early: incoming water, foul drainage falls, SVP/venting, and plant space for cylinder/heat pump, MVHR, and consumer unit with safe clearances.
Confirm Part P electrics, Part H drainage, and Part G hot water safety; size circuits for induction, EV charging, and future split HVAC to protect ROI. Place wet rooms back-to-back to shorten runs and reduce boxing-in.
Design a simple fire-escape route, mains interlinked alarms, and protected stair where required. For flow, keep entry/mud storage near doors, then open living zone, then quiet bedrooms.
Interior design needs aesthetic considerations: hide ducts in joinery, align lighting layers, and keep access panels discreet.
Frequently Asked Questions
What Home Insurance Do I Need During and After a Barn Conversion?
During conversion, you’ll need builder’s risk plus liability and workers’ comp; confirm Barn insulation meets code. Afterward, switch to a dwelling policy with replacement-cost Insurance coverage, endorsements for outbuildings, rentals, and upgrades.
How Do I Choose Between an Architect, Technician, or Design-And-Build Firm?
Choose based on scope and risk: prioritize Architect selection for complex planning, listed buildings, and code compliance; pick a technician for straightforward detailing; use Design build advantages for fixed costs, faster delivery, and ROI accountability.
Can I Claim VAT Relief or Grants on Barn Conversion Work?
Like finding hidden coins, you can claim VAT relief eligibility and tap Conversion grants availability, but only if you meet HMRC criteria, prove residential change-of-use, keep invoices, and satisfy local authority funding rules.
How Long Does a Typical Barn Conversion Take From Start to Finish?
You’ll typically take 9–18 months start to finish, depending on planning conditions, surveys, and inspections. You’ll protect barn aesthetics and historical preservation, hit code, and speed ROI by locking specs and contractors early.
What Are the Best Ways to Soundproof a Converted Barn for Guest Stays?
Use decoupled stud walls, resilient channels, and mineral wool Barn insulation; add mass with double drywall plus Green Glue. Seal all gaps, upgrade doors/windows, and meet acoustic and fire code—higher ratings cut complaints and boost ROI.