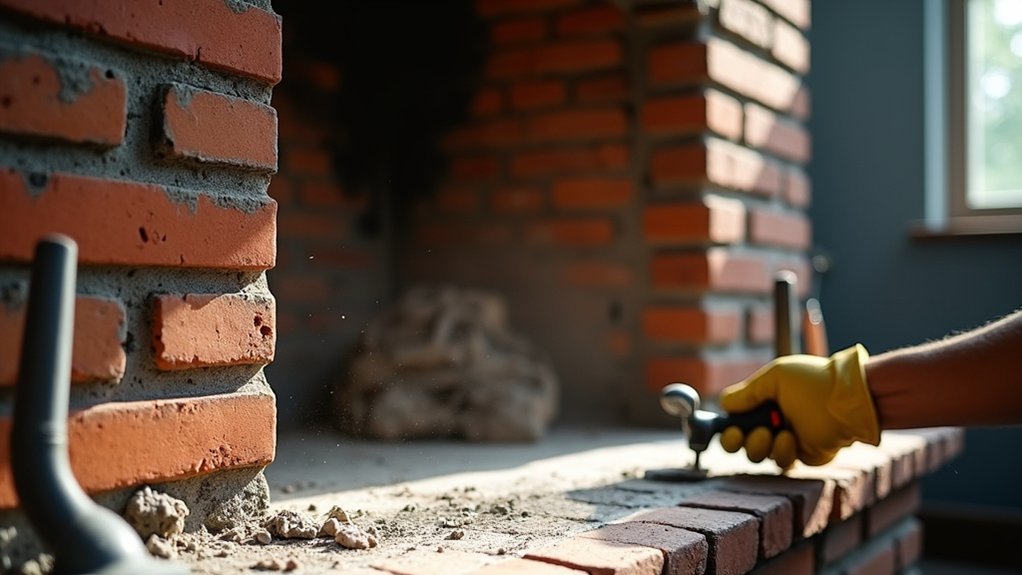

On one Victorian terrace job, a “quick clean” uncovered a hairline flue crack that could’ve turned the first fire into a chimney hazard—like polishing a car with the brakes failing. You can save money by starting with a careful inspection, then choosing gentle, masonry-safe cleaning and testing paint removal on a small patch. If the mortar’s crumbling, you’ll want lime, not cement. But one warning sign changes everything…
Key Takeaways
- Inspect firebox, hearth, damper, and flue for cracks, loose brick, creosote, and leaks; photograph issues and schedule a Level 2 chimney inspection.
- Dry-clean first: vacuum soot and soft-brush; use warm water with pH-neutral soap for light grime, testing inconspicuous areas.
- For heavy deposits, use masonry-safe alkaline cleaners in small sections, rinsing lightly; avoid acids, wire brushes, and pressure washing.
- Strip paint with a masonry-safe paste gel under plastic film, scraping with plastic tools; rinse sparingly and let bricks dry fully.
- Repoint failed joints with lime mortar matching original softness, raking 15–20mm and curing slowly; call specialists for structural cracks or cement repairs.
Inspect Your Period Brick Fireplace (Safety First)
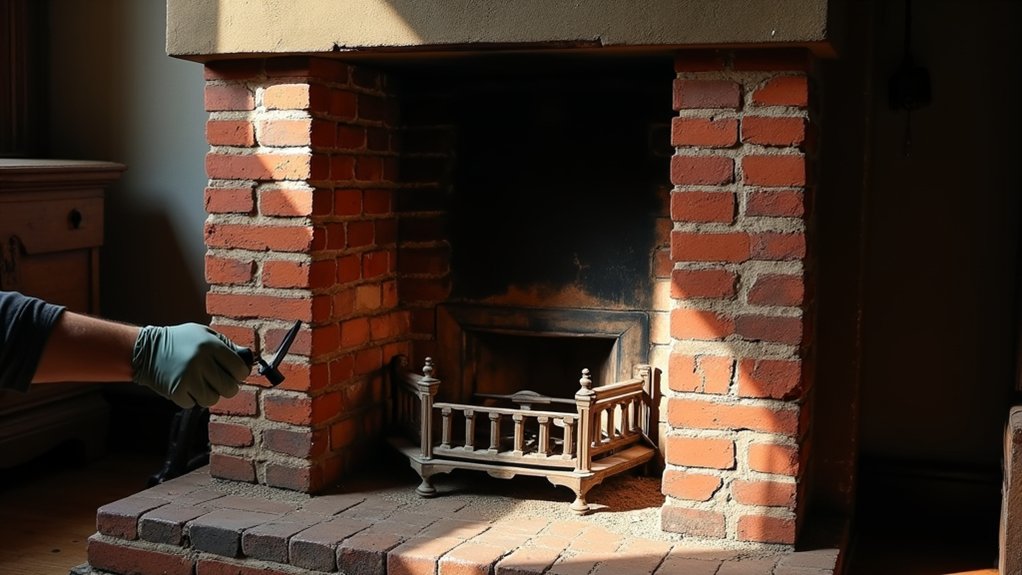
Before you spend a dollar on restoration, how do you know your period brick fireplace is actually safe to use? Start with a bright light and a close look at the firebox, hearth, and lintel. Check for loose bricks, spalled faces, missing mortar, hairline cracks that widen, or a sagging opening—each can signal structural risk and higher repair costs.
Inspect the throat and damper for warping, seized movement, and heavy creosote. Look up the flue with a mirror or camera for blockages, broken liners, or gaps. Note soot stains at joints, which can indicate leaks.
Photograph details to preserve Fireplace design and Historical significance, then get a certified chimney sweep for a Level 2 inspection.
Choose the Right Cleaning Method for Historic Brick
Although it’s tempting to attack old soot with the strongest cleaner you can buy, historic brick and lime mortar punish aggressive methods with permanent damage and costly repointing. Start with the cheapest, gentlest approach: vacuum loose soot, then dry-brush with a soft natural-bristle brush.
Next, test cleaning solutions on a hidden brick, and wait for it to dry fully before judging results; wet brick can mislead brick color. Use warm water with a few drops of pH-neutral soap for light grime.
For heavier deposits, step up to a masonry-safe alkaline cleaner, diluted per label, and rinse lightly—don’t flood the joints. Avoid acids, wire brushes, and pressure washing; they dissolve mortar and etch faces fast.
Work small sections and change rinse water often.
Strip Paint From a Brick Fireplace Without Damage
When you strip paint from a period brick fireplace, you need to remove the coating without soaking the masonry or ripping out soft lime mortar.
Start by testing a small patch behind the grate to confirm the paint type and brick porosity.
Use a low-odor, paste-style paint removal gel rated for masonry; it clings, works slower, and limits water.
Apply with a cheap brush, cover with plastic film, and wait per the label.
Lift softened paint with a plastic scraper and stiff nylon brush, not wire.
Rinse lightly using damp sponges and change water often.
Neutralise if the stripper requires it.
Let it dry fully before Color matching or sealing, so you don’t trap moisture.
Repoint a Period Brick Fireplace With Lime Mortar
Once the paint’s off and the brickwork has dried out, check the joints closely—crumbling or recessed mortar will keep shedding dust and can loosen bricks around the opening.
Rake out failed mortar to 15–20mm using a joint raker and vacuum as you go; don’t nick the edges of Historic brick.
Mist the joints lightly so they don’t suck water from the mix.
Use Lime mortar (NHL 2 or lime putty with sharp sand) to match the original softness and colour; it’s usually cheaper than replacing damaged bricks.
Press mortar in firmly in thin lifts, finish slightly recessed or flush to the existing profile, and brush when it’s “thumbprint” hard.
Keep it damp and covered for 2–3 days to cure slowly.
Red Flags: When to Hire a Fireplace Restoration Pro
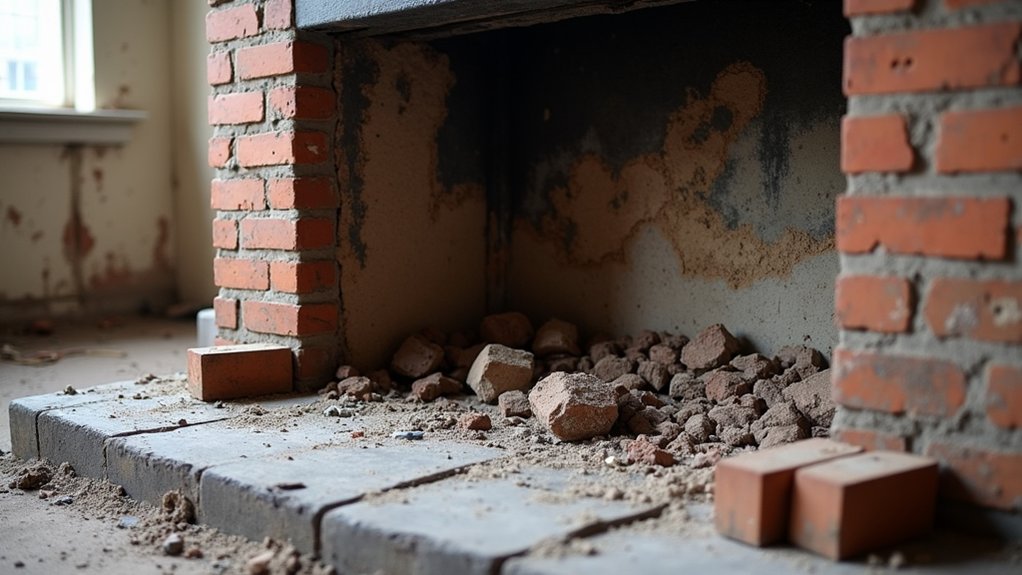
If your period brick fireplace shows signs that the issue goes beyond cosmetic brick-and-mortar work, bringing in a restoration pro can save you from paying twice. Hire help if you see stepped cracks, a leaning firebox, loose lintels, or gaps where the chimney meets framing—these can signal structural movement.
Call a pro when you smell persistent smoke, spot tarry creosote, or notice damp staining and salt bloom; water and drafting problems quickly destroy repairs.
If prior repointing used hard cement, a specialist should remove it without spalling historic brick. You’ll also want pro input when altering Fireplace design, adding an insert, or matching profiles for Historical accuracy.
Ask for a scoped flue report, moisture diagnosis, and itemized quote before work starts.
Frequently Asked Questions
Can I Install a Wood-Burning Stove in My Restored Brick Fireplace?
Yes, you can, but you’ll need a lined, code-rated flue and proper clearances. Like my neighbor’s cheap liner failure, Wood stove installation demands permits, hearth upgrades, and Fireplace safety tips—saving costly chimney fires later.
How Do I Improve Fireplace Draft Without Altering the Original Opening?
Improve draft by scheduling chimney cleaning, sealing gaps with removable draft blockers, and installing a top-sealing damper. Burn seasoned wood, pre-warm the flue with rolled newspaper, and add a discreet smoke guard.
What Permits or Building Regulations Apply to Period Fireplace Restoration?
You’ll usually need building permits for chimney/flue work, hearth changes, and structural repairs; you must meet fire-clearance codes and smoke-testing rules. Check heritage listings for Historical accuracy and document Material sourcing to avoid rework.
How Can I Match Replacement Bricks to the Original Age and Color?
You’ll match originals by salvaging same-era bricks, then test samples in situ for color matching under dry/wet light. You’ll compare size, texture, and mortar staining for Historical accuracy, avoiding costly custom runs.
What’s the Best Way to Seal Restored Brick While Keeping It Breathable?
Seal it with a silane/siloxane penetrating sealer—ironic, since “sealing” still lets brick breathe. After Historical brick analysis, test first. Choose breathable sealants, apply two thin coats, avoid acrylics; they trap moisture and cost more.