
You probably don’t know that a well-executed hardwood restoration can beat new flooring on cost per year, even after tool rentals and finish materials. If you prep the room right, pull carpet and fasteners cleanly, fix squeaks, and sand in a controlled grit sequence, you’ll avoid the mistakes that force costly rework. The big payoff comes when you match stain and finish to your traffic—yet most people get that part wrong…
Key Takeaways
- Clear the room, seal vents and doorways for dust control, and remove baseboards and fixtures while labeling parts for reinstallation.
- Cut and remove carpet and padding, then pull tack strips and staples; scrape residue and vacuum thoroughly to reveal damage.
- Remove all metal fasteners, fix squeaks and loose boards, and fill gaps or replace damaged boards before sanding begins.
- Sand with drum and edge sanders using progressively finer grits, keep the sander moving, and vacuum between passes for smooth results.
- Apply stain and 2–3 thin finish coats, follow dry and recoat windows, and allow full curing before walking or placing furniture.
Is Restoring Original Hardwood Floors Worth It?
In most cases, restoring original hardwood floors is worth it because you’ll usually spend far less than a full replacement while still boosting your home’s resale appeal. Your cost analysis should compare refinishing, board patching, and sealing versus demolition, new materials, and disposal fees.
If the floor has enough thickness for another sanding and only localized damage, restoration typically delivers the best ROI. You’ll also preserve historical accuracy, which can support higher offers in older homes and historic districts.
Factor in downtime: restoration often finishes faster than replacement, so you reduce carrying costs if you’re selling. Don’t restore if you see widespread rot, severe cupping, or structural issues; you’ll risk repeated repairs that erase savings.
Prep the Room and Gather Floor Tools
To protect your ROI, you’ll clear the room, seal off dust paths, and cover anything you can’t move so cleanup doesn’t add hours (or fees).
Next, you’ll remove baseboards, vents, and fixtures carefully so you can reinstall them instead of paying for replacements.
Finally, you’ll gather the right floor tools—sander, edger, shop vac, scraper, and safety gear—so you don’t burn money on delays, rework, or extra rentals.
Clear And Protect Space
Before you touch a sander, clear the room completely and protect what you can’t move, because prep is the cheapest way to avoid costly scratches, dust damage, and do-over labor.
Start with smart furniture arrangement: move everything out, or cluster heavy pieces in the center on plywood and felt pads so you don’t gouge edges.
Roll up rugs, pull curtains, and seal nearby vents and doorways with plastic and painter’s tape to keep dust from spreading and cutting cleanup time.
Cover cabinets, built-ins, and registers with drop cloths.
Do quick lighting considerations now: add bright work lights to reveal cupping, nails, and stain lines so you don’t waste sandpaper fixing misses.
Keep a shop vac, brooms, and tack cloths ready.
Remove Baseboards And Fixtures
Once the room’s cleared and masked off, pull the baseboards and remove floor-level fixtures so you don’t burn time detail-sanding edges or paying for replacement trim later. Baseboard removal lets you sand and finish tight to the wall, which reduces handwork and helps the new coat look continuous—better results, less labor cost.
Score paint lines with a utility knife, pry gently with a block, and label each piece by wall so reinstalling stays fast and accurate. Bag nails and screws now to avoid buying extras later.
For Fixture disassembly, take off floor registers, door stops, shoe molding, and any threshold strips. Photograph each area, note fastener locations, and store parts in marked bags. You’ll prevent damage, speed sanding, and protect your trim budget.
Assemble Essential Floor Tools
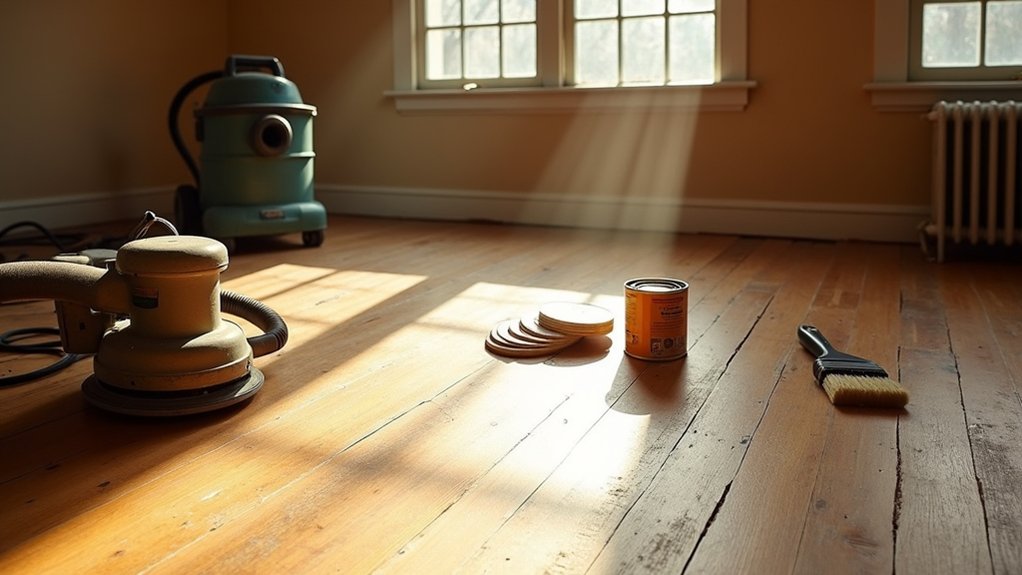
While you’ve still got the room empty and access is easy, stage every floor tool you’ll need—sander, edger, shop vac with fine-dust bags, tack cloths, sanding discs in multiple grits, painter’s tape, and a moisture meter—so you don’t pay for extra rental days or lose time on mid-job supply runs.
Confirm you’ve got extension cords, a knee pad set, ear/eye protection, and N95s; safety precautions cost less than a medical bill.
Inspect rental gear before you leave: worn belts, loose handles, clogged bags, or misaligned wheels can gouge boards and force re-sanding.
Do quick Tool maintenance: clean filters, empty the vac, and swap discs before they’re dull.
Buy consumables in bulk packs; leftovers beat another trip.
Label grits and plan your progression to avoid waste.
Remove Carpet, Staples, and Tack Strips
Start by cutting the carpet into manageable strips, rolling it tight, and hauling out the padding so you don’t pay extra in time or disposal fees.
Next, yank every staple and pull up tack strips with a pry bar and end nippers to prevent sanding damage that can cost you in repairs.
Take this step slowly and thoroughly—clean subfloor edges and staple-free boards to protect your finish and boost your ROI.
Carpet Removal Steps
Before you spend money on sanding and refinishing, strip the carpet the right way so you don’t pay later for gouges, broken boards, or missed fasteners. Clear the room, then cut the carpet into 3-foot strips with a utility knife (blade up, along the backing) so you can roll and bag it fast.
Wear gloves, eye protection, and a respirator; old padding holds dust that drives up cleanup time and costs. Pull padding in sections and bag it separately to keep debris off the wood.
Use a floor scraper lightly to lift stuck foam without digging into the boards. Vacuum as you go so you can spot stains and damage early and decide whether carpet alternatives or other flooring options make better financial sense.
Pull Staples And Strips
Where do most refinishing budgets get blown—after the carpet’s gone, when hidden staples and tack strips tear up your sander and your boards? Spend an extra hour now and you’ll save blades, belts, and repair labor later.
Start at doorways and walls. Use end-cutting nippers for staple removal; rock them side to side and pull straight up to avoid gouges. If staples snap, drive the legs below the surface with a nail set so they won’t spark or shred sandpaper.
For strip pulling, slide a flat bar under tack strips, protect the floor with a thin scrap, and pry in short lifts. Bag debris as you go to prevent stepped-on punctures and missed metal.
Run a magnet and a bright raking light sweep before sanding.
Repair Squeaks, Gaps, and Damaged Boards
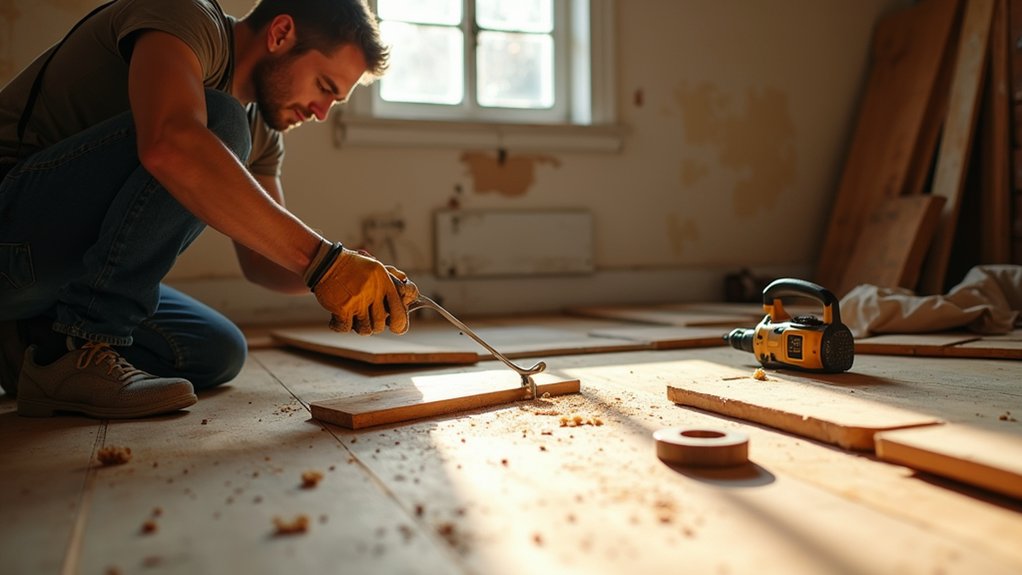
A few targeted repairs can eliminate most hardwood-floor annoyances—squeaks, widening gaps, and a beat-up board—without paying for a full refinish.
Start with squeak diagnosis: walk slowly, mark noisy spots, then drive trim screws through the subfloor into joists from below, or use a breakaway floor-screw kit from above. Add a dusting of powdered graphite at tight seams to cut friction cheaply.
For gap filling, don’t waste money on rigid wood filler that’ll crack with seasons. Use matching rope filler for wide gaps, or flexible latex/urethane filler for hairline seams, and wipe clean fast.
For damaged boards, swap only the worst pieces: cut along the centerline, pry out, slide in a prefinished match, and face-nail near edges.
Sand Original Hardwood Floors Safely and Evenly
Once you’ve quieted squeaks, tightened gaps, and replaced the worst boards, sanding becomes the step that makes those repairs disappear and sets you up for a finish that lasts. Rent a drum sander and edging sander for a weekend to keep costs down, and buy quality paper—you’ll waste less time and get flatter results.
Start with the least aggressive grit that cuts old coating, then step up in even passes with the grain. Keep the sander moving so you don’t gouge, and overlap each run to avoid stripes. Vacuum between grits and hand-sand corners to match.
Prioritize dust control: seal doorways, run a HEPA vac, and empty bags outdoors. Clean, level floor sanding reduces rework and protects your investment.
Pick a Stain and Finish for Your Traffic
Because your finish takes the daily hits, match your stain and topcoat to the room’s traffic before you spend money on products you’ll redo in a year. For low-traffic bedrooms, you can choose wider color options—natural, light oak, or warm amber—and spend less on premium abrasion resistance.
In busy hallways, kitchens, and entryways, prioritize durability and easy cleaning over trendy tones; darker stains show dust and scratches faster, which can raise maintenance costs.
Compare finish types by lifetime cost. Water-based polyurethane dries clear and keeps wood bright, often boosting resale appeal. Oil-based polyurethane runs cheaper per gallon but ambers and can highlight wear.
For rentals, pick a mid-tone stain plus a tough poly to reduce touch-ups.
Apply Finish and Let Hardwood Floors Cure
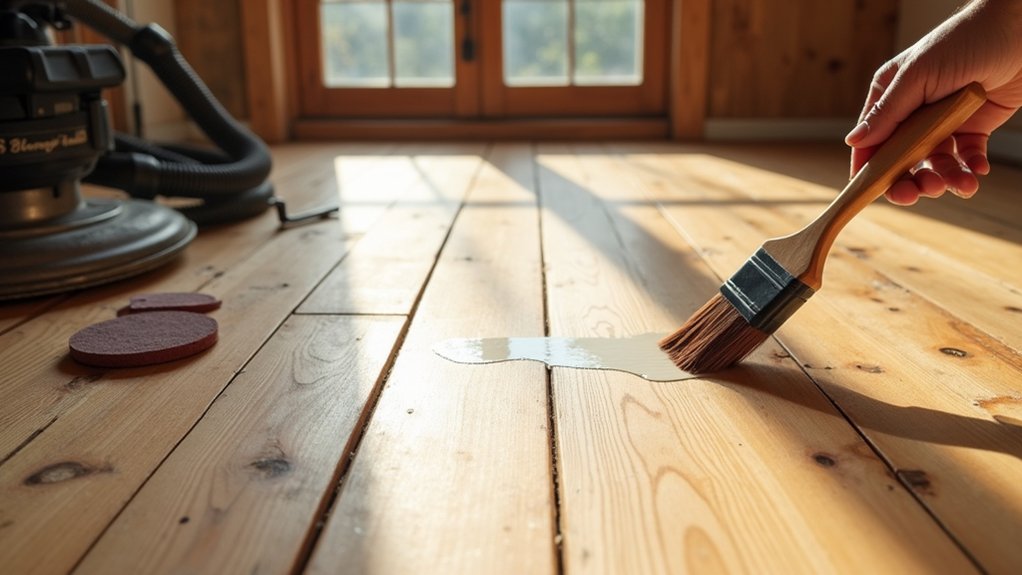
If you want your refinishing budget to pay off for years, apply your finish in thin, even coats and stick to the manufacturer’s spread rate, dry time, and recoat window—cutting corners here wastes product and locks in defects you’ll have to sand out later.
Use a clean T-bar or pad applicator, keep a wet edge, and shut off HVAC fans that kick up dust.
Plan on applying multiple coats; two to three saves money long-term by boosting wear resistance and delaying the next refinish.
Lightly abrade between coats if the label requires it, then vacuum and tack to avoid grit pimples.
After the final coat, respect curing time: walk in socks only, avoid rugs, and delay furniture for the full cure so you don’t trap dents or adhesion failures.
Frequently Asked Questions
How Do I Identify My Floor’s Wood Species and Age?
Like checking a VHS label, you’ll ID species by Wood grain patterns, color, and pores, then use Age determination methods: nail type, board width, saw marks, and finish layers. You’ll confirm cheaply with photos or labs.
Can Restored Hardwood Increase Home Value or Appraisal Outcomes?
Yes, restored hardwood can boost appraisal and resale value because buyers pay more for move-in-ready finishes. Choose neutral Floor color and durable Refinishing techniques to reduce future costs and maximize ROI on upgrades.
Do I Need Permits or HOA Approval for Hardwood Restoration?
You usually don’t need permits for refinishing, but Permit requirements can apply if you alter subfloors or structure. Check your HOA approval rules first to avoid fines, delays, and costly rework that hurts ROI.
How Do I Reduce Dust Spreading Through HVAC During Restoration?
Seal your vents like plugging leaks in a boat: cover registers, shut HVAC, and run a cheap box fan with Air filtration. Hang plastic Dust barriers, vacuum with HEPA, and change filters—protecting ROI fast.
What Maintenance Schedule Keeps Restored Floors Looking New Longest?
You’ll keep floors looking new by sweeping daily, damp-mopping weekly, and using felt pads. Recoat every 2–3 years, refinish 7–10. Choose durable Floor finish options; avoid frequent Hardwood staining techniques to maximize ROI.