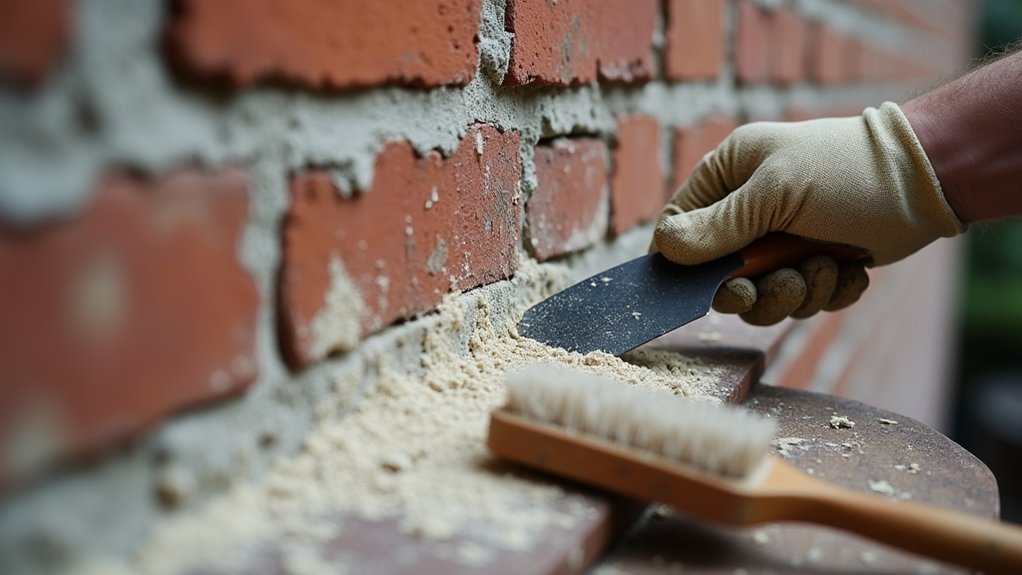

You can save a historic wall with the right mortar, or ruin it with the wrong one. If you repoint with cement, you’ll trap moisture, force bricks to take the damage, and pay for spalling later. Lime mortar costs more time up front, but it moves, breathes, and protects the masonry you can’t easily replace. Before you mix anything, you need to spot failing joints and match the original lime and sand, or the repair won’t last…
Key Takeaways
- Use lime mortar on historic brick; it’s softer and more vapor-permeable than cement, reducing trapped moisture, spalling, and freeze-thaw damage.
- Repoint when joints are recessed, powdery, missing, easily scraped out, cracked along joints, or causing damp patches, efflorescence, or brick edge spalling.
- Match the original mortar by identifying lime type and closely matching sand color and grain size; test small batches before full repointing.
- Rake out to sound mortar 2–2.5× joint width deep, using gentle tools to avoid chipping soft brick edges.
- Pack mortar in 10–12 mm compacted lifts, finish slightly recessed, then cure slowly by misting and covering 3–7 days, protecting from sun and frost.
Why Lime Mortar (Not Cement) Suits Historic Brick
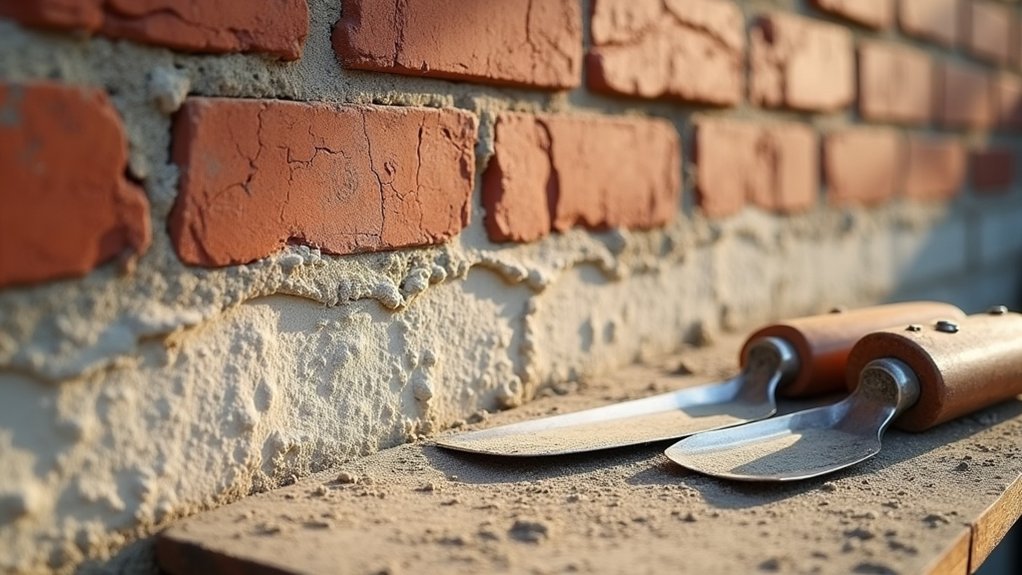
Why does lime mortar make such a difference on historic brick? You’re matching the wall’s original “sacrificial” material. Lime mortar stays softer and more vapor-permeable than cement, so moisture escapes through the joint instead of forcing spalling and cracks in the brick. That protects the expensive part of the assembly—the masonry units—so your repointing budget buys long-term durability, not repeat repairs.
Cement-rich mixes, common in Modern construction, often trap water and create hard edges that concentrate stress during freeze-thaw cycles. Lime also accommodates subtle movement, reducing failure at corners and openings.
For Historical preservation, you’ll also keep authentic appearance: finer joints, compatible color, and gentle tooling. Choose lime to lower risk and extend service life.
Signs Your Lime Mortar Joints Need Repointing
Even if your brickwork still looks solid from the street, worn lime joints can quietly let water and salts into the wall, turning a low-cost maintenance job into expensive brick replacement.
Check for joints that look recessed, powdery, or missing in spots; if you can scrape mortar out with a key, it’s failing.
Watch for hairline cracking that follows the joint line, not the brick, and for damp patches after rain that linger longer than surrounding areas.
White crusty deposits (efflorescence) signal salts moving through the wall, a red flag for Historical preservation.
Spalling faces, soft brick edges, and interior plaster bubbling indicate moisture cycling behind the masonry.
If joints stay wet in shade or near gutters, you’re already losing ROI and Building conservation performance fast.
Choose a Matching Lime Mortar: Lime, Sand, Ratio
Before you repoint, match the original mortar as closely as you can—because the wrong lime type, sand grading, or mix ratio won’t just look off, it can trap moisture, accelerate brick decay, and force an early do-over.
Start by identifying the binder: putty lime (non-hydraulic) versus NHL; older, softer brick usually benefits from weaker, more breathable lime.
Then match the sand: color, grain size, and angularity drive both appearance and strength, so source a similar local sand or blend grades.
Your Lime mortar composition should mimic the original: mostly sand with enough lime to coat grains, not fill voids.
Use conservative Mortar mixing ratios (often 1:2.5–3 lime:sand by volume) and adjust only after small test batches.
Repoint Lime Mortar Step by Step: Rake, Pack, Cure
Once you’ve matched a compatible mix, repointing comes down to three profit-saving basics: rake out to sound mortar without damaging arrises, pack new lime firmly in thin lifts so it bonds to the joint walls, and cure it slowly so it carbonates instead of crumbling.
Rake joints 2–2.5x their width, using hand tools near soft brick to avoid spalls that trigger costly replacements.
During mortar mixing, keep batches small and consistent; dry-mix sand and lime first, then add water to a stiff, workable finish.
Apply smart Trowel techniques: dampen the joint, press mortar hard to the back, then add 10–12 mm lifts, compacting each pass to kill voids.
Finish slightly recessed, brush when thumbprint-hard.
Protect from sun, wind, and frost; mist and cover for 3–7 days.
Frequently Asked Questions
How Much Does Professional Repointing With Lime Mortar Typically Cost per Square Metre?
You’ll typically pay £60–£150 per m² for professional lime-mortar repointing, depending on access and joint depth. Prioritise proper lime mortar mixing and historic preservation techniques to avoid cracks, water ingress, and costly redo.
Do I Need Planning Permission or Heritage Approval Before Repointing a Listed Building?
Yes—you’ll usually need consent before repointing a listed building. Like stepping onto thin ice, check Heritage regulations and secure Conservation approvals early, or you’ll risk enforcement, delays, fines, and wasted spend—protecting your investment returns.
What Tools and Safety Gear Are Essential for DIY Lime Mortar Repointing?
You’ll need plugging chisel, mortar rake, hawk, pointing trowels, stiff brushes, spray bottle, buckets, and mixer. Wear goggles, P3 respirator, gloves, knee pads. Use proper Repointing techniques; handle Lime mortar ingredients carefully to avoid failures.
Can Repointing Be Done in Winter, and What Temperature Limits Apply?
Yes, you can repoint in winter—but only if you control conditions. Follow temperature guidelines: keep mortar, bricks, and air above 5°C and below 30°C, protect from freezing 7 days, or you’ll waste money.
How Long Should Newly Repointed Lime Mortar Joints Last Before Needing Maintenance?
You can expect properly repointed lime joints to last 25–60 years; Lime mortar durability depends on exposure and detailing. Plan Maintenance frequency checks every 2–5 years, and budget touch-ups at first cracks to avoid costly water damage.