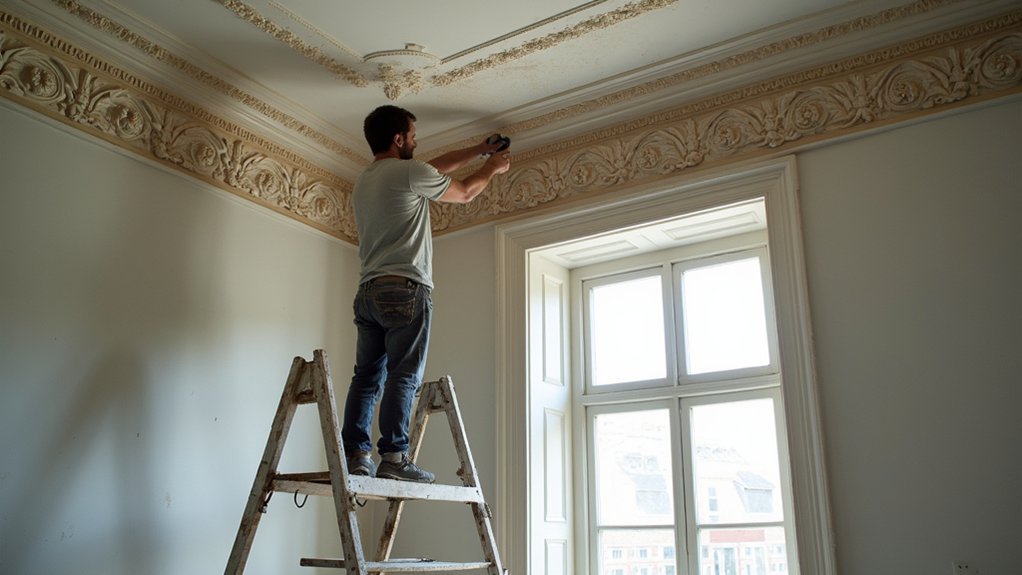

In many period homes, up to 70% of visible interior value sits in original trims like plaster cornicing. If you repair it right, you avoid the cost of full replacement and protect resale appeal. You start by spotting what moved, what’s hollow, and what’s missing, then you choose fixes that won’t telegraph cracks later. The real savings show up when you decide whether to patch, run, or cast new sections…
Key Takeaways
- Survey cracks, staining, and missing runs; document profiles, past repairs, and room conditions to pinpoint causes and avoid false reconstruction.
- Test adhesion by tapping and gentle pressure; mark and measure cracks under raking light to confirm active movement before repairing.
- Stabilize loose cornice with stainless screws and plaster washers into joists or masonry; inject compatible adhesive into voids and prop until cured.
- Repair cracks by chasing to a clean V, misting, taping with scrim, and applying thin setting-plaster coats; prime to prevent ghost lines.
- Recreate missing sections by cutting back to sound plaster, rebuilding in thin lifts using templates, and matching mitres and details; seal for even paint.
Assess Plaster Cornice Damage and Causes
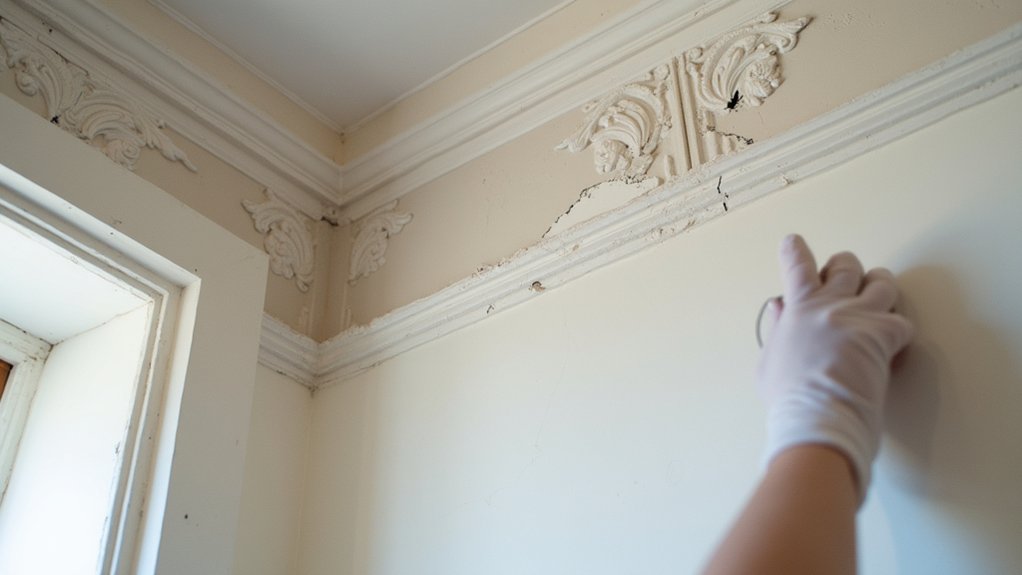
Before you price materials or book a plasterer, you need to pinpoint exactly what’s failed in the cornice—and why—because the cause drives the cheapest durable fix. Start with a close visual survey: hairline cracks, stepped cracks at joints, staining, and missing runs each signal different risks and costs. Note room conditions and any recent movement, leaks, or heating changes that can turn a cosmetic patch into a repeat call-out.
Build Historical context: date the profile, prior repairs, and paint build-up so you don’t waste money recreating details that never existed.
Follow with Material analysis: identify lime vs gypsum, lath vs masonry backing, and any fibrous reinforcement. Check adhesion by gentle tapping for hollow sounds, and map damage zones so you can price targeted work, not full replacement.
Secure Loose Plaster Cornice Before Repairs
Before you spend on patching or recasting, you’ve got to confirm the cornice isn’t still moving by checking for active cracks and any flex along the run.
Then you stabilize it with the right mix of mechanical fixings and a compatible adhesive, so you’re not paying twice for repairs that fail.
Locking everything solid now protects your finish work and delivers the best ROI on the rest of the restoration.
Assess Movement And Cracks
Although cracks in a plaster cornice can look purely cosmetic, you’ll save money (and avoid repeat call-outs) by checking for movement and securing anything loose first, because filler and paint won’t last on a shifting moulding.
Start with a close visual survey under raking light and mark every crack, gap, and stain so you can track changes later.
Press gently along the run; if it flexes, sounds hollow, or sheds dust, treat it as loose.
Check corners, joints, and returns where shrinkage shows first.
Measure crack width, note direction, and look for stepped patterns that suggest background movement.
Confirm Historical authenticity by matching profiles and noting earlier repairs.
Prioritise Material compatibility by identifying lime versus gypsum before any intervention.
Photograph everything.
Fixings And Adhesive Stabilization
Once you’ve confirmed the cornice is moving, lock it back to a sound background with the least invasive fixings and a compatible adhesive, because every hour spent stabilising now saves you re-filling, re-sanding, and repainting later.
Start by locating joists or solid masonry, then pre-drill and use stainless screws with plaster washers, tightening just enough to pull the run true without crushing detail.
Inject a lime-based or gypsum-compatible adhesive behind voids using a syringe; don’t rely on grab adhesives that can shrink or stain. Clamp with temporary props while it cures.
Wipe squeeze-out immediately to avoid extra prep. This mix of Historical restoration principles and modern techniques gives you durable bonding, fewer call-backs, and a cleaner finish with less labour on patching.
Fix Plaster Cornice Cracks (No Ghost Lines)
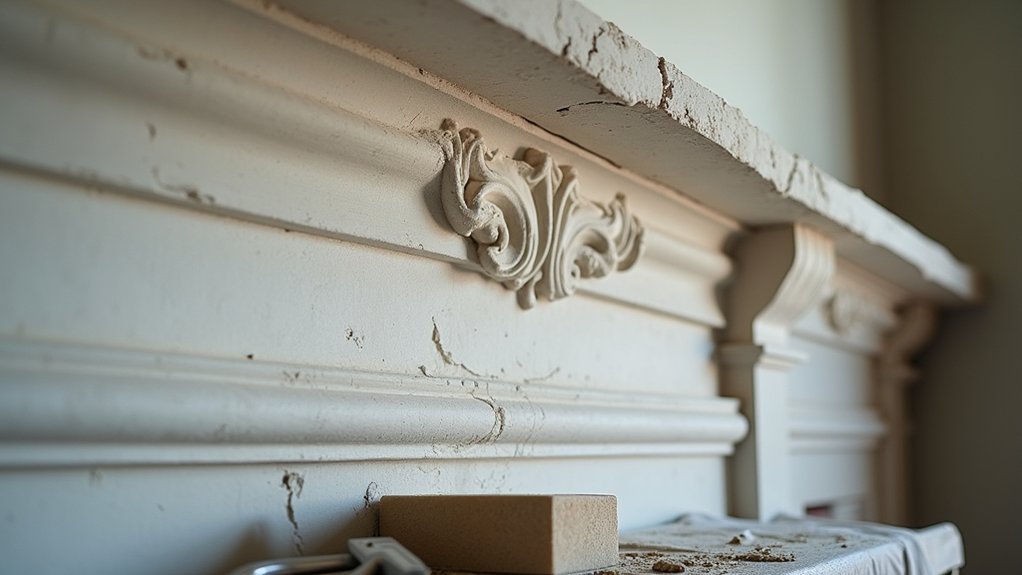
Even if a cornice crack looks like a quick fill-and-sand job, you’ll waste time and money if you don’t stop “ghost lines” from reappearing through the paint. Start by chasing the crack to a clean V, vacuuming dust, and misting lightly so plaster doesn’t flash-dry.
Bed a fine fiberglass scrim or paper tape over the line, then knife in a setting-type plaster/compound in thin coats, feathering wide to reduce future telegraphing. Let each coat cure fully, then sand minimally to avoid soft edges.
Prime with a stain-blocking, high-build primer before topcoat to lock down porosity differences. This approach protects Historical significance through Material preservation, and it’s cheaper than repeat call-backs and repaint cycles.
Replace Missing Cornice Detail (Runs & Ornament)
When a section of cornice profile or ornament goes missing, you’ll get a better ROI by rebuilding the exact run and detail instead of patching it flat and repainting every time the loss catches light.
Start by mapping the missing length, checking mitres, and marking reference lines so the new work lands true and doesn’t telegraph at joints. Cut back to sound plaster, square the edges, and remove loose keys so you’re not bonding to failure.
Pre-wet, then build in thin lifts, using straightedges and templates to keep the run crisp and consistent.
For ornament, reset any salvageable fragments, then pack and carve to match adjacent repeats.
Prime and seal so Decorative moldings take paint evenly, and you preserve historical accuracy without ongoing touch-ups.
Make a Matching Mould From the Original Profile
Because the finished repair is only as good as the profile you run, you’ll get the best ROI by making a matching mould straight from the original cornice rather than guessing the curves by eye. Pick the cleanest, least-damaged section and expose the full edge line, then seal loose dust so you don’t copy defects.
Take a careful profile trace with card or thin plastic, transfer it to zinc or plywood, and cut a running template that matches every bead, fillet, and hollow. Check the template against the cornice in several spots to catch shrinkage, paint build-up, or previous “repairs.”
Build a simple stock and fence so the template tracks consistently. This repeatable setup protects Historical authenticity and reduces rework by ensuring Material compatibility with existing plaster geometry.
Cast New Plaster Cornice Lengths and Fit Them
Once your running mould fits the original profile, you can cast fresh cornice lengths that drop into place with minimal trimming and zero guesswork. Set up a straight casting bench, wax it, and fix screeds so every pull stays true.
For Material selection, match the building’s original: lime-rich for older fabric, gypsum for later work, and use hessian or glassfibre only where spans demand it. That keeps costs predictable and protects Historical authenticity, which preserves resale value and avoids conservation rework.
Cast in manageable lengths you can lift solo, then pre-cut mitres and mark reference lines on wall and ceiling. Butter the back with fresh plaster adhesive, press into place, and pin temporarily with nails or screws into plugs. Scrape excess, check alignment, and move on.
Feather, Prime, and Paint for a Seamless Finish
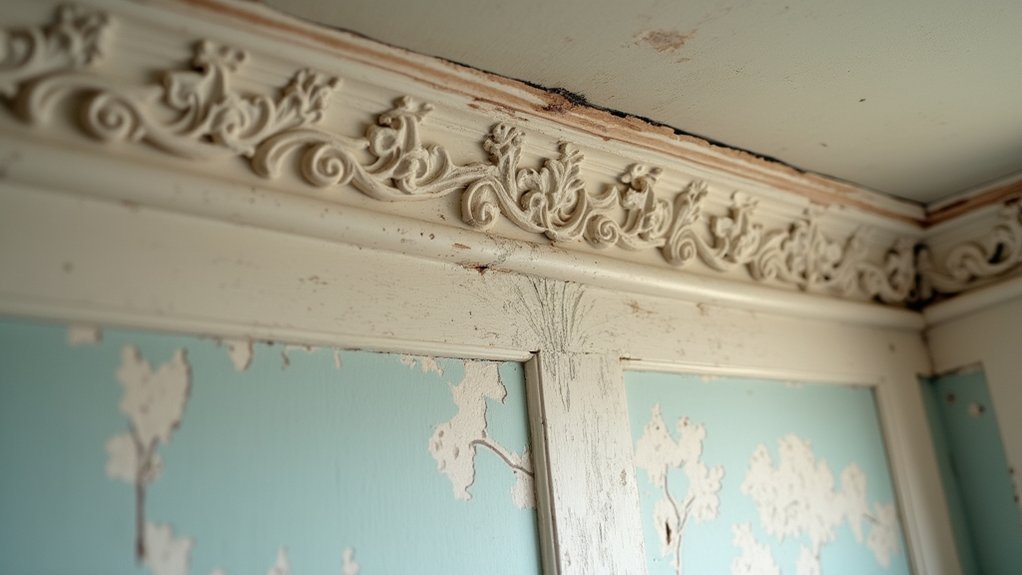
Your new cornice lengths are up and aligned, so the job now shifts from fixing to finishing—this is where you lock in the “original” look and protect your time investment. Feather every joint with fine plaster or setting compound, pulling wide and thin so you don’t waste time sanding ridges later. Use raking light to spot highs and pinholes, then spot-fill once, not three times.
Next, prime the entire run with a plaster-friendly sealer to equalize suction; skipping this causes flashing that screams “patch” and forces repainting.
For Color matching, sample the existing ceiling and cornice under the same lighting and sheen. Choose breathable paints and keep profiles crisp by cutting in carefully. These steps buy historical accuracy and reduce callbacks, touch-ups, and rework costs.
Frequently Asked Questions
How Much Does Professional Plaster Cornice Restoration Typically Cost per Metre?
You’ll typically pay £80–£250 per metre for professional plaster cornice restoration, depending on damage, access, and profile complexity. Prioritise Historical craftsmanship and Material preservation; you’ll boost resale value, cut future repairs, and minimise disruption.
Do I Need Listed-Building Consent to Repair or Replicate Historic Cornicing?
You’ll likely need listed-building consent for repairs or replicas that alter fabric; like-for-like often doesn’t—yet check first. Protect Historic preservation, avoid Building regulations issues, and prevent costly stop-notices. Early approval safeguards ROI and budgets.
What’s the Difference Between Plaster, Gypsum, and Polymer Cornice Materials?
Plaster (lime/plaster of Paris) gives best Historical accuracy but costs more and needs skilled labor; gypsum’s cheaper, stable, decent Material durability; polymer’s lowest cost, quick install, moisture-resistant, but less authentic, potentially lower ROI.
How Long Should New Plaster Cornice Cure Before Painting?
Sure, paint it tomorrow—if you enjoy paying twice. You should let new plaster cornice cure 7–14 days (longer if thick/damp) for ROI, preserving decorative motifs and historical accuracy, avoiding blistering.
Can Cornice Restoration Improve Acoustic Performance or Reduce Room Echo?
Yes, you can gain modest acoustic benefits: restored cornices break up reflections for echo reduction, but plaster offers little Sound absorption. You’ll get better ROI by pairing restoration with rugs, curtains, panels.