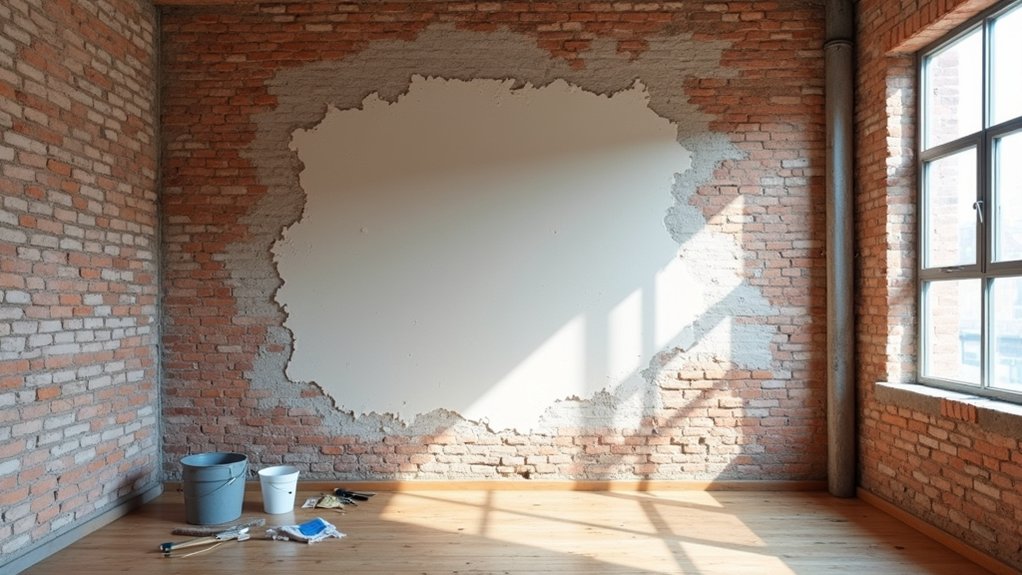

Before you start exposing brick, you need to know if it’s worth saving and what it’ll cost to do it right. You’ll check for soft bricks, crumbling mortar, salts, and damp spots that can ruin a finish fast. Then you’ll set up dust control, strip paint or plaster with minimal damage, and plan for cleaning, repointing, and sealing in the right order. Miss one step, and you’ll pay for it later…
Key Takeaways
- Inspect bricks and mortar for spalling, deep cracks, bulging, or loose joints; plan repointing if over 1/2 inch rakes out easily.
- Fix moisture sources first—leaks, ventilation, dehumidification—then let the wall dry fully to prevent efflorescence and future damage.
- Prep the workspace: clear and cover furniture, mask trim and floors, set cross-ventilation, and wear an N95, goggles, and gloves.
- Remove plaster or paint gently using light scraping, misting, and low-odor strippers; control dust with misting, sealing, and vacuuming joints.
- Seal only after repairs cure 7–14 days: spot-test, apply two thin coats with sprayer or roller, back-roll, and ventilate through drying.
Check If Your Exposed Brick Wall Is Restorable
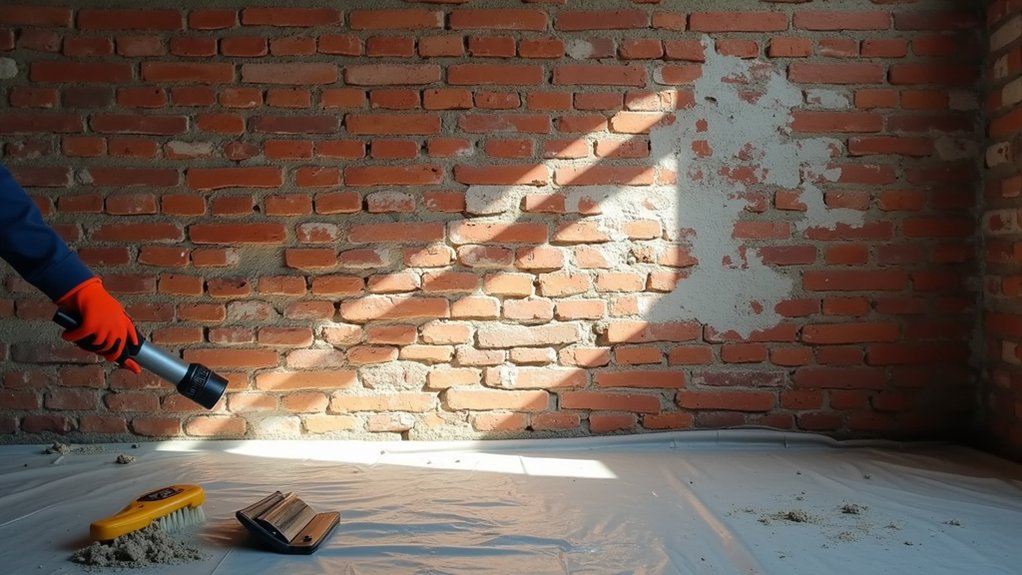
Before you spend money on cleaning, repointing, or sealing, you need to verify the brick and mortar are still structurally sound and worth saving. Start with a close visual check: widespread spalling, deep cracking, bulging courses, or bricks that crumble under light pressure usually signal costly failure, not a weekend fix.
Probe mortar joints with a screwdriver; if you can rake out more than 1/2 inch easily, plan for repointing. But if bricks themselves are soft, replacement may be unavoidable.
Look for persistent white efflorescence or damp staining that indicates active moisture driving damage.
To protect Historical authenticity, identify the brick era and original joint profile. Then confirm Material compatibility by matching mortar strength and permeability to the existing masonry.
Prep the Room and Wear the Right Protection
Before you start restoring exposed brick, clear the room and cover floors, trim, and nearby furniture with plastic and painter’s tape so dust doesn’t ruin finished surfaces (and you don’t pay for extra cleanup).
Set up ventilation with a box fan in a window and a second opening for fresh air to keep airborne grit moving out.
Wear proper safety gear—N95 or better respirator, sealed goggles, gloves, and hearing protection—so you can work faster without risking injury.
Clear And Cover Surfaces
Since brick cleaning throws off gritty dust and alkaline splatter, you’ll get better results (and avoid costly damage) by clearing the area and covering anything you can’t move.
Start with surface preparation: remove artwork, shelves, rugs, and electronics, and pull furniture at least 6 feet back. Bag soft goods so dust won’t grind in and force expensive laundering or replacement.
For material selection, use heavy canvas drop cloths on floors for traction and reusability, then tape 6-mil plastic over baseboards, trim, outlets, and nearby finished walls. Seal seams with painter’s tape, not duct tape, to prevent residue and repainting.
Wrap light fixtures and hardware, and cap floor registers if they’re in the work zone. Keep a trash bag and wipes handy so splatter doesn’t set.
Set Up Ventilation
How well can you control the dust and fumes once the brick work starts? You can’t fix it later, so set ventilation before you mix mortar or scrub.
Create a simple cross-breeze: place a box fan in a window blowing out, then open a second window or door on the opposite side for make-up air. For airflow optimization, crack adjacent interior doors to guide air toward the exhaust fan, not through the rest of the house.
Seal gaps around the fan with cardboard and painter’s tape so you don’t short-circuit the flow. If you’ve got HVAC returns nearby, close or cover them to keep dust out of ducts.
Do ventilation maintenance: replace clogged fan filters and clean blades daily.
Wear Proper Safety Gear
Once you start cutting, scraping, or mixing mortar, the dust load spikes fast, so suit up and prep the room like you mean it. Tape plastic over doorways, cover returns, and lay cheap rosin paper or drop cloths to save floors and cut cleanup time.
For personal safety, wear a P100 or N95 respirator (not a paper mask), sealed safety goggles, and snug work gloves. Add hearing protection if you’re grinding, and use knee pads to stay efficient on long runs. Put on long sleeves and a hat so grit doesn’t itch or contaminate clean spaces.
Keep a spray bottle handy to mist surfaces and reduce airborne dust. Choose durable protective gear once; it’s cheaper than replacing filters, clothes, or dealing with injuries.
Strip Plaster or Paint Without Harming Brick
You’ll get the best finish by removing plaster with the least aggressive tools first—scrapers, small chisels, and light tapping—so you don’t chip faces or gouge mortar.
When you strip paint, you’ll save time and repair costs by using brick-safe methods like low-odor gel strippers, controlled low-heat, and gentle brushing instead of hard grinding or harsh acids.
Work in small test patches, watch how the brick responds, and scale up only when you’re getting clean results without surface damage.
Gentle Plaster Removal Methods
Although it’s tempting to attack old plaster or paint with a rotary grinder, gentler removal methods protect the brick face and keep repair costs down. Start by scoring plaster edges with a utility knife, then use a wide putty knife and a small cold chisel to lift sections in thin layers. Keep the blade nearly flat so you shear the bond instead of gouging the brick.
Mist the surface to soften lime-based plaster and reduce dust, but don’t soak the wall.
Work in test patches, documenting what releases cleanly for historic preservation. If adhesion is stubborn, try heat from an infrared heater to loosen finishes before scraping.
Reserve chemical alternatives for targeted spots only, and neutralize residue promptly.
Finish by vacuuming joints to prep for repointing.
Brick-Safe Paint Stripping Techniques
When painted brick needs to breathe again, strip it with methods that lift the coating while leaving the fired face and mortar intact. Start with a test patch so you don’t pay for full-wall mistakes. Choose low-odor Chemical solvents labeled masonry-safe; brush on, wait the dwell time, then lift softened paint with a plastic scraper and stiff nylon brush. Rinse with minimal water and wet-vac residue to prevent efflorescence.
For thicker layers, use Heat gun techniques on low to medium settings, keeping the nozzle moving to avoid spalling or scorching mortar. Scrape as paint blisters, then switch to a brass brush for joints. Skip aggressive grinders and high-pressure washing—they’ll erode the brick’s skin. Finish by neutralizing per product instructions and letting the wall dry fully.
Clean Exposed Brick (and Fix Moisture Signs)
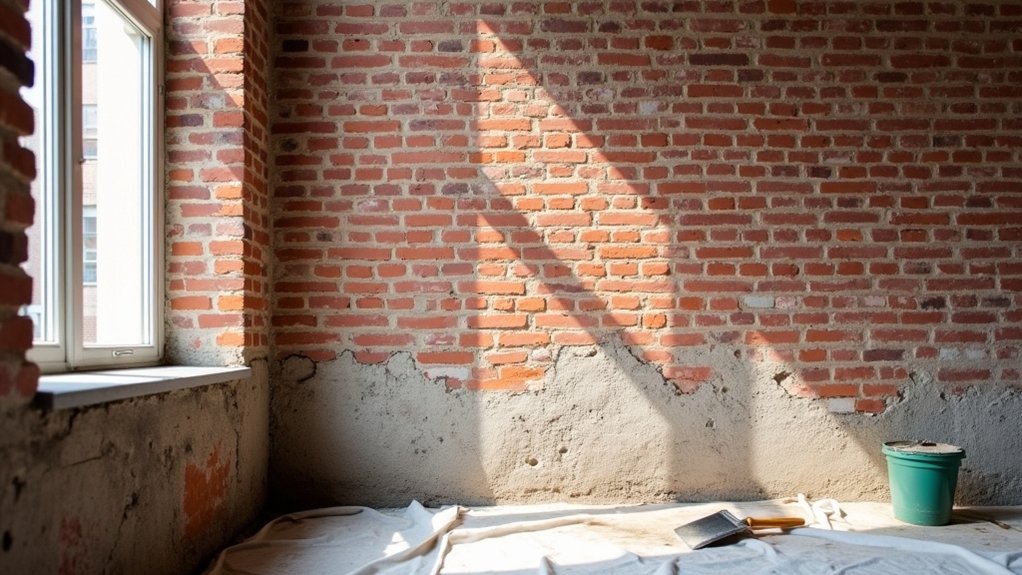
Before you scrub a single brick, tackle moisture and grime as a linked problem, because cleaning without fixing the source can trap salts, deepen staining, and waste money. Start by identifying dampness: look for efflorescence, dark patches, musty odor, or peeling finish.
Check obvious culprits—leaky plumbing, window gaps, roof flashing, or poor ventilation—and stop the water first with targeted repairs and a dehumidifier. Let the wall dry fully before brick cleaning.
Dry-brush with a stiff nylon brush and vacuum dust. Then wash with warm water plus a small amount of pH-neutral cleaner; use a sponge, not a wire brush. Rinse lightly and blot dry to avoid soaking.
For persistent salts, repeat gentle cycles after moisture fixing, never acid indoors.
Repoint Mortar and Patch Damaged Bricks
A sound mortar joint does more for an exposed brick wall than any cleaner or sealer because it locks bricks in place and blocks moisture pathways.
Start by raking out loose, dusty joints 3/4 inch deep with a joint raker or oscillating tool, then vacuum thoroughly. Mist the joints so new mortar bonds instead of flash-drying.
For mortar matching, test color and sand texture in a small spot; using the wrong mix wastes time and risks cracking. Pack mortar tightly with a pointing trowel, strike the profile to match existing joints, and brush lightly once it firms up.
For spalled bricks, chip back to solid material, butter on repair mortar, and tool edges clean. Replace shattered units and add Brick reinforcement with helical ties if movement shows.
Seal Exposed Brick so It Won’t Dust or Stain
Even if your mortar work is perfect, unsealed brick can still shed fine dust and soak up spills that turn into permanent-looking stains.
For Dust prevention, start by vacuuming with a brush attachment, then wipe with a barely damp microfiber cloth and let the wall dry overnight.
Choose Brick sealing based on sheen and breathability: a penetrating silane/siloxane sealer keeps a natural look and helps moisture escape, while a water-based acrylic adds slight sheen and more wipeability.
Buy a small test size first and spot-test for darkening.
Mask trim and floors, then apply two thin coats with a pump sprayer or 3/8″ nap roller, back-rolling to avoid drips.
Don’t seal until repairs cure 7–14 days.
Frequently Asked Questions
Do I Need a Building Permit to Expose Original Brick in My Home?
You might need a permit if you’re removing load-bearing plaster, altering fire ratings, or in a Historical preservation zone. Call your local building office first; it’s cheap. For Aesthetic enhancement, follow code, document work.
How Much Does Professional Brick Restoration Typically Cost per Square Foot?
Brace yourself—you could pay $8–$30 per sq ft, and neglected Historical preservation can skyrocket higher. You’ll save by bundling cleaning, repointing, and Brick sealing techniques, prioritizing durable results over cosmetic quick fixes.
Will Exposing Brick Reduce My Wall’s Insulation or Increase Energy Bills?
Yes—exposing brick can reduce your wall’s thermal insulation and raise energy bills if you remove interior plaster or air barriers. You’ll protect energy efficiency by adding insulation, sealing gaps, and using a vapor-safe finish.
How Can I Soundproof a Room With Exposed Brick Walls?
Treat exposed brick like a leaky boat: you’ll plug gaps fast. Add Acoustic panels on furring strips, hang Soundproof curtains over windows, seal cracks with acoustic caulk, and lay thick rugs for results.
What Are the Best Ways to Hang Shelves or TVS on Exposed Brick?
Use a hammer drill and masonry bit, then set wall anchors sized for your load; lag into mortar when possible. Choose decorative brackets for extra support. Rent tools, measure twice, and spread weight across studs.