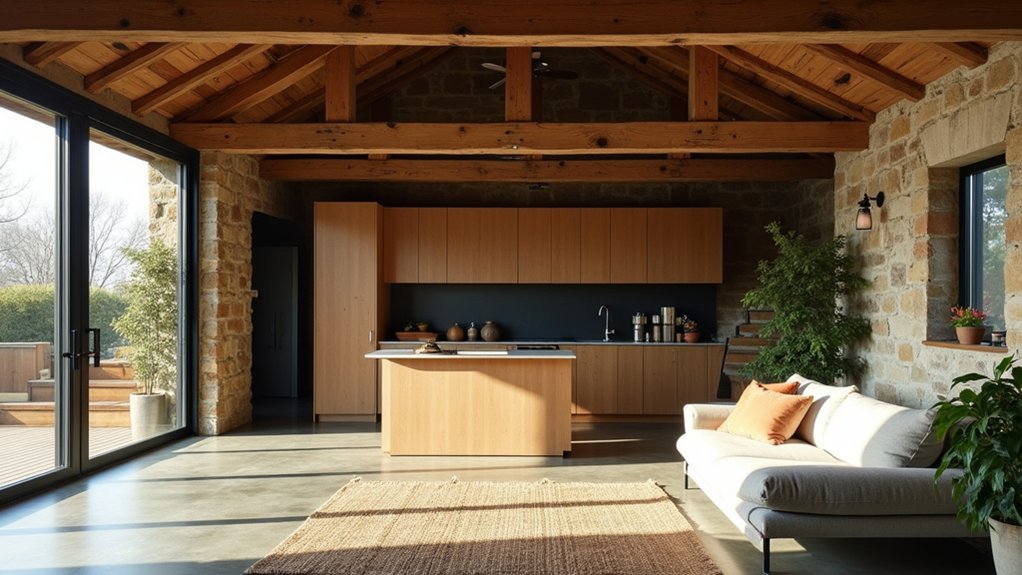

You can turn a drafty, hay-scented barn into a comfortable home without erasing what makes it special. You start by confirming zoning, structural loads, and fire egress, because one failed inspection can wipe out your budget fast. Then you plan the layout around natural light, efficient insulation, and a simple HVAC strategy that won’t cost a fortune to run. The tricky part is deciding what to keep, what to replace, and where the money actually pays back…
Key Takeaways
- Confirm zoning, permits, and code triggers for egress, fire separation, alarms, and accessibility before designing the conversion.
- Hire a structural engineer to assess foundation, posts, trusses, rot, and required bracing to safely support living loads.
- Budget early for utilities: electrical service, septic or sewer capacity, well yield, and emergency vehicle driveway access.
- Weatherproof and insulate with continuous air sealing, correct flashing, and climate-appropriate insulation to prevent drafts and moisture damage.
- Plan an efficient layout with clustered wet rooms, optimized ceiling height and views, and layered lighting that highlights original beams and textures.
Is Your Barn Conversion Feasible and Code-Legal?
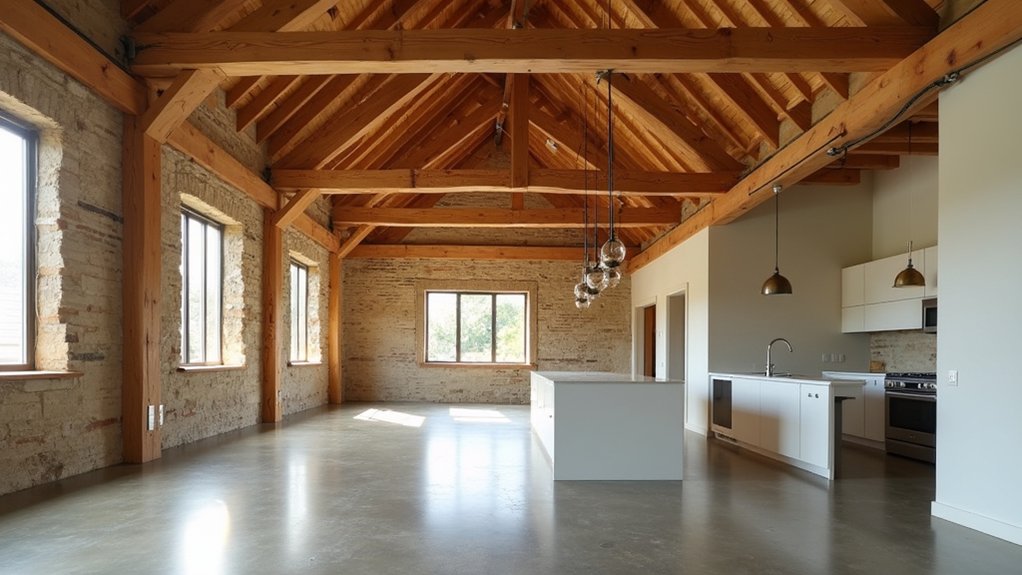
Before you fall in love with floor plans and finishes, confirm your barn can legally and economically become a home. Start at the planning counter: verify zoning, permitted use, setbacks, and whether you’ll need a change-of-occupancy or conditional-use permit.
Ask what triggers full code compliance, including fire separation, egress, stairs, smoke/CO alarms, and accessibility.
Hire a structural engineer to assess foundations, posts, trusses, and rot so you don’t sink money into hidden failure.
Price utilities early: septic capacity, well yield, electrical service, and driveway access for emergency vehicles.
If Historical preservation applies, confirm review boards, material limits, and tax-credit eligibility.
Add Wildlife considerations: bats, birds, and wetlands can require surveys and timing restrictions that affect cost and schedule.
Budget and Plan the Barn Conversion Layout and Light
Once you’ve confirmed the barn can be converted legally and structurally, put your money where it adds daily value: a layout that works with the shell and a lighting plan that doesn’t fight the building’s shape.
Map “wet” rooms close together to shorten runs and reduce labor, then place living areas where ceiling height and views feel best.
Plan interior lighting early: use layered circuits, wall-washers for rough boards, and task lights where you’ll cook, read, and work.
Price fixtures by lumen output and efficiency, not looks alone, and reserve a small line item for dimmers.
Let furniture selection drive clearances—sofas, table sizes, and bed placement—before you finalize outlet locations.
You’ll avoid costly rewiring, prevent awkward traffic flow, and get a space that feels intentional without overspending.
Weatherproof the Barn Conversion: Structure, Insulation, HVAC
If you don’t weatherproof early, you’ll pay for it later in rot repair, high utility bills, and HVAC that never feels comfortable. Start by verifying the frame: replace punky sill plates, sister compromised posts, and add shear bracing where wind loads demand it.
Seal the shell next—new flashing at doors, windows, and roof-to-wall transitions, plus a continuous air barrier to stop drafts.
Insulate to code and climate: spray foam for irregular bays, dense-pack cellulose for cost control, and rigid foam to break thermal bridges.
Don’t skip vapor management; one wrong layer can trap moisture.
Size HVAC after air-sealing, then choose a heat pump with ERV for fresh air.
Plan Interior decor and Landscaping design around mechanical chases and condensate drainage routes.
Finish the Barn Conversion: Rustic Character and Outdoor Flow
Because the shell now holds heat, sheds water, and breathes in a controlled way, you can finish the barn with materials and layouts that keep its rustic character without wasting money on fussy details. Keep original beams, patch rather than replace boards, and seal them with durable matte finishes.
Use simple interior decor: a few built-ins, black hardware, and washable paint where hands touch. Spend on lighting and floors; save by choosing standard cabinets and off-the-shelf doors.
Plan an open core for flexibility, then use sliding doors or half walls to zone bedrooms and baths. For outdoor flow, place the main entry near parking and add wide doors to a patio.
Let outdoor landscaping handle the wow: gravel paths, native plantings, and a small fire area.
Frequently Asked Questions
How Long Does a Typical Barn Conversion Take From Start to Finish?
You’ll typically finish a barn conversion in 6–18 months, depending on permits and scope. Historic preservation reviews and structural reinforcement add time but protect value, reduce rework, and help you control long-term costs.
Do Barn Conversions Qualify for Special Mortgages, Grants, or Tax Incentives?
Like finding hidden cash in a coat pocket, you can sometimes secure special mortgages, grants, or tax incentives, especially through Historical preservation programs; check zoning regulations, lenders, and local authorities to maximize savings and value.
How Can I Manage Pests Like Bats, Rodents, or Termites During Conversion?
You’ll manage bats, rodents, and termites by scheduling inspections, sealing entry points, and treating wood early. Use Pest control and licensed Wildlife removal for protected species. You’ll save money by fixing moisture issues and maintaining monitoring.
What Insurance Coverage Changes When Converting a Barn Into a Home?
An ounce of prevention is worth a pound of cure: you’ll need Insurance adjustments from farm/outbuilding to homeowners, add builder’s risk during renovations, update dwelling limits, and address liability considerations for guests, contractors, and codes.
How Do I Address Soundproofing for Music Rooms or Home Offices in a Barn?
You’ll cut noise by adding Acoustic insulation in walls/ceiling, sealing gaps, and using double drywall with green glue. Install Soundproof barriers like resilient channels, solid-core doors, and heavy curtains; it’s cheaper than rebuilding later.