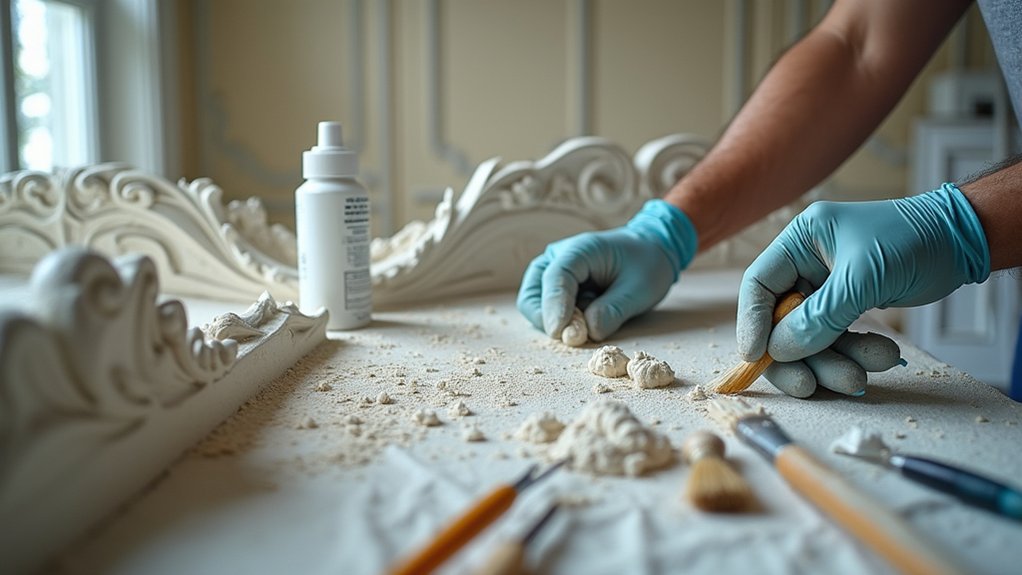

Where do we begin, talking about Restoring Classic Plaster Ceilings at home? Like an old ship’s hull, your plaster ceiling shows stress where time and moisture have pushed hardest. You start with a hard look for cracks, stains, and soft spots, then you decide if you’ll shore it up yourself or call in a pro. You lay out the right kit—washers, bonding agent, knife, hawk—and stabilize anything sagging before you patch. But the real test comes when you try to match that original texture and edge…
Key Takeaways
- Inspect with raking light and tap for hollow spots, sagging, and cracks; photograph ornate details and identify plaster type before disturbing anything.
- Fix root causes first: stop leaks, control humidity, and address movement or vibration to prevent recurring damage after repairs.
- Prep safely with PPE, stable ladder, and drop cloths; gather putty knife, mesh tape, plaster washers, bonding agent, and setting compound.
- Reattach loose plaster by drilling, vacuuming dust, injecting adhesive, and screwing plaster washers until flush; brace sagging sections and let cure overnight.
- Patch cracks and holes in thin lifts, match texture under raking light, then sand, clean, and prime with stain-blocker before repainting.
Inspect Plaster Ceiling Damage and Causes
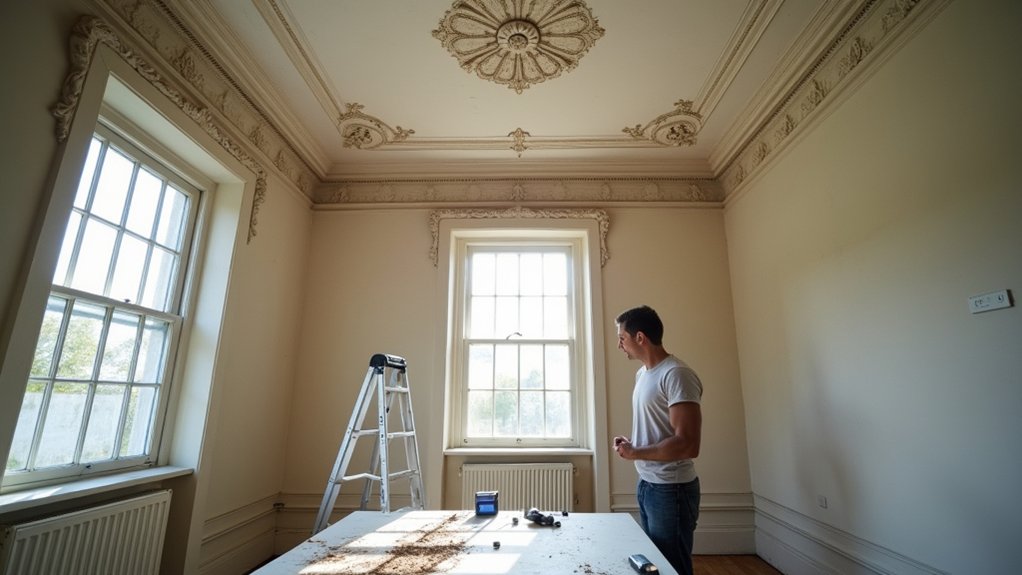
Before you haul out a ladder and start patching, take ten minutes to inspect the ceiling like you’d any jobsite surface: methodically and with good light. Set up a work light, grab a stiff putty knife, and tap in a grid to map hollow spots, delamination, and loose keys.
Mark cracks with painter’s tape and note whether they’re hairline, stepped, or widening at joists. Check for sagging between lath runs and for fastener pops that telegraph movement.
Identify plaster composition by age and feel—lime-rich coats stay softer, gypsum runs harder and chalkier—because failure patterns differ. Track causes: roof leaks, plumbing drips, humidity swings, vibration, or settling.
Photograph details, especially ornate historical styles, before you disturb edges.
Decide: DIY Plaster Repair or Hire a Pro
Size up the damage and complexity first: a few tight cracks or small loose spots are a weekend patch, but wide sagging, missing keys, or spreading stains raise the stakes.
Check your kit and conditions—ladder stability, mixing bucket, hawk and trowel, screws and washers, PPE—and be honest about the time and overhead work you can handle safely.
If you’re seeing structural movement, active leaks, heavy crumbly plaster, or any electrical hazards above the ceiling, you’re better off calling a pro.
Assess Damage And Complexity
Although hairline cracks and small chips can look alarming, you can quickly sort a classic plaster ceiling into “DIY” or “call a pro” by checking three things with simple tools: stability, spread, and access.
Tap with a wooden handle; a solid “thunk” means bonded plaster, while a hollow drum suggests delamination. Mark crack ends with pencil, then recheck after a day; if they lengthen, movement’s active and you’ll want a pro.
Measure the damaged area: palm-sized patches usually stay DIY, but long runs, sagging, or staining point to deeper failure.
Finally, consider reach—tight cornices, rosettes, and lath layouts raise complexity because Historical authenticity and Material compatibility matter. If details must match, bring in specialist help.
Tools, Time, And Safety
If you treat a plaster ceiling like overhead fieldwork, you’ll decide faster whether to DIY or call a pro by lining up your kit, your calendar, and your risk tolerance.
Pack a headlamp, step ladder, drop cloths, wide taping knife, hawk, mixing paddle, drill, screws/washers, and a HEPA vac for dust control.
Plan for setup, cure time, sanding, and cleanup; overhead work eats hours like a long hike with a heavy pack.
Build in breaks to avoid neck and shoulder strain.
Follow Safety precautions: respirator, goggles, gloves, and stable footing; shut off power near fixtures.
Keep Tool maintenance tight—sharp blades, clean buckets, and a dust-free drill—so your patch bonds clean and you work safely.
When To Call Pros
With your tools staged, your timeline mapped, and your safety gear on deck, you can make the real call: patch it yourself or bring in a plaster pro.
If the ceiling only has hairline cracks, shallow dents, or a few popped keys, you can handle it with washers, setting-type compound, a hawk, and a wide knife.
Call a pro when you see sagging fields, long running cracks, water damage, missing lath, or ornate cornices you can’t match.
Pros also make sense when you’re working high on ladders or scaffolding in tight attic heat and you can’t control dust and debris.
For historical preservation, hire someone who knows lime, sand ratios, and proper reinforcement.
Run Cost considerations like trail mileage: price your time, materials, and redo risk.
Tools and Materials for Plaster Ceiling Repair
Before you climb the ladder and start scraping loose plaster, set yourself up with the right repair kit so you’re not stuck mid-job hunting for gear. Pack a headlamp, safety glasses, P100 respirator, gloves, and a drop cloth you can tape down.
Bring a stiff putty knife, 5-in-1 tool, wire brush, utility knife, and a small pry bar for stubborn paint edges.
For mixing and application, you’ll want a bucket, margin trowel, hawk, 4–6 in. taping knife, and a sanding block with 120–220 grit paper.
Stock plaster washer fasteners, fiberglass mesh tape, setting-type joint compound, plaster of Paris, and bonding agent.
Keep a caulk gun with acrylic latex for tight cracks around Decorative moldings and ceiling medallions.
Stabilize Loose or Sagging Plaster Before Patching
Before you patch, you’ve got to find every loose or sagging spot—run a straightedge across the ceiling and tap for hollow sounds, marking trouble areas like you’d on a jobsite wall.
Then you reattach the plaster tight to the lath using plaster washers and screws, snugging them up until the surface pulls flat without cracking.
Once everything’s solid and doesn’t flex under hand pressure, you’re ready for patching that’ll actually hold.
Locate Sagging Areas
Where’s that ceiling really letting go? Kill the power, grab a headlamp, step ladder, painter’s tape, and a pencil. Sweep the surface with a raking work light like you’re scanning a campsite at dusk; shadows reveal dips. Press gently with your fingertips or a wide putty knife—spongy movement, crunching, or a hollow sound flags trouble. Mark each suspect bay with tape so you don’t lose it later.
Next, hunt the cause. Check for plaster ceiling moisture: roof leaks, flashing gaps, attic condensation, or bathroom venting. Look for stain halos, salty efflorescence, and darkened lath lines. Map cracks radiating from corners—classic old plaster deterioration. Photograph and measure the sag zones, then stop. Don’t force anything loose.
Reattach Plaster Securely
Once you’ve taped out the soft bays, lock that plaster back to the lath so the ceiling stops flexing under your hands and doesn’t drop more keys.
Drill 3/16-inch holes through plaster only, spaced 4–6 inches apart, and vacuum dust so Plaster bonding actually grabs.
Inject acrylic bonding adhesive or construction adhesive with a syringe, then snug plaster washers with drywall screws until the surface just kisses flat—don’t crush it.
Wipe squeeze-out and mark every fastener line like trail blazes so you don’t miss a spot later.
For wider sags, add a temporary 2×4 brace and a padded T-prop, like shoring a tent in wind.
These Adhesive techniques stabilize the ceiling before you skim or patch.
Let it cure overnight, then retighten lightly.
Patch Plaster Ceiling Cracks and Holes
Although plaster ceilings can look rock-solid, small cracks and holes spread fast if you don’t stabilize them. Suit up like you’re on a dusty jobsite: goggles, respirator, headlamp, and a drop cloth taped tight.
Score cracks into a shallow V with a utility knife, then brush out grit with a stiff paintbrush and vacuum. Mist the area with water so the old plaster doesn’t rob moisture from your patch.
For narrow cracks, press in setting-type joint compound or gauged plaster using a 4–6 inch knife.
For holes, cut back to firm edges, screw on a plaster washer if needed, then fill in thin lifts, letting each set.
Keep notes for Plaster color matching and historical accuracy as you go.
Match Original Plaster Texture and Crisp Edges
If you want your repair to disappear under paint, you’ve got to match the original plaster’s texture and keep the patch edges sharp. Start by studying the ceiling with a headlamp set low and raking across the surface, like checking a trail map at dusk.
Mix a small batch of finish plaster, then test on scrap drywall or cardboard. For matching texture, switch tools: a steel trowel for smooth, a sponge float for soft stipple, or a stiff brush for sanded swirls.
Feather the wet plaster outward, then snap a clean line with a 6-inch taping knife held tight against sound plaster. When it firms up, shave ridges with a sharp scraper and lightly rub with a damp sponge.
Work fast, keep crisp edges.
Prime to Block Stains, Then Paint the Ceiling
After you’ve sanded the patch flush and vacuumed the dust, lock everything down with a stain-blocking primer before you even think about finish paint. Use a shellac or oil primer if you’ve got old water rings, smoke, or tannins; cut in first with a 2-inch angled sash brush, then roll with a 3/8-inch nap. Keep a headlamp on so you catch lap marks and pinholes before they dry.
For Plaster historical preservation, don’t flood the surface—thin, even coats protect without softening the original keys.
When you’re doing decorative molding restoration, feather primer into the profiles and wipe drips immediately with a damp rag. Let it cure, sand lightly, then apply two ceiling coats, crossing your roll direction for uniform coverage.
Frequently Asked Questions
How Much Does Professional Plaster Ceiling Restoration Typically Cost per Square Foot?
Pro plaster pros typically charge $8–$25 per sq ft. For Cost estimation, use a tape measure and ladder. Pricing factors include cracks, height, access, ornamental work, moisture damage, and primer, mesh, or skim-coat needs.
Do Historic Homes Require Permits or Approvals Before Ceiling Restoration Work Begins?
Yes—you usually need permits or approvals before you start. Check with Historic preservation and Building codes offices. Pull permits, schedule inspections, and keep paperwork handy like your tape measure and drill bits on-site.
How Long Should Plaster Repairs Cure Before Rehanging Light Fixtures or Ceiling Fans?
Wait 7–14 days before rehanging Lighting fixtures or Ceiling fans; you need plaster fully cured. In damp weather, give it 21 days. Test hardness with a fingernail, then torque anchors snug with a driver.
What Lead Paint or Asbestos Risks Should Be Considered During Plaster Ceiling Restoration?
Assume older ceilings may hide Lead paint hazards and asbestos; you should test before scraping or sanding. Wear a P100 respirator, seal the work zone with plastic, mist debris, bag waste, and follow Asbestos safety considerations.
How Can I Reduce Future Ceiling Cracks From Seasonal Movement and Vibration?
Like bracing a tent in gusts, you’ll stop cracks by fastening loose lath, adding screws and washers, and sealing joints. Control humidity for seasonal movement, and add resilient channels, pads, and caulk for vibration reduction.