You don’t need a full remodel to get big visual ROI—restoring antique crown molding is often cheaper than replacing it, and it protects the home’s original value. You start by spotting damage fast, then choose repairs that fit the material and your budget. With the right prep, you avoid costly mistakes like cracking brittle plaster or sealing in old water stains. Next, you’ll set up the safest, cleanest way to begin work…
Key Takeaways
- Inspect crown molding with a bright light, mark defects with tape, photograph profiles, and check for moisture stains or soft wood.
- Identify material by probing an edge—wood, plaster, or foam—then choose repair, casting, or replacement to preserve original detail.
- Prep a safe workspace: clear the room, protect floors and walls, set stable ladders and lighting, and gather sharp scraping and filling tools.
- Test for lead paint, clean carefully, wet-scrape or strip, then glue loose joints and fill chips or cracks with epoxy or quality filler.
- Match the profile with a gauge, dry-fit replacement pieces, prime bare areas, caulk gaps, sand flush, and repaint with two thin blended coats.
Inspect Antique Crown Molding and Assess Damage
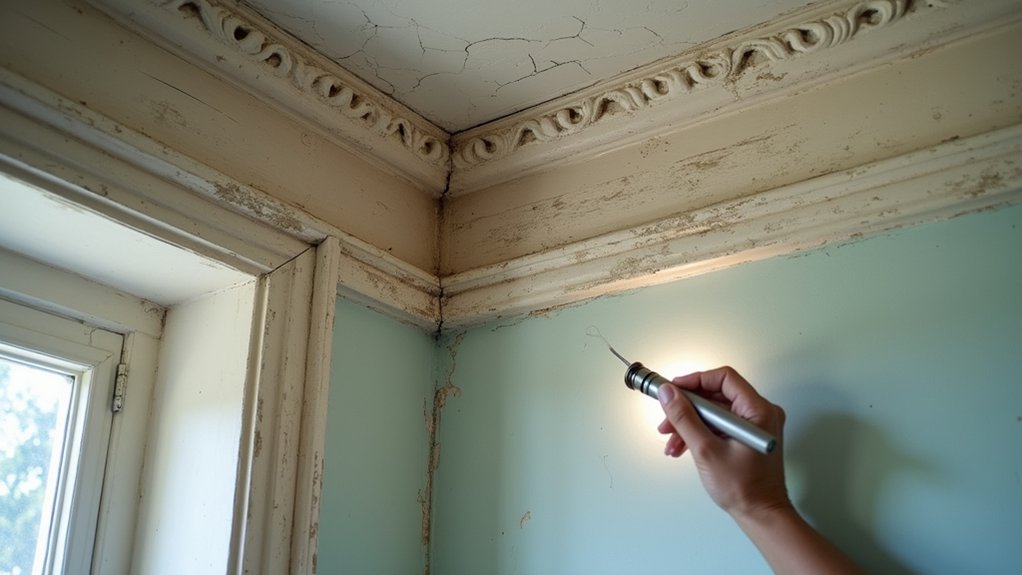
Before you spend money on repairs, inspect the crown molding closely so you can target fixes that actually protect value. Walk the room with a bright flashlight and note gaps at joints, loose runs, and sagging corners. Press gently to find hollow spots, movement, or crumbling edges, then mark them with painter’s tape for quick contractor estimates.
Photograph profiles, seams, and any previous patchwork so you can compare bids and avoid paying twice. Check for water staining, peeling paint, and soft wood near roofs, baths, or windows; moisture damage usually drives the biggest ROI losses if ignored.
Record any distinctive carvings tied to Historical significance and prioritize Material preservation by stabilizing, not replacing, intact sections. Measure linear feet and height for accurate cost forecasting.
Identify Material and Choose a Restore Plan
Now that you’ve mapped the gaps, soft spots, and loose joints, figure out what the molding is actually made of—because the material dictates both the repair method and the budget risk. Start with Material identification: probe an inconspicuous edge. Wood shows grain and fibers; plaster feels chalky and breaks cleanly; polyurethane is light, uniform, and dents instead of splintering. Check for layered paint that can hide crisp detail and inflate labor costs.
Then lock in Restoration planning based on ROI. If it’s solid wood with localized rot, you’ll get the best return from patching and consolidating rather than full replacement. If it’s brittle plaster with missing runs, decide whether selective casting beats replacing long sections. If it’s modern foam, replacing pieces often costs less than fussy repairs.
Gather Tools and Prep a Safe Work Area
Because time on ladders and hours spent scraping can blow your budget fast, you’ll get the best ROI by staging a safe, efficient work area and pulling the right tools upfront. Clear the room, cover floors with rosin paper and drop cloths, and tape off walls to avoid repainting later. Set a stable platform ladder, add good lighting, and keep cords routed to prevent trips—basic Safety precautions that cut costly injuries and rework.
Stock a putty knife set, carbide scraper, detail chisels, sanding blocks, vacuum with brush attachment, caulk gun, clamps, wood glue, and labeled bags for fasteners. Keep a sharpening stone, spare blades, and a clean rag handy; steady Tool maintenance saves time and prevents gouges that require filler.
Keep a small bin for trash and parts nearby.
Test for Lead, Then Clean or Strip Paint
Although lead testing feels like an extra step, it’s the cheapest way to avoid medical risk, EPA fines, and a full re-clean that blows your labor budget. Use an EPA-recognized test kit on multiple layers and spots, especially near joints and edges where old paint builds up.
If you get a positive, switch to containment: plastic sheeting, sealed bags, and a HEPA vacuum, so dust doesn’t turn into paid callbacks. If you test negative, you can clean aggressively with a degreaser and rinse, saving time and preserving crisp profiles.
For removal, choose the least-destructive option: wet scraping or low-odor chemical paint stripping, then neutralize per label. Skip dry sanding; it wastes hours and creates airborne risk quickly.
Repair Cracks, Chips, and Loose Crown Joints
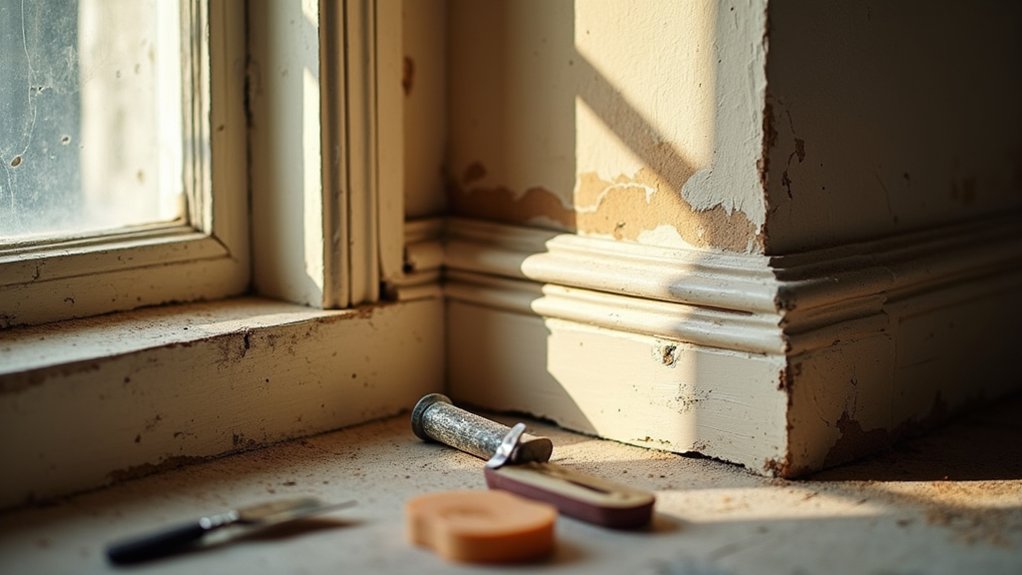
Now that the paint’s handled, you’ll get the best ROI by fixing damage before you prime or repaint. You can fill small cracks and chips with a quality wood filler or epoxy so you don’t waste money on extra coats that won’t hide defects.
Then you’ll secure any loose crown joints with glue and fasteners to stop movement, prevent repeat cracking, and protect the finish you’re paying for.
Fill Cracks And Chips
Where do small cracks and chipped corners cost you the most—paint prep, rework, or the hit to resale appeal? Filling them now is cheap insurance: it cuts primer soak-in, prevents shadow lines, and keeps your Decorative accents crisp, protecting the molding’s Historical significance.
Start by scraping loose paint and dusting the voids; any debris makes filler fail and doubles your labor later. For hairline cracks, press in paintable acrylic-latex caulk and tool it smooth.
For chips and deeper voids, use a lightweight spackle or two-part epoxy wood filler when edges must stay sharp. Overfill slightly, then sand flush with 180–220 grit once cured.
Spot-prime the patches so topcoat sheen matches, and you won’t chase flashing or telegraphed repairs.
Secure Loose Crown Joints
Why keep paying for caulk touch-ups and repainting when a loose crown joint will keep opening up? Lock it down once and you’ll save hours of recurring labor and the cost of repeat materials.
First, find movement: press along the seam and mark gaps. Pull any failed nails, then predrill and drive 15–16 ga finish nails into studs and ceiling joists, not just plaster. Add construction adhesive behind the profile where you can reach, then clamp or brace until set.
For open miters, inject wood glue, tap the joint tight, and pin it. Fill nail holes, then sand lightly.
You protect Decorative accents, preserve Historical significance, and boost resale with a clean, stable line.
Match the Profile, Then Prime and Paint
You’ll get the best ROI when you match the original crown molding profile so repairs disappear and you avoid costly full-room replacement. Use a profile gauge or a saved offcut to duplicate the contours exactly.
Then prep the surface for adhesion. Prime first to lock down patches and old paint, then apply a topcoat that blends sheen and color for a seamless finish.
Match Original Molding Profile
Before you buy replacement trim, take ten minutes to match the original crown’s profile, since a close match saves labor, reduces waste, and keeps resale value intact. Start by tracing the molding onto cardstock or using a contour gauge, then compare it to in-stock profiles at your lumberyard. Don’t guess—measure projection and drop, and note any bead, cove, or ogee details so miters close without filler.
For Historical accuracy, match not only the silhouette but also the corner sharpness and depth typical of the era. Do a quick Material comparison: old-growth pine, poplar, and MDF cut and fasten differently, affecting install time and repair costs. Buy one test length first, dry-fit it, then scale your purchase confidently.
Prime And Paint For Blend
Once you’ve nailed the profile match, lock in a seamless look with primer and paint, because finish work costs far less than future touch-ups and keeps the repair from screaming “patch.” Spot-prime any bare wood and all fresh cut ends with a stain-blocking primer, then caulk only the hairline gaps and sand flush so the paint film hides joints instead of highlighting them.
Next, tackle Color matching before you open a full can. Test on sample scraps, and check it under the room’s lighting to avoid buying the wrong sheen twice. If the existing paint’s aged, tint slightly or repaint the full run to boost ROI.
Use a bonding primer if you’re painting over old enamel. For Finish blending, feather your topcoat past the repair, keep a wet edge, and apply two thin coats for durability.
Frequently Asked Questions
How Much Does Professional Crown Molding Restoration Typically Cost per Room?
You’ll typically pay $500–$2,500 per room for professional crown molding restoration. Cost considerations include room size, damage, access, and finishes. Skilled restoration techniques can boost ROI by preserving value and avoiding full replacement costs.
Can Restored Crown Molding Increase a Home’s Resale Value?
Yes, restored crown molding can lift resale value like a preserved cornice crowns your rooms. You’ll boost buyer appeal if you prioritize Historical accuracy and smart Material sourcing, controlling costs and delivering clear, measurable ROI.
What Permits or Approvals Are Needed for Historic District Restoration Projects?
You’ll usually need local design review approval, Preservation permits, and sometimes building permits. Check Historic guidelines with your commission early, submit drawings/materials, and budget for fees and delays to protect ROI and avoid rework.
How Do I Source Period-Accurate Crown Molding Replacements or Specialty Millwork?
Time-travel your trim hunt: you’ll source period-accurate crown by matching profiles from salvage yards, local millwork shops, and custom knife cutters. Prioritize Historical accuracy, document Material sourcing, and compare quotes—small premiums protect resale and avoid rework.
Should I Restore Crown Molding Before or After Refinishing Floors and Walls?
Restore crown molding after refinishing floors but before final wall paint. You’ll protect new floors, reduce touch-ups, and boost ROI. Prioritize Historical accuracy and Material matching, then caulk, prime, and finish-paint once.