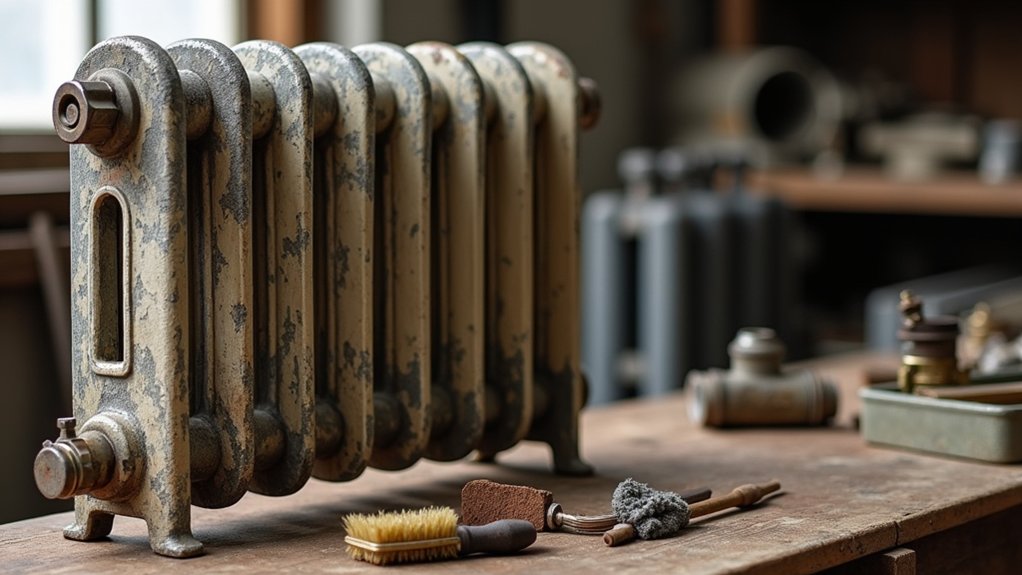

You buy a 1920s six-column cast iron radiator at a salvage yard for $150, then spend $300 fixing hidden leaks and seized valves. If you size it for the room upfront, inspect for cracks and warped sections, and plan safe transport, you protect your budget and avoid rework. The payoff is steady heat and long service life, but only if you know which checks to do before money changes hands…
Key Takeaways
- Calculate each room’s heat loss and match radiator BTU output at your system temperature to avoid short cycling or cold rooms.
- Source from reputable salvage yards or vetted online sellers that provide dimensions, section counts, photos, and clear return policies.
- Inspect for cracks, corrosion, stripped threads, and missing parts; tap for soundness and look for rust trails or damp seams.
- Pressure-test used radiators with water at 1.5× working pressure for 30 minutes, using soapy water to find pinhole leaks.
- Strip old paint safely, degrease thoroughly, dry completely, then apply rust-inhibiting primer and two thin high-temp enamel coats, masking threads and seats.
Size a Cast Iron Radiator for Your Room
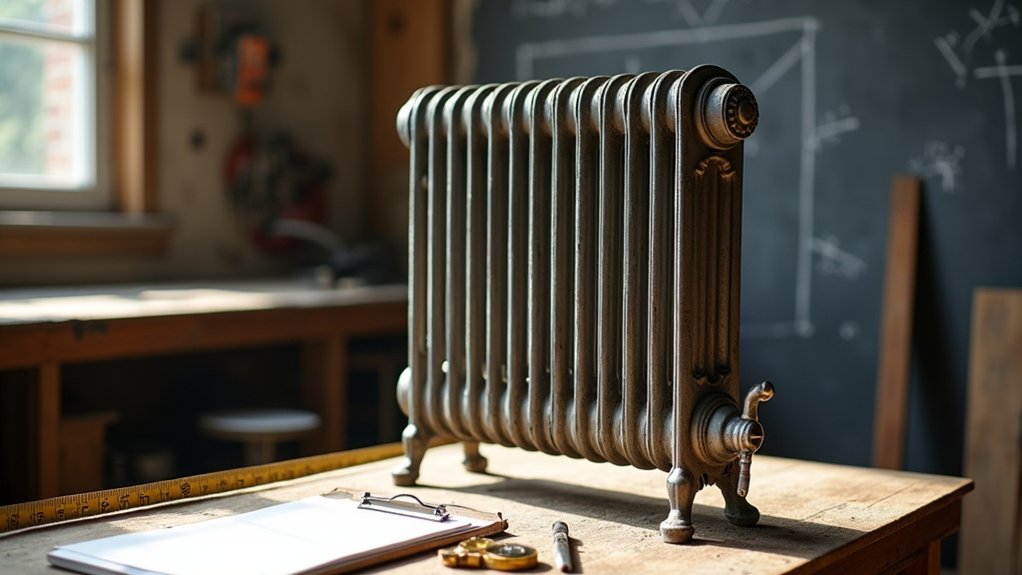
Before you buy any cast iron radiators, size it to your room’s heat loss so you don’t waste money on an oversized unit—or end up with cold corners from an undersized one. Start with a heat-loss calculation (or a reputable BTU calculator) using room dimensions, insulation level, window area, and climate.
Match the radiator’s BTU output at your system’s water or steam temperature, not a generic rating, so your payback stays predictable. Aim for steady room temperature at the design day with minimal cycling; oversizing drives short runs and uneven comfort, while undersizing forces higher boiler temps and higher fuel bills.
When planning radiator installation, confirm pipe size, valve flow, and placement under windows for better air mixing. Leave a small margin, not a guess.
Inspect a Cast Iron Radiator Before You Buy
Before you buy a cast iron radiator, inspect it like an investment so you don’t pay later in repairs or poor performance. You’ll want to check every section for cracks, pressure-test or water-test for leaks at joints and valves.
Verify the overall dimensions, pipe spacing, and clearance will fit your room and hookups. A few minutes of careful checking protects your budget and locks in the heat output you sized for.
Check For Cracks
Even if a cast iron radiator looks solid, tiny cracks can turn your “deal” into a costly leak and a replacement hunt. Start your crack detection with a bright flashlight and a stiff wire brush. Clear paint blisters, rust scale, and grime around feet, tappings, seams, and the bottom rail where stress concentrates.
Look for hairline lines that “shadow” across the surface, especially near threaded ports and between sections. Run your fingernail over suspect marks; a true crack will catch. Use a mirror to check hidden backsides and under valves.
Tap lightly with a small hammer: a sharp ring suggests sound iron, while a dull thud can signal a fracture. Mark finds, then price accordingly and plan rust prevention.
Test For Leaks
Since surface checks don’t prove a radiator will hold pressure, you should test for leaks to protect your budget and avoid hauling home scrap. Ask the seller to leave plugs in place or bring your own caps and a Schrader valve adapter.
For quick leak detection, fill the radiator with water, then pressurize it with a hand pump to 15–20 psi and watch a gauge for 10 minutes. A steady drop means money lost in repairs.
Spray soapy water on seams, push nipples, and tapping points; bubbles pinpoint pinholes you can factor into your offer.
If you can’t do pressure testing on-site, at least inspect for fresh rust weeping, mineral trails, or dampness around ports. Walk away if it won’t hold.
Confirm Size And Fit
If you confirm a radiator’s size and fit upfront, you’ll avoid paying twice—once to buy it and again to modify piping, patch floors, or rework the alcove. Measure the footprint, overall height, and depth, then compare them to your valve centerline, baseboard clearance, and window sill height.
Count sections and note column style; that drives both heat output and Historical accuracy. Bring a tape, square, and photos of the niche so you can spot tilt, warped feet, or uneven floor contact that’ll force shims or new unions.
Verify tapping size, thread type, and supply/return orientation to minimize adapter costs. Check that the finish plan supports aesthetic restoration without adding bulk that tightens clearances. This saves labor and protects resale value.
Buy Cast Iron Radiators at Salvage Yards
When you buy cast iron radiators at salvage yards, you can cut your upfront cost fast, but only if you choose a reputable yard with clear inventory records and fair return terms.
You’ll want to verify each radiator’s condition on-site by checking for cracks, heavy corrosion, stripped threads, and missing valves or feet that will add replacement cost.
Start with yards that test, tag, and store units properly so you’re not paying later for repairs that erase your savings.
Finding Reputable Salvage Yards
Although big-box retailers sell new units, you’ll often get the best ROI by buying cast iron radiators from reputable salvage yards that pull tested, period-correct stock from older buildings. Prioritize yards that document provenance, so you protect historical significance and match your home’s era without costly trial-and-error.
Ask how they source inventory, what removal practices they use, and whether they provide serials, dimensions, and photos before pickup or shipping.
Choose businesses with transparent pricing, written invoices, and a clear hold policy while you measure your rooms. Check reviews for on-time freight coordination and damage claims handling.
Favor yards that consolidate loads or offer local delivery, cutting per-unit transport costs and environmental impact.
Finally, compare radiator availability against your project timeline; consistent stock beats cheap one-offs that stall installation.
Inspecting Radiator Condition
Before you hand over money, inspect each cast iron radiator like a contractor would, because one hidden crack or stripped tapping can erase your savings in repair labor, returns, and freight.
Start by checking every section for hairline fractures, especially around feet, nipples, and valve tappings. Run a flashlight along seams and look for rust scale that suggests internal pitting. Confirm the vent and supply threads bite cleanly; bring a matching fitting to test.
Measure height, section count, and depth so you can estimate BTU output and avoid undersizing. Tilt it slightly and listen for loose sediment that may clog later.
Finally, weigh Radiator aesthetics and historical significance against cost: crisp ornament, original caps, and intact end panels often justify a higher price.
Buy Cast Iron Radiators Online (and Avoid Duds)
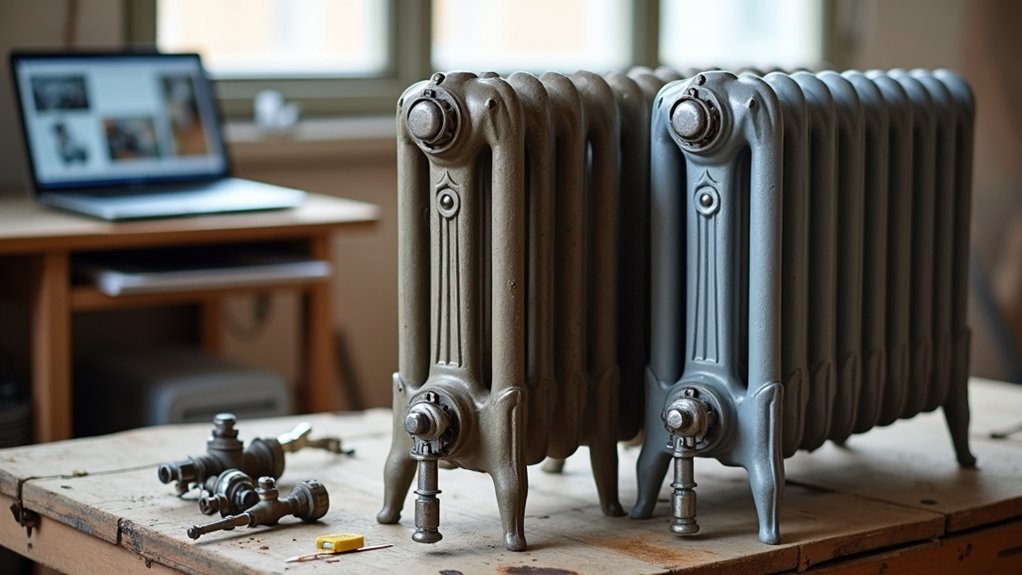
If you buy cast iron radiators online with a clear checklist, you’ll save time and money while avoiding expensive returns and underperforming units.
Start with heat output: request the section count, height, and depth, then calculate BTUs to match your room load.
Verify the connection type, pipe size, and whether valves are included.
Ask for straight-on photos of all faces, close-ups of feet and tappings, and a shot inside the ports to confirm threads aren’t stripped.
Confirm it’s pressure-tested, not just “held water.”
Don’t overpay for paint—prioritize sound metal and crisp details that protect historical significance and design aesthetics.
Compare total cost against refurbished local options, including any missing parts, and negotiate based on measurable defects.
Move or Ship a Cast Iron Radiator Safely
How do you move or ship a cast iron radiator without cracking a foot, stripping a tapping, or paying for freight damage twice? You plan for weight, leverage, and impact, because one drop wipes out your margin.
Measure doorways, stairs, and truck bed height first, then stage a clear path. Use moving equipment: an appliance dolly with stair climbers, rated straps, corner protectors, and a plywood skid.
Keep the radiator upright, strap it at the columns, and never lift by valves or tappings. For shipping, bolt it to a pallet, block the feet, and band it tight; add rigid foam and a double-wall carton or crate.
Mark “Do Not Stack,” insure, and photograph every step for transportation safety and claims.
Strip Paint and Clean a Cast Iron Radiator
Although a cast iron radiator can look “good enough” under layers of old enamel, stripping paint and cleaning it properly protects your resale value and cuts install headaches by exposing leaks, bad tappings, and hidden cracks while giving primer a surface that actually bonds.
Start with Paint removal that matches the coating: use a heat gun and scraper for thick enamel, or a chemical stripper for tight crevices; avoid sandblasting unless you can control grit and protect threads. Collect chips and sludge for proper disposal.
Next, do Surface cleaning: degrease with a hot alkaline wash, rinse, then neutralize any stripper residue. Use wire brushes to open seams, and blow out passages with compressed air. Finish with a thorough dry, then inspect bare iron under bright light.
Replace Valves, Vents, Bushings, and Gaskets
Once you’ve got bare iron in front of you, swapping valves, air vents, bushings, and gaskets becomes the highest-ROI step because it prevents call-backs, stops hidden weeps, and guarantees the radiator threads into your system cleanly.
Start with Valve replacement: match the valve type (steam vs hot water), size, and handed threads, then chase radiator tappings with a wire brush and test-fit by hand to avoid cross-threading.
Replace reducing bushings instead of stacking adapters; fewer joints means fewer leaks.
For Vent installation, choose a vent rated for your system and location, then install it upright so it actually closes when heated.
Use new fiber or rubber gaskets on any unions, and apply the right sealant—PTFE tape plus pipe dope on iron—so you get a dependable, serviceable connection.
Pressure-Test and Paint the Cast Iron Radiator
With the new valves, vents, bushings, and gaskets installed, lock in that reliability by pressure-testing the radiator before paint hides problems. Cap openings, fill with water, and use a hand pump to bring it to 1.5× your system’s working pressure; hold 30 minutes. Watch the gauge and seam lines, especially around push nipples. Any drop means you fix it now, not after reinstalling.
Once it passes, degrease, wire-brush, and wipe with solvent. Spray a high-temp, rust-inhibiting primer, then two thin enamel topcoats; thin coats cure faster and resist chipping. Mask threads and mating faces. Keep paint off vents and valve seats.
Finish with Radiator insulation behind the unit to boost thermal efficiency and lower run time.
Frequently Asked Questions
Will a Cast Iron Radiator Work With Modern Boilers or Heat Pumps?
Yes—you can pair a cast iron radiator with modern boilers or heat pumps; despite its Vintage aesthetics, you’ll get strong heating compatibility. You’ll choose low-temp sizing, proper controls, and enjoy steady comfort, lower bills.
How Do I Identify the Radiator’s Age, Maker, or Model Number?
Check Historical markings first: look for cast-in names, logos, patent dates, and numbers on side panels, feet, or end caps. Photograph and trace them for Manufacturer identification, then match catalogs online to price accurately.
Are Antique Radiators Safe if They Contain Lead Paint or Asbestos Nearby?
Yes, you can use them safely, but you must manage Lead paint hazards and Asbestos safety considerations. Test coatings, encapsulate or strip professionally, avoid sanding, keep dust contained, and budget abatement—reducing liability, preserving value.
What Permits or Code Requirements Apply to Installing Salvaged Radiators?
You’ll follow local Permitting requirements and Building codes: pull a mechanical/plumbing permit, schedule inspections, and meet boiler, pressure, valve, and pipe-sizing rules. Call your AHJ early; you’ll avoid rework, fines, and delays.
How Can I Improve Efficiency Without Ruining the Radiator’s Historic Character?
Boost efficiency without altering looks: you’ll add reflective foil behind, insulate pipes, bleed air, balance valves, and use a smart thermostat. These Preservation techniques protect Historical authenticity while cutting fuel bills and improving room comfort.