
Like the old “ship of Theseus” question, your outbuilding becomes “livable” only when enough key parts change to meet the rules. You’ll start by confirming zoning and whether an ADU is allowed, then rough out a budget that accounts for permits, inspections, and utility upgrades. Next, you’ll plan plumbing, electrical, HVAC, and ventilation, then tighten the shell with insulation and air-sealing before finishes and egress details. But first, there’s one approval that can stop everything…
Key Takeaways
- Check zoning and building rules at city hall to confirm your outbuilding can legally become a habitable space.
- Schedule a pre-application meeting to clarify permit steps, required upgrades, and plan review triggers before designing.
- Inspect structure condition and build a budget covering insulation, egress windows, electrical, plumbing, HVAC, fees, and contingency.
- Design utilities and systems early: plumbing layout and venting, electrical load and circuits, and right-sized HVAC with moisture ventilation.
- Upgrade envelope and interiors for code compliance: air sealing, insulation R-values, fire separation, alarms, weatherproofing, and durable finishes.
Can Your Outbuilding Become Legal Living Space?
Where do you start if you want to turn a shed, garage, or barn into legal living space? You start at city hall, not the hardware store. Pull your parcel’s zoning map, then confirm Zoning restrictions on accessory dwellings, setbacks, height, parking, and occupancy. If your lot can’t host a dwelling unit, you’ll waste time and permit fees.
Next, ask the building department whether the structure can be reclassified from “storage” to “habitable,” and what triggers plan review. You’ll need compliant egress windows, ceiling heights, stairs, insulation, ventilation, smoke/CO alarms, and fire separation from any attached garage under current Building codes.
Verify utilities: electrical capacity, water, sewer/septic, and stormwater rules. Finally, request a pre-application meeting to lock in requirements before drawings.
What Will Your Outbuilding Conversion Cost?
Once zoning and the building department confirm you can create legal living space, the next question is what it’ll cost to get there—and the answer depends on how far your existing structure is from code.
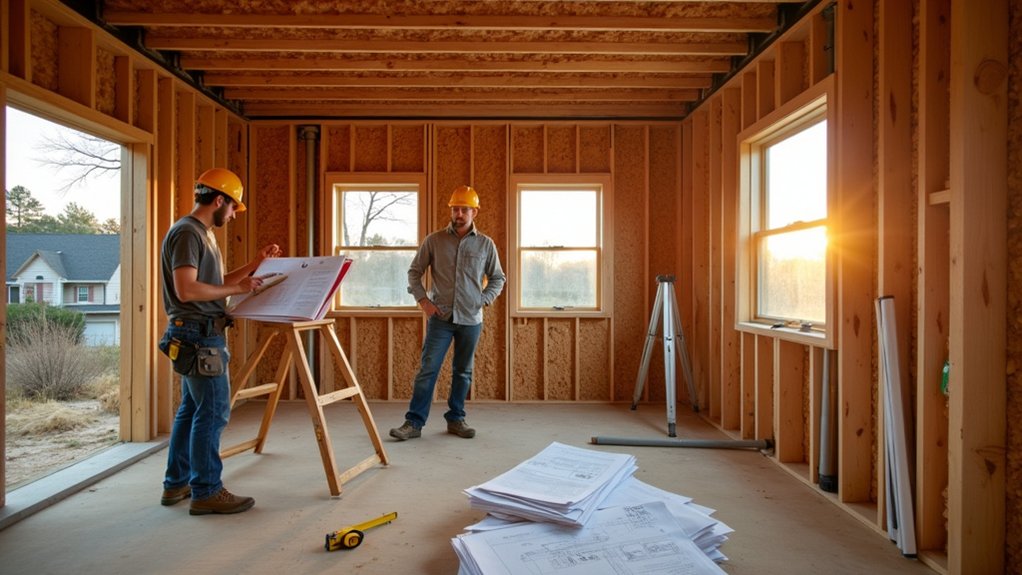
Start Cost estimation with a condition walk-through: foundation, framing, roof, moisture, and pests.
The big-ticket line items usually include insulation and air sealing, new windows/egress, electrical service upgrades, plumbing runs, HVAC, drywall, and floor finishes.
If you’re adding a bathroom or kitchenette, expect higher labor and utility-connection costs.
Budget planning should also cover design/engineering fees, demolition, disposal, and contingencies for hidden rot or undersized joists.
Get at least three itemized bids, compare allowances, and require specs for fixtures and finishes so you don’t blow the budget mid-build.
Permits, Zoning, and Code for Outbuilding Conversions
Before you spend a dollar on design or materials, confirm your outbuilding can legally become living space under local zoning and building code, because this step can make or break both your timeline and budget. Start by checking Zoning restrictions: allowed use (ADU, studio, rental), minimum lot size, setbacks, height, parking, and whether the structure is “nonconforming.” If it’s restricted, ask about variances or conditional-use permits and their fees.
Next, map your Permit application path: change-of-use, structural work, fire separation, insulation/energy compliance, egress, and accessibility rules. Request a pre-application meeting to surface red flags early and avoid redesign costs. Budget for plan review, impact fees, and inspections, plus schedule buffers for corrections.
Utilities Plan: Plumbing, Electrical, HVAC, Ventilation
Next, you’ll map utilities so your outbuilding functions like a real living space without blowing your budget or missing code requirements.
You’ll sketch a plumbing layout with proper drainage and venting.
Then size your electrical load and circuits to match the planned appliances and local inspection rules.
You’ll also choose an HVAC and ventilation strategy that meets comfort targets and code minimums while keeping install and operating costs predictable.
Plumbing Layout And Drainage
How will you get water in and wastewater out without blowing your budget or failing inspection? Start by mapping fixtures to minimize runs: put the bathroom and kitchenette back-to-back if you can.
Confirm where you’ll tie into the main, septic, or approved drain line, and check local permit rules for cleanouts, venting, and trap requirements.
Your Drainage system must keep proper slope, typically 1/4 inch per foot for small lines, to avoid backups.
Choose a Pipe configuration that limits bends, keeps pipe sizes code-compliant, and leaves access panels for shutoffs and cleanouts.
Price out trenching versus above-floor chases, and plan freeze protection for supply lines.
Don’t forget vent routes through roof or approved alternatives.
Electrical Load And Circuits
Even if your outbuilding feels “small,” you still need to calculate the electrical load and lay out circuits like a full-fledged living space so you don’t overload a panel or fail inspection. Start with a room-by-room load calculation: lighting, receptacles, fridge, microwave, laundry, and any dedicated equipment.
Check your service size and panel capacity, then price whether a subpanel saves trenching and feeder costs.
Next, build a code-ready circuit design. Put kitchen and bath receptacles on GFCI/AFCI as required, and separate high-draw appliances onto their own breakers. Plan enough general-purpose circuits so you’re not daisy-chaining power strips later.
Label everything, leave spare breaker spaces, and pull permits so your work stays insurable and resale-friendly.
HVAC And Ventilation Strategy
Because a converted outbuilding quickly traps heat, moisture, and odors, you need an HVAC and ventilation strategy that meets code while keeping install and operating costs predictable.
Start by sizing equipment from a room-by-room load calc, not square footage, so you don’t overpay or short-cycle—this is basic HVAC optimization. For most small conversions, a ductless mini-split plus electric baseboard backup is cost-effective and simplifies permitting.
Meet ventilation requirements with a continuous or timed exhaust fan, and add a dedicated makeup-air path if the envelope is tight.
Target quiet, ENERGY STAR-rated fans for better ventilation efficiency and fewer tenant complaints. Vent bathrooms and kitchens to the exterior, insulate ducts in unconditioned spaces, and seal penetrations to avoid condensation and mold.
Confirm controls, clearances, and refrigerant line routing with your inspector early.
Insulation, Air-Sealing, and Weatherproofing the Shell
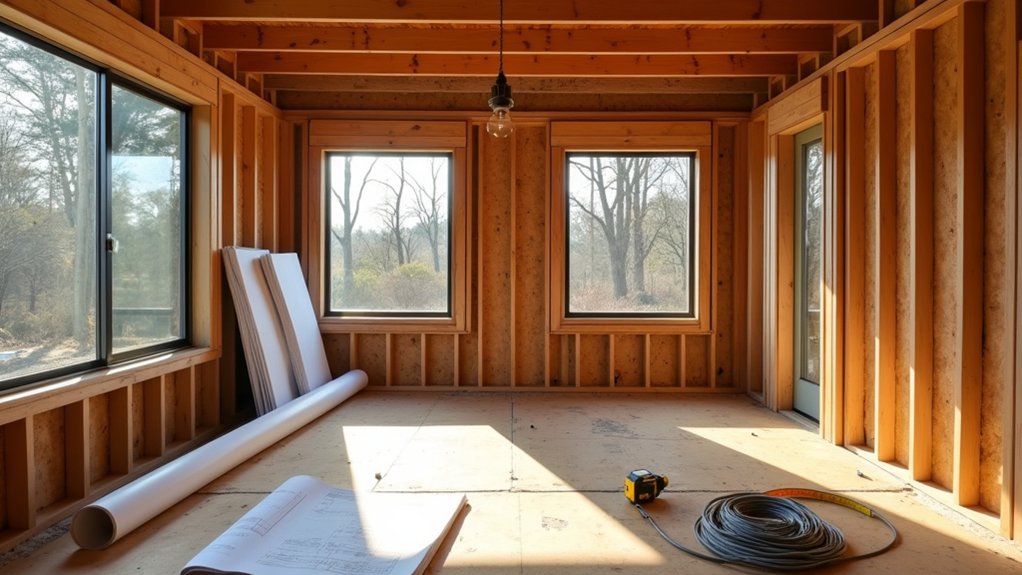
Before you hang drywall or run a single wire, lock down the building envelope with smart insulation, tight air-sealing, and durable weatherproofing.
Start by verifying your local energy code R-values for walls, roof, and slab, then price out insulation techniques that fit your framing: batts for budget, dense-pack cellulose for odd cavities, or spray foam where space is tight.
Air-seal first: tape sheathing seams, foam rim joists, gasket top plates, and caulk penetrations to cut drafts and moisture movement—cheap materials, big payoff.
Add a continuous exterior or interior vapor/air control layer as your climate requires, and keep it unbroken.
Finish with weatherproofing methods: flashing at openings, sill pans, housewrap lapped shingle-style, and proper roof/drip-edge details.
Layout, Egress, and Interior Finishes That Add Value
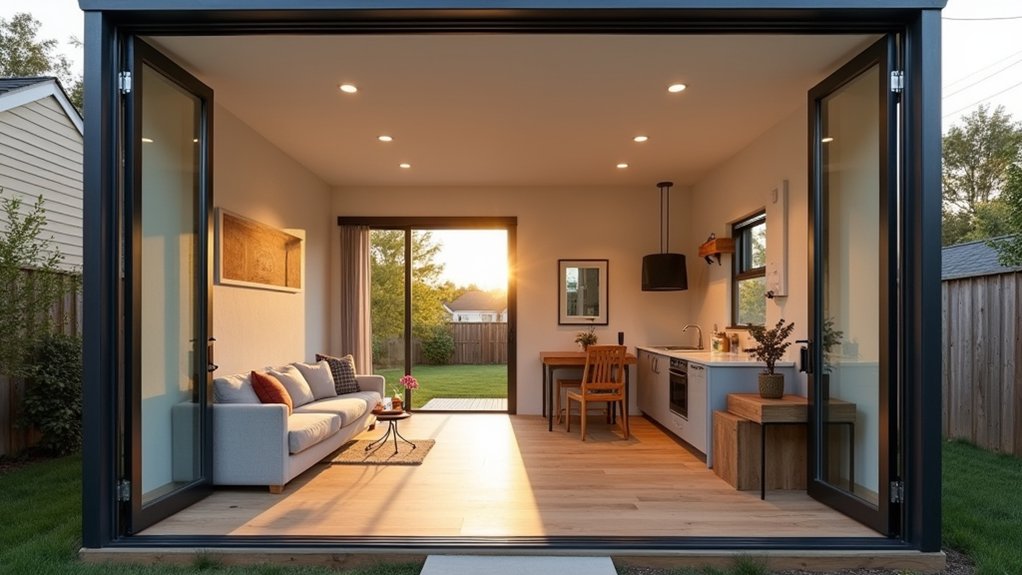
Once your shell stays dry and tight, your floor plan and finish choices start driving both inspection outcomes and resale value.
Start with layout optimization: place kitchen, bath, and laundry back-to-back to shorten plumbing runs and cut labor. Keep main circulation simple, and reserve a clear wall for future furniture flexibility.
Egress is non-negotiable: plan code-compliant doors, windows, and clear paths, and verify stair, ceiling-height, and handrail requirements early so you don’t redo framing. Add hardwired smoke/CO alarms where required.
For interior finishes, pick durable, mid-priced materials buyers recognize—LVP or engineered wood, washable paint, moisture-rated drywall in wet zones, and solid-core doors for sound control. Spend on lighting and ventilation; save on ornate trim. Document specs for appraisal and permitting.
Frequently Asked Questions
How Long Does a Typical Outbuilding Conversion Take From Start to Finish?
Most outbuilding conversions take 8–16 weeks start to finish, but you’ll wait longer if Building permits lag. You’ll speed timelines by finalizing Design considerations early, tightening quotes, and scheduling inspections efficiently.
Will Converting an Outbuilding Increase My Property Taxes or Insurance Premiums?
Like Pandora’s box, converting can raise costs: you’ll likely face property tax implications after reassessment, and possible insurance premium changes if you add living space. You’ll save by checking local rules and updating coverage early.
Can I Finance an Outbuilding Conversion With a Renovation Loan or HELOC?
Yes, you can finance it with a renovation loan or HELOC, but you’ll need lender-approved plans and permits. Confirm outbuilding zoning first. Compare renovation loan options, fees, rates, and appraisal impacts to keep costs controlled.
How Do I Choose a Contractor Experienced in Accessory Dwelling Conversions?
Choose a contractor by verifying contractor credentials, ADU conversion permits history, and local code familiarity. Get itemized bids, confirm insured licensing, call recent clients, and lock a realistic project timeline with milestones, payments, and change-order costs.
What Are the Best Soundproofing Options to Reduce Noise Between Buildings?
You’ll get best results by combining Soundproofing materials like mass-loaded vinyl, mineral wool, and resilient channel with Noise reduction techniques: sealing gaps, adding double-pane windows, and decoupling walls. Check local codes, then price labor-heavy installs.