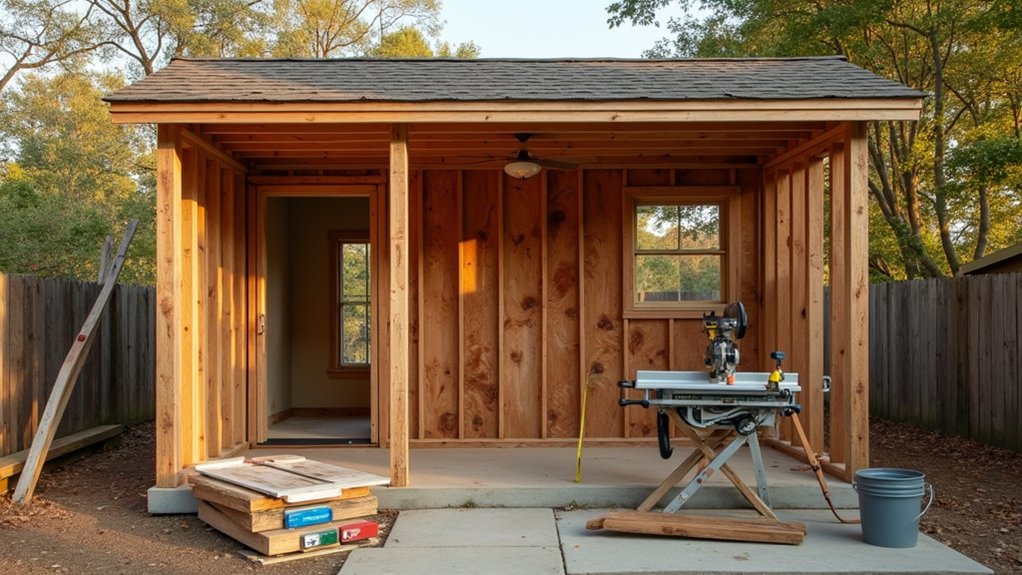

Your outbuilding is a locked briefcase in the backyard, and you’re holding the key. You start by defining its job—office, studio, rental, or storage—so every dollar supports revenue, usability, or resale. Then you verify zoning and permits, inspect the structure, and weatherproof the shell before you commit to utilities. You map power, plumbing, and HVAC for upgrades, set a tight budget and timeline, and choose durable finishes that appraise well—but one decision will determine whether you profit or patch problems.
Key Takeaways
- Define the outbuilding’s primary use and ROI goal to guide layout, finish level, and must-have systems.
- Confirm zoning, HOA rules, and permits for setbacks, utilities, egress, fire separation, energy code, and inspections.
- Inspect foundation and framing for settlement, rot, racking, termites, or altered load paths; hire an engineer if defects appear.
- Make the shell weather-tight: repair roof and flashing, seal penetrations, add gutters, and grade soil 5% away for 10 feet.
- Plan utilities early—right-size electrical, plumbing, and HVAC, add future conduits and spare breakers, and budget 10–15% contingency.
Decide What Your Outbuilding Will Become
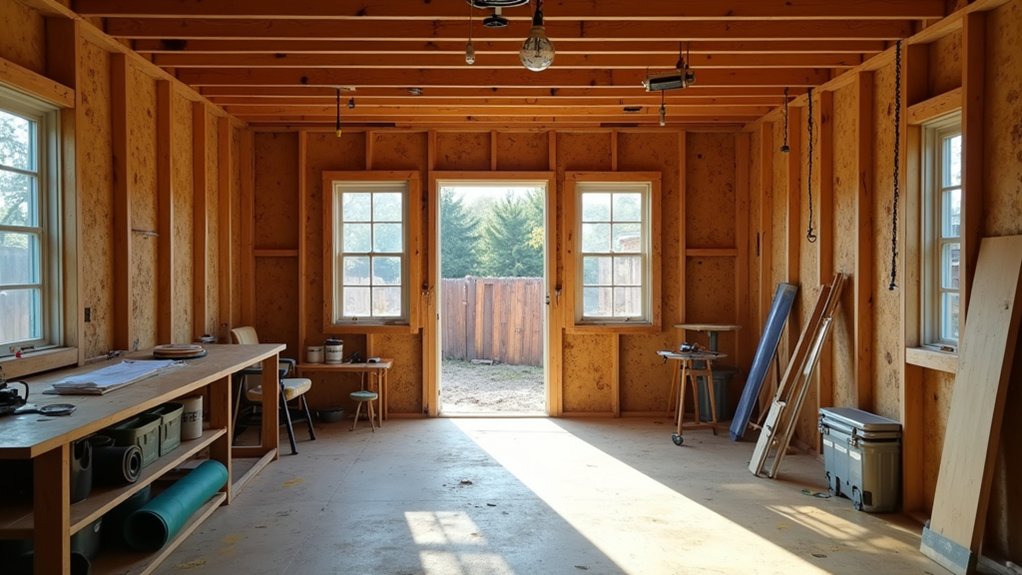
Before you spend a dollar on drawings or materials, decide exactly what your outbuilding will become—home office, short-term rental, gym, workshop, studio, or storage—because that single choice drives your budget, timeline, permits, and eventual payback.
Define your target user and revenue path: rent premium, productivity gains, resale uplift, or cost avoidance.
Then list must-haves that protect ROI: insulation level, HVAC capacity, sound control, durable flooring, and storage.
Price out finish tiers that buyers or guests actually value, not vanity upgrades.
Plan interior lighting by task and mood so the space photographs well and functions efficiently.
Map exterior landscaping to improve access, privacy, and curb appeal, since first impressions influence comps and nightly rates.
Commit to one use case and you’ll avoid expensive midstream changes.
Confirm Zoning, Permits, and Code Requirements
Once you’ve locked in the use case, validate that local rules will actually let you build and occupy the space the way you intend. Start by checking Zoning regulations for allowable uses, setbacks, height limits, parking, and whether the outbuilding can be converted to habitable area or used for rental income.
Confirm if HOA rules apply and document everything for lenders and future buyers.
Next, map permit requirements to your scope: change of use, electrical, plumbing, mechanical, insulation, egress, and fire separation. Ask the building department about energy codes and accessibility triggers that can balloon costs.
Price the timeline too—plan review, inspections, and utility approvals affect carrying costs. If rules block your plan, pivot early to a compliant layout that still maximizes value.
Inspect the Structure and Foundation Conditions
Although it’s tempting to jump straight to finishes, you’ll protect your ROI by verifying the outbuilding’s bones first—foundation stability, framing integrity, and moisture performance drive both your renovation budget and the appraised value.
Start with a level check and measure any slab or pier settlement; map cracks, note offsets, and photograph everything for bids and future disclosures.
Probe sill plates and lower studs for rot, then verify posts, beams, and joists haven’t crowned, sagged, or been notched.
Test door and window openings for racking to flag compromised structural integrity.
Inside, look for termite galleries, fastener corrosion, and DIY alterations that weaken load paths.
If defects appear, bring in a structural engineer; their report supports accurate pricing and lender confidence.
Weatherproof the Shell: Roof, Siding, Drainage
Once you’ve confirmed the frame and foundation are sound, you’ll protect your ROI by sealing the roof and tightening flashing before water can reach the structure.
Next, you’ll install proper siding wrap and clean, continuous caulking to cut drafts, prevent rot, and keep the interior finish-ready.
Finally, you’ll add gutters, correct grading, and upgrade drainage so runoff moves away fast—reducing maintenance, improving resale appeal, and avoiding costly callbacks.
Roof Sealing And Flashing
Where does an outbuilding roof usually fail first—right at the seams and penetrations. Start with a disciplined roof inspection: check ridge caps, valleys, fasteners, vent boots, skylights, and any plumbing stacks for lifted edges or cracked sealant. Photograph issues, then prioritize fixes that stop active leaks and protect interior finishes—your highest ROI move.
Next, execute precise flashing repair. Replace bent or corroded step flashing, re-seat loose counterflashing, and add butyl tape where metal laps need a continuous gasket. Seal exposed fastener heads with manufacturer-approved roofing sealant, not generic caulk. Patch small membrane splits with compatible tape and a topcoat.
Finish by confirming positive drainage and clean gutters so water can’t back up under edges.
Siding Wrap And Caulking
How do you keep wind-driven rain from sneaking behind your siding and quietly wrecking framing and insulation? You install siding wrap as a continuous drainage plane, lapping seams shingle-style and taping them with manufacturer-rated flashing tape. Start at the bottom, overlap courses, and integrate window and door flashings so water can’t track inward. That small material cost protects studs, sheathing, and finishes—preventing expensive tear-outs and preserving resale value.
Then lock down air and water leaks with disciplined caulking techniques. Use high-performance, paintable sealant rated for exterior movement; backer rod wide gaps so you don’t waste product or crack later. Caulk trim joints, penetrations, and transition points, but don’t seal intentional weep paths. You’ll tighten comfort and cut maintenance cycles.
Gutters, Grading, And Drainage
A clean drainage plan pays you back faster than almost any cosmetic upgrade because it keeps roof runoff from saturating soil, splashing siding, and feeding rot at the sill. Start with gutters sized for your roof area, pitched correctly, and discharging into downspouts that push water 6–10 feet away. Schedule gutter maintenance twice a year, and add leaf guards only if you’ll still inspect for shingle grit and clogs.
Next, regrade so the soil falls 5% away from the outbuilding for at least 10 feet; you’ll protect slabs, doors, and stored gear. Finish with drainage solutions that match your site: splash blocks for light flow, solid pipe to daylight, or a gravel-filled French drain where water lingers.
Document upgrades; buyers notice dry foundations.
Plan Utilities (Power, Water, Sewer, HVAC)
Next, you’ll plan utilities so your outbuilding performs like a revenue-ready space, not a costly retrofit. Map power distribution to match real loads and future upgrades.
Then, design water and sewer runs for code compliance, clean access, and minimal trenching.
Finally, plan heating and cooling around insulation levels, zoning, and operating costs so comfort boosts usability and resale without inflating your monthly spend.
Map Power Distribution
Before you run a single new circuit, map your power distribution so you’re not paying twice for rework or getting boxed in by undersized service later. Start with a load list: lighting, tools, HVAC equipment, EV charging, and any future expansion. Then size panel capacity and feeder gauge accordingly.
Place the subpanel where runs stay short and accessible, cutting wire cost and voltage drop. Plan dedicated circuits for high-draw equipment and separate lighting so a tripped breaker doesn’t halt work.
For electrical safety, document shutoffs, label every circuit, and confirm grounding/bonding requirements.
Optimize power outlet placement by matching receptacles to workflow zones—bench height, door-side exterior, and ceiling drops—so you avoid extension cords and add resale-friendly convenience. Include spare breaker spaces for upgrades.
Design Water And Sewer
Once your electrical layout’s locked, design the water and sewer runs with the same “short, serviceable, scalable” mindset so you don’t tear open fresh walls later. Keep fixtures clustered to cut trenching, pipe, and labor, and you’ll boost appraisal appeal with a cleaner, code-forward plan.
Size supply lines for today’s demand plus one future fixture, and add accessible shutoffs and cleanouts at every branch for fast repairs. If you’re trenching anyway, sleeve extra conduit and a spare water line to protect upgrade ROI.
Evaluate Rainwater harvesting for irrigation or nonpotable use where allowed, and separate lines accordingly. Confirm slope, venting, and backflow protection, then document as-builts.
Plan for on-site Wastewater treatment only with permits, soil tests, and service contracts.
Plan Heating And Cooling
Although HVAC feels like a finish item, you’ll lock in better ROI by planning heating and cooling early so ducts, refrigerant lines, condensate drains, and outside clearances land cleanly without expensive rework.
Start by sizing loads for the renovated envelope, not the old shed, then choose right-sized, energy efficient systems that buyers recognize—ductless heat pumps, compact air handlers, or hydronic options where noise matters.
Map supply/return paths to avoid soffit drops that shrink ceiling height and appraised utility.
Pair equipment choices with insulation options: roof spray foam for air sealing, dense-pack cellulose for walls, and slab edge insulation to cut cycling.
Reserve service access, plan thermostat locations, and confirm electrical capacity for compressors.
You’ll protect comfort, reduce bills, and raise resale confidence.
Set Your Outbuilding Renovation Budget and Timeline
If you want your outbuilding renovation to pay off, you’ve got to lock down a realistic budget and timeline early, because overruns erase ROI faster than almost any design mistake.
Start with budget planning that itemizes demolition, framing, insulation, electrical, HVAC tie-ins, finishes, permits, and dumpster fees. Price labor at local market rates, then add a 10–15% contingency for hidden rot, code upgrades, or utility trenching.
For timeline estimation, map dependencies: permitting first, then structural repairs, rough-ins, inspections, and close-out. Build in lead times for doors, windows, panels, and specialty trades, and schedule inspections before crews demobilize.
Track spend weekly against a bid baseline, and cut low-value upgrades fast if you drift. A tight schedule protects carrying costs and preserves resale lift.
Design the Layout for Comfort and Storage
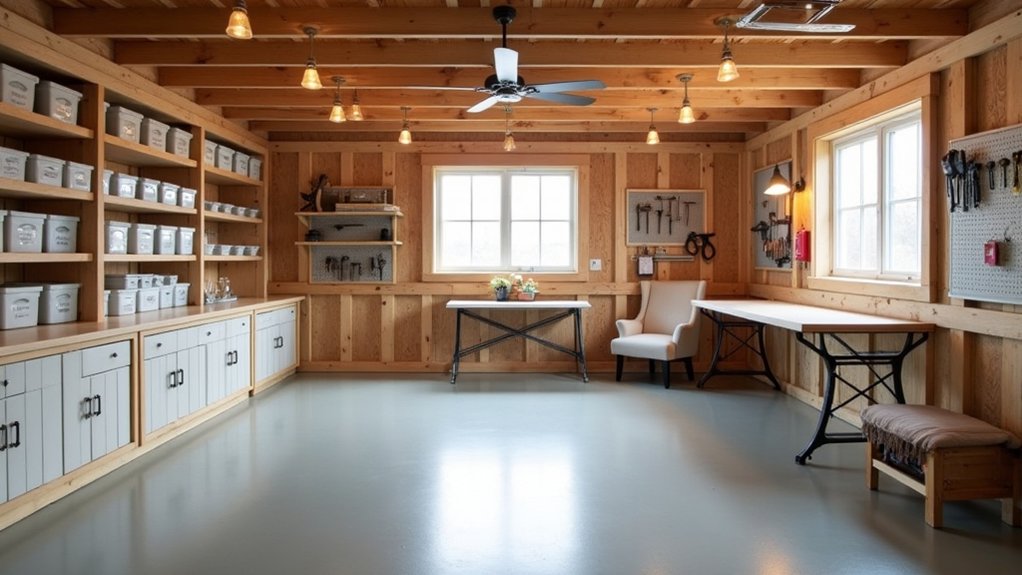
How you lay out the space determines whether the finished outbuilding feels like a premium, usable add-on—or an awkward shed with nicer paint. Start by mapping the primary use and the highest-value secondary use (office plus gym, studio plus guest daybed).
Keep a clear 36-inch path from door to work zone, and place windows where you’ll actually sit or stand.
Use Furniture arrangement to anchor the room: float a desk to face the door, tuck seating into corners, and avoid blocking swing doors. Then stack Storage solutions along one wall—tall cabinets, overhead shelves, and under-bench compartments—to keep the floor open.
Plan dedicated zones for cords, tools, and seasonal gear so buyers see order, not clutter.
Pick Durable Finishes That Add Resale Value
Three finish decisions—flooring, wall protection, and trim—do more for resale than any trendy décor because buyers notice wear first and upgrades second. Start by choosing resilient flooring: luxury vinyl plank or sealed concrete beats softwood and cheap laminate in moisture, scratches, and cleanup, and appraisers read it as “low maintenance.”
Add washable wall protection where tools, bikes, or pets hit—wainscot panels, FRP, or durable beadboard—so the space photographs clean.
For ceilings and trim, keep profiles simple and crisp; pre-primed MDF or paint-grade pine delivers a new-build look without custom costs.
Finish strong by selecting long-lasting paint: satin or semi-gloss, mildew-resistant formulas, neutral colors, and caulked seams. Buyers pay for “ready now.”
Frequently Asked Questions
How Do I Insure a Renovated Outbuilding and Its Contents?
Like Odysseus charting risk, you insure it by notifying your insurer, documenting upgrades, getting an appraisal, and adding a rider or separate policy. Secure Insurance coverage for structure/contents and liability protection; compare quotes annually.
Will Renovating an Outbuilding Increase My Property Taxes or Assessments?
Yes, renovating can raise your property taxes because assessors may revalue added square footage and functionality. Landscaping improvements and Utility upgrades boost value and ROI, so pull permits, track costs, and confirm reassessment timing.
How Can I Soundproof the Outbuilding From Neighbors and Street Noise?
You can cut perceived noise by ~50% with a 10 dB drop: seal gaps, add mass-loaded vinyl, double drywall, and acoustic insulation. These soundproofing techniques and noise reduction materials boost usability, rents, and resale.
What Security Upgrades Best Deter Break-Ins for Detached Structures?
You’ll deter break-ins best with hardened doors/frames, deadbolts, window locks, and hidden hinge pins, then add Security lighting and monitored Alarm systems. Layer cameras and signage, trim sightlines, and secure valuables; you’ll cut risk.
How Should I Stage a Finished Outbuilding When Listing My Home?
Stage it like turnkey flex space: deep-clean, declutter, add bright lighting, and define zones. Use Decorative staging—neutral furnishings, simple art, fresh textiles. Apply Landscaping tips: trimmed edges, path lighting, clear signage—boost perceived ROI.