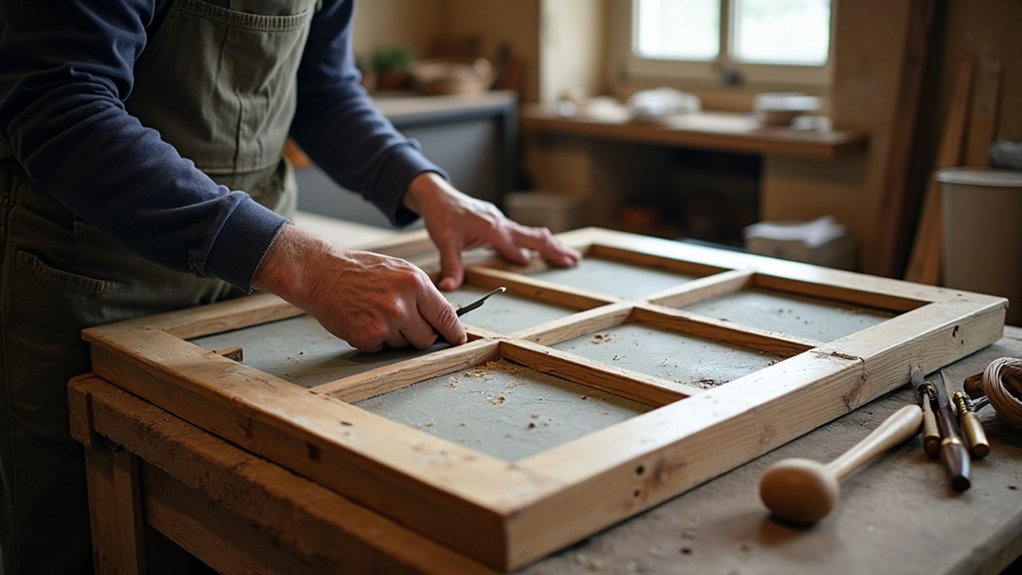

On one Victorian terrace job, you could tell a sash had “lost its tune” because it rattled with every bus that passed. If yours is draughty, sticking, or dropping, you don’t need to rip it out—you need a careful diagnosis and a methodical fix. You’ll score paint lines, support the sash, check cords and weights, then treat rot and tighten joints. Do this in the right order, and you’ll avoid wasted timber and time—starting with…
Key Takeaways
- Diagnose issues precisely: draught lines indicate failed seals, rattles mean loose beads, sticking comes from paint bridging or damp swelling.
- Open the window carefully by scoring paint lines, prying beads with a putty knife shield, and labeling parts for accurate refitting.
- Replace broken sash cords by accessing the weight pocket, matching weight pairs, tying braided cord securely, and testing travel before reassembly.
- Cure friction by lightly sanding pinched beads, planing high spots in small passes, and waxing channels with beeswax or candle.
- Repair decay and improve efficiency by cutting back rot, splicing matching timber or epoxy, re-gluing loose joints, and fitting brush-pile seals.
Diagnose Draughts, Rattles, Sticking, and Broken Cords
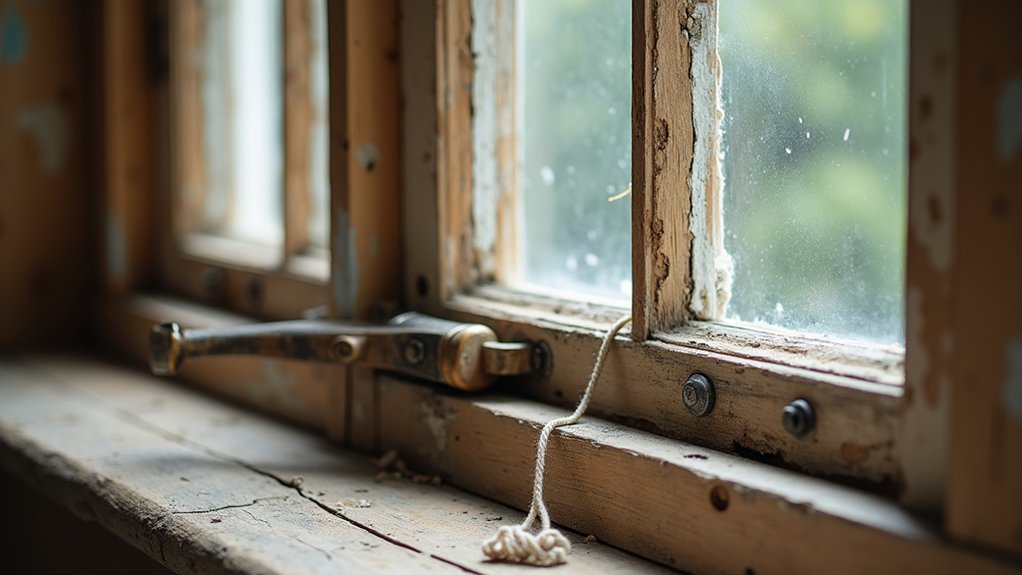
Before you buy parts or call a joiner, take 10 minutes to pinpoint what’s actually wrong with your sash window.
On a windy day, run your hand around the meeting rail and staff bead; cold lines usually mean flattened or missing draught seals, not warped timber.
Tap the sash gently: rattles often come from loose parting beads or worn sash lifts, so note where movement starts.
If it sticks, check if paint has bridged shut at the edges, or if the sash is swelling from damp—look for shiny rub marks and soft spots that need Material restoration, not sanding alone.
For broken cords, lift the sash a few centimetres; if it drops or feels weightless, the cord’s snapped.
Keep notes to protect Historical accuracy.
Open the Sash Window Safely (Tools and Parts List)
Once you’ve identified the fault, open the sash in a controlled way so you don’t crack old glass, snap brittle cords, or chew up the beads, and gather a small kit that keeps costs down.
Score paint lines with a sharp knife, then ease the staff bead with a thin pry bar and a wide putty knife as a shield. Label each bead and screw so you can refit them for Historical accuracy.
Support the sash with one hand while you free it; don’t lever against the glass or decorative glazing bars.
Bring: utility knife, scraper, putty knife, small pry bar, masking tape, pencil, bags for fixings, calipers, vacuum, soft brush, and a torch.
Keep: spare stainless screws, timber packers, beeswax, and low-tack glazing tape.
Fix Sash Cords, Weights, and Pulleys
With the sash out and your beads labelled, tackle the counterbalance next—most sticking, slamming, or dropping sashes come down to worn cords, jammed pulleys, or a weight that’s gone missing in the box.
Open the access pocket, vacuum debris, and fish out both weights; mark left/right so they’ll balance evenly. If a cord’s frayed, cut it back, tie on new braided sash cord, and melt the ends to stop fraying.
Spin each pulley; if it squeaks or binds, remove the screws, clean the axle, and add a drop of light oil, saving antique hardware whenever possible.
Rehang weights, set the knot into the weight’s eye, and test travel before refitting.
Keep Decorative glazing protected from knocks.
Stop Sticking Sashes: Ease Beads, Plane, and Wax
If your sash still drags after you’ve sorted the cords and weights, friction at the beads and paint build-up on the rails are usually to blame. Score paint lines with a sharp knife, then ease the staff bead and parting bead with a thin pry bar and scrap wood to protect historic finishes.
If the beads pinch, sand their edges lightly and refit; replace only if they’re badly distorted. Check the meeting rails for paint ridges and high spots; plane in tiny passes, keeping the blade sharp so you don’t tear the grain.
Vacuum dust, then rub candle wax or beeswax along the bead channels, pulley stile, and sash edges. Keep wax off Decorative glass and putty. Reassemble and test for smooth travel.
Repair Sash Window Rot, Loose Joints, and Add Draught-Proofing
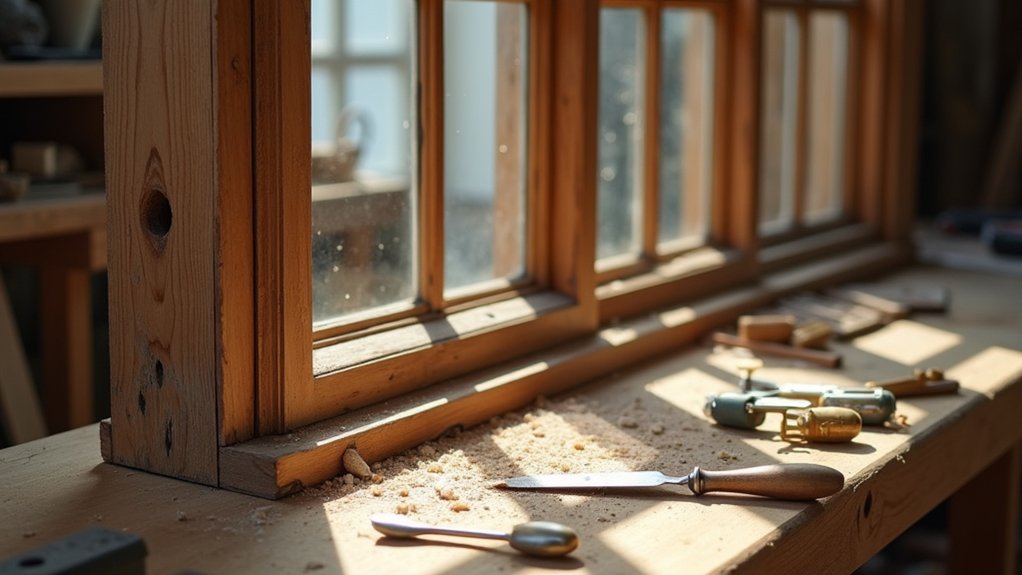
Smooth-running sashes won’t stay that way for long if the timber’s soft, the joints have opened up, or gaps keep letting damp air in. Probe suspect areas with an awl; if you hit firm wood, dry it and seal with primer. If it crumbles, cut back to sound timber, treat with boron, then rebuild with a two-part epoxy or splice in matching timber to keep historic authenticity.
For loose joints, pull the sash, clean out failed glue, then clamp square and re-glue with exterior PVA; add concealed screws or dowels only where needed. Check the wooden frame for racked corners and tighten fixings.
Finish by fitting brush-pile or compression seals to staff and parting beads; you’ll cut draughts without bulky strips. Paint exposed end grain.
Frequently Asked Questions
Do I Need Listed Building Consent Before Repairing Sash Windows?
Yes, you’ll often need listed building consent—absolutely essential—if repairs change fabric, glazing, or appearance. For like-for-like fixes, you may not, but check Historic preservation guidance and Building regulations; ask your conservation officer early.
What Paint Type Best Prevents Future Sticking on Sash Windows?
Choose a durable exterior satin or eggshell acrylic, or quality microporous alkyd, to reduce sticking. You’ll get better Paint durability with thin coats and light sanding. Keep Sash window maintenance up: wax runners, clear paint lines.
How Can I Improve Soundproofing Without Replacing Original Sashes?
You can hush, soften, and quiet noise by adding brush seals, compressible weatherstrips, and a snug staff bead—cost-wise soundproofing enhancements. Use sash insulation methods like secondary glazing, heavy curtains, and sealing pulley gaps.
When Should I Choose Secondary Glazing Over Full Window Restoration?
Choose secondary glazing when your sashes still operate but you need quick gains in Energy efficiency and quieter rooms on a tight budget, while preserving Historical accuracy. You’ll avoid disruptive joinery repairs and repainting.
What’s the Typical Cost Range for Professional Sash Window Repairs?
You’ll typically pay $300–$1,500 per sash; major overhauls can hit $2,500+. Since up to 30% of heat loss comes from windows, prioritize Window insulation and Wooden frame preservation to cut drafts and avoid costly replacements.