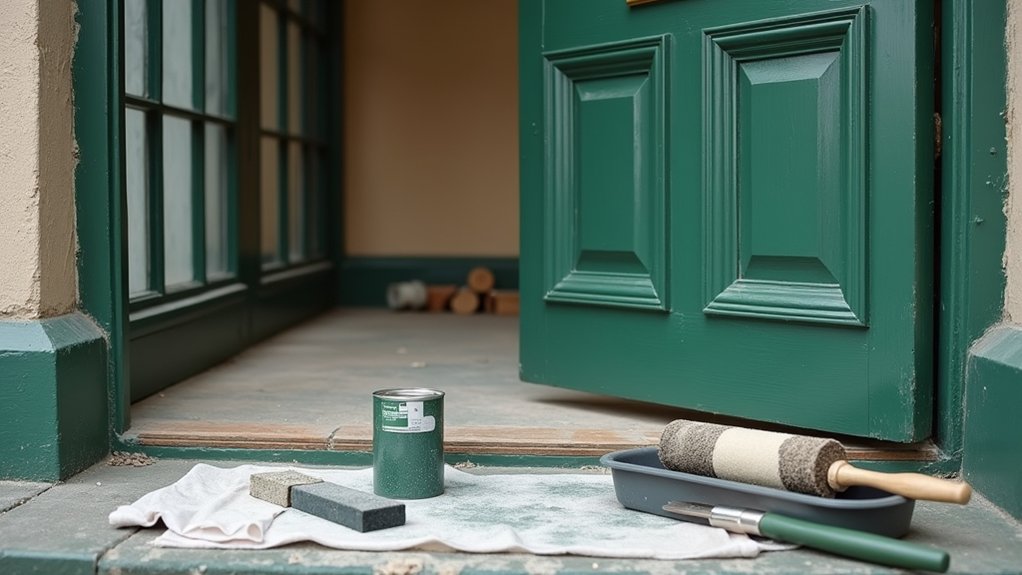

It must be said, a period front door has that certain appeal. You’ll start by checking the door like a joiner would: probe for soft timber, open joints, cracked mouldings, and loose glazing, then decide what you’re saving and what you’re replacing. Strip paint gently with infrared heat or a suitable solvent so you don’t blur profiles. Treat any rot with boron, splice or pack repairs, and seal end grain before you prime. Then you’ll choose the right exterior system and sheen—but first, you need a plan for…
Key Takeaways
- Inspect rails, stiles, panels, and joints for rot or looseness; trace moisture entry at the bottom rail and around the lockset.
- Photograph and label decorative hardware and glazing details; remove fittings carefully to avoid damage and preserve authenticity.
- Strip old coatings with infrared or solvent gel, using scrapers and nylon brushes; test for lead and keep mouldings and panel lines intact.
- Repair rot by cutting to sound wood, treating with boron, and splicing or using epoxy; re-bed glass with fresh linseed putty if needed.
- Spot-prime bare timber, seal end grain, apply bonding primer, then two exterior enamel topcoats with light sanding between for durability.
Inspect Your Period Front Door and Decide Your Approach
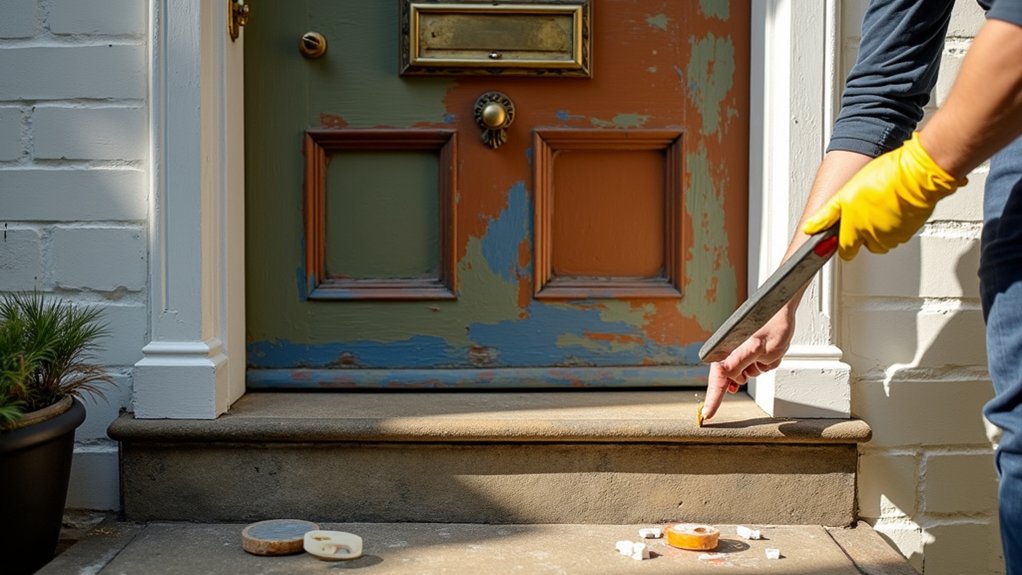
Before you pick up a scraper or a brush, take a close look at the door’s condition so you can choose the right level of work. Check the rails, stiles, and panels for rot, cracks, or loose joints by pressing with an awl and wiggling corners.
Note moisture paths at the bottom rail and around the lockset. Identify what you’re dealing with: solid timber, veneer, or earlier repairs, and record profiles and panel details for Historical accuracy.
Inspect glazing, putty lines, and beading if you’ve got glass. Evaluate Decorative hardware: hinges, knocker, letter plate, and escutcheons—look for wear, missing screws, and paint bridging.
Photograph everything, label parts, and decide whether you need minor patching or full repair.
Strip the Old Finish and Prep the Front Door
Once you’ve settled on the level of repair, strip back the old paint or varnish in a controlled way so you don’t blunt mouldings, loosen joints, or clog panel lines. Remove hardware, mask glass, and lay dust sheets. Test for lead; if suspected, use a low-dust method and a HEPA vacuum.
Soften coatings with an infrared heater or solvent gel, then lift with a sharp scraper held flat to profiles. Use nylon brushes and wooden picks in beads and corners. Rinse chemical stripper residues per label and let the timber dry fully.
Sand lightly (120–180 grit) to key, not reshape, preserving Historical authenticity. Vacuum, then wipe with denatured alcohol. Prime bare patches immediately and seal end grain for Weatherproofing techniques before moving on.
Repair Rot, Loose Glazing, and Door Mouldings
With the door stripped, dry, and keyed, you can now tackle the faults that paint won’t hide: rot in the bottom rail and stiles, putty that’s let go, and mouldings that have shifted. Probe suspect timber with an awl; cut back to sound wood, treat remaining fibres with boron preservative, then pack with two-part epoxy repair or splice in matching species for Historical accuracy. Clamp square and let it cure fully.
For loose glazing, ease out brittle putty, lift the pane carefully, and clean the rebate. Bed the glass on fresh linseed putty, refit glazing sprigs, then knife a neat face and tidy the sightline.
Re-pin loose mouldings, add exterior-grade glue, and punch nails below flush. Remove Decorative hardware before repairs.
Prime and Paint Your Period Front Door (Best System + Method)
Although the repairs now look solid, you’ll only lock them in and get an even topcoat if you use a proper exterior system: spot-prime bare timber and epoxy, seal end grain, then build coverage with a high-adhesion primer and two durable topcoats.
Start by de-nibbing to 120–180 grit and vacuuming dust. Spot-prime exposed wood and epoxy with an exterior stain-blocking primer; push it into joints and profiles.
Seal end grain (bottom rail, glazing bars) with thinned primer or dedicated end-grain sealer.
Apply one full coat of bonding primer, then lightly sand to 240 grit.
For color matching and historical accuracy, take a protected chip to your paint supplier and choose a traditional sheen.
Finish with two coats of exterior enamel, tipping off for smooth flow.
Frequently Asked Questions
Which Paint Colours Suit Different Victorian and Edwardian Door Styles?
Victorian doors suit jewel tones—oxblood, deep green, navy—while Edwardian styles suit lighter sages, creams, and duck-egg. Choose a heritage color palette, then: prime, apply satin paint finish for panels, gloss for trim.
Do I Need Listed Building Consent Before Repainting a Period Front Door?
You don’t usually need listed building consent for repainting, but you should check your listing and council first. Choose breathable paint, prep gently, follow historical paint techniques, then test small patches and consider upcycling ideas for hardware.
How Can I Improve Security Without Spoiling the Door’s Historic Character?
Fit a slim deadbolt and sash lock: you’ll add Modern security features discreetly. Reinforce hinges with steel screws. Install a door chain. Use historic preservation techniques: match brass finishes, hide plates, and keep original panels untouched.
What’s the Best Way to Draught-Proof a Period Door Without Damaging It?
Maybe you’re right: most heat loss slips through gaps. Fit compressible brush seals in the frame, add a concealed threshold seal, and use rope caulk around decorative glass; adjust door hardware for tighter closure, gently.
When Should I Replace the Door Versus Restoring It?
Replace it if rot’s structural, rails/stiles fail, or it won’t square. Otherwise restore: tighten door hardware, splice sound timber, re-glue joints, then apply weatherproofing techniques—new seals, threshold, and compatible paint system.