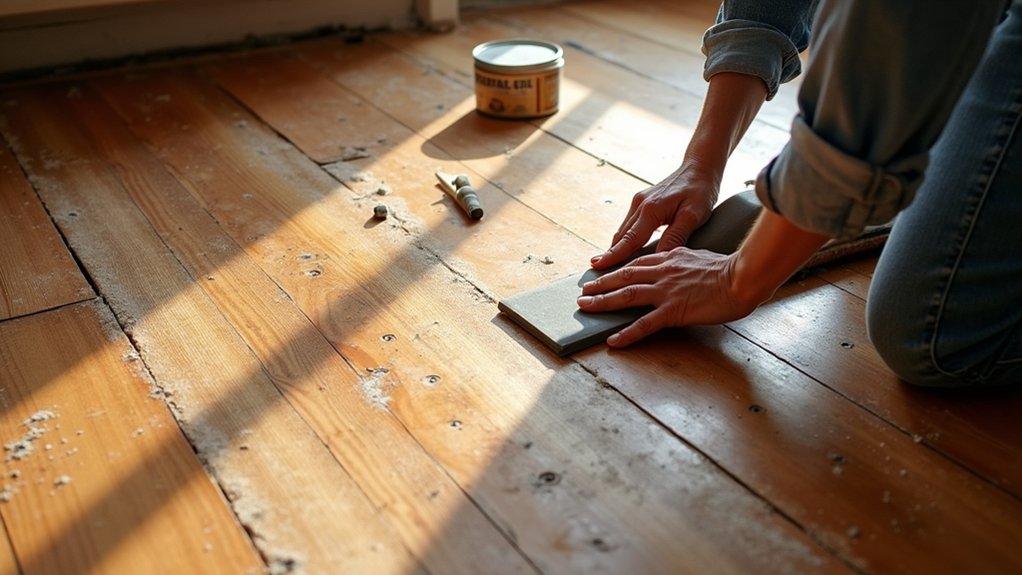

Let’s look at how to go about restoring period floorboards instead of having to replace them. Before you lift a corner of carpet or prise up a gripper rod, assess what lies beneath and whether the original boards can be saved. Period floorboards often carry marks, gaps and unevenness that add character, but rot, woodworm, damp and unsafe coverings can change the plan. You’ll need to distinguish repairable wear from structural damage, then choose materials and finishes that suit the building’s age. The first exposed board will tell you more than you expect.
Key Takeaways
- Assess board species, thickness, patina, and damage to decide whether restoration is more practical and authentic than replacement.
- Test suspect coverings for asbestos and resolve damp or leak issues before lifting carpets, vinyl, adhesives, or underlay.
- Remove coverings carefully, extracting staples and grippers without gouging boards, then vacuum thoroughly before inspection or repairs.
- Repair loose, split, or missing boards with acclimatised reclaimed timber matching the original species, width, thickness, and grain.
- Prepare thoroughly before sanding, then sand progressively with the grain and apply a tested finish that complements the period character.
Check Whether Period Floorboards Are Worth Restoring
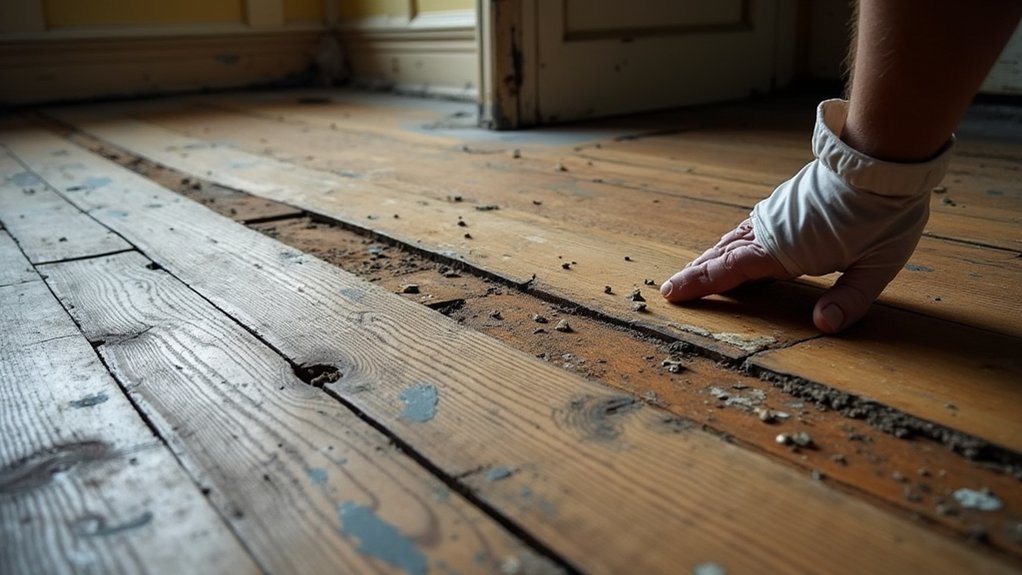
Before you lift a carpet or order sanding equipment, assess whether the boards can be restored without compromising their strength or character. Identify the timber species, board width, age, and existing finish. Original pine, elm, or oak boards often justify careful repair because their irregular grain, patina, and hand-cut details support Historical authenticity.
Check visible sections for excessive cupping, deep splits, woodworm damage, thin worn edges, or previous over-sanding. Measure thickness at exposed joints; boards with little material left may not tolerate another full sanding.
Consider whether gaps, stains, and nail holes add period character or undermine practical use. Compare likely Restoration costs against replacement, including repairs, matching reclaimed timber, fastening, and finishing.
Restore when the floor remains structurally sound, repairs can blend sympathetically, and its original fabric contributes meaningful value.
Check for Hazards Before Lifting Carpet
Before lifting the carpet, check for concealed nails, tack strips, loose boards, and damaged underlay.
If you find suspect adhesive, backing, or old floor coverings, arrange asbestos testing before disturbing them.
Check the floorboards and subfloor for damp staining, mould, or softness so you don’t expose timber to further damage.
Identify Hidden Hazards
Start by checking the room for hazards that could complicate carpet removal or damage the boards beneath. Move furniture carefully and inspect edges, doorways, and radiator pipes for loose gripper rods, protruding nails, staples, or sharp carpet tacks. Wear gloves, sturdy shoes, and eye protection before you pull anything up.
Look for damp patches, musty smells, staining, or soft areas that may indicate leaks, rot, hidden insect infestations, or underlying structural damage. Probe suspect sections gently with a blunt tool rather than levering boards prematurely.
Check for signs of rodents, old adhesives, broken glass, and crumbling plaster that may have collected beneath the carpet. Photograph problem areas and note their locations. This early inspection helps you lift the covering in manageable sections, protect sound original timber, and plan repairs without causing avoidable loss.
Test for Asbestos
If the property dates from before 2000, treat old floor coverings and associated materials with caution: asbestos can occur in vinyl tiles, bitumen adhesive, underlay, insulation around pipes, and some textured backing products.
Don’t pull up carpet, scrape black adhesive, or break brittle tiles until you’ve completed hazard identification.
Arrange asbestos testing through a competent surveyor or use an accredited laboratory’s sampling service.
Leave suspect materials intact wherever possible; disturbing them can release harmful fibres and contaminate otherwise sound floorboards.
Photograph layers, note locations, and cover exposed edges temporarily while you await results.
If asbestos is confirmed, use a qualified removal contractor where required and retain the report for your restoration records.
Once cleared, lift coverings carefully with hand tools, protecting original boards from gouges, unnecessary nail damage, and adhesive residue.
Check for Dampness
With asbestos risks addressed, check the room for dampness before lifting carpet or exposing the boards. Look for staining around skirting boards, musty odours, lifted edges, mould, and rusted carpet grippers. These signs can indicate leaks, poor ventilation, or moisture rising through the subfloor.
Use moisture detection equipment on several areas, especially near external walls, fireplaces, radiators, and door thresholds. Compare readings across the room rather than relying on one spot. If you find elevated moisture, identify and fix the source before removing coverings or sanding timber.
Inspect accessible air bricks, pipes, and gutters, and ensure suspended floors have clear underfloor ventilation. Water damage can soften boards, corrode nails, and encourage fungal decay.
Let the structure dry fully, then reassess the timber’s condition. This prevents you from restoring boards that will deteriorate again beneath a new finish.
Lift Carpet, Grippers and Coverings Carefully
Before you expose the boards, clear the room and lift the carpet from a corner, rolling it back rather than dragging it across the surface.
For Carpet removal, wear gloves and use pliers to ease staples free, keeping a container nearby for sharp fixings. Pull carpet grippers up gently with a pry bar, placing a wide scraper beneath it to spread pressure and avoid gouging the timber.
Work along the wall in short sections rather than forcing long lengths loose.
If you find underlay, paper, vinyl or hardboard, remove it methodically and bag debris as you go. Covering protection matters if you intend to reuse any material: roll it cleanly, label its location and store it dry.
Vacuum thoroughly once the floor is clear, but don’t scrape or sand yet.
Inspect Boards for Rot, Woodworm and Gaps
Once the floor is clean and exposed, inspect every board in good light before planning repairs. Look for dark staining, softness, crumbling fibres or a musty smell, particularly beside fireplaces, external walls and plumbing routes. Probe suspicious areas gently with an awl; sound timber resists, while rot yields easily. Trace moisture sources first, since replacement timber won’t last if damp persists.
Check for fresh woodworm holes, pale dust and weakened edges. Old holes alone don’t confirm active infestation, but fresh frass may require specialist advice. Good ventilation, dry conditions and appropriate woodworm prevention protect retained boards.
Measure gaps across several areas, noting seasonal movement and original board widths. Avoid sealing every narrow joint rigidly: period floors need room to expand. Choose gap filling techniques that suit the gap size, draught levels and intended finish.
Repair Loose, Split and Missing Floorboards
Secure loose floorboards with appropriate screws or cut nails, fixing into sound joists without damaging adjacent timber.
Repair minor splits with a compatible wood adhesive and clamps, but replace badly fractured boards.
For missing sections, source reclaimed boards that match the original species, width, and thickness as closely as possible.
Securing Loose Floorboards
Loose, split, or missing floorboards need repair before you sand or finish the floor, as movement can damage surrounding timber and create unsafe gaps. First, lift any loose board carefully and inspect the joist beneath for sound timber, old nails, pipes, and cables. Remove protruding fixings, then bed the board firmly onto the joist without forcing its edges against neighbouring planks.
Use countersunk screws rather than new nails where possible, positioning them through existing nail holes to limit visible intervention. Drill pilot holes to prevent brittle, aged timber from splitting, and set screw heads slightly below the surface for later filling. Check that the board sits level and doesn’t flex underfoot.
Work cautiously around Decorative inlays and preserve original Floorboard patterns, avoiding unnecessary cuts or altered fixing lines.
Replacing Split Or Missing Boards
When a split board can’t be stabilised or a section is missing, replace only the damaged length to retain as much original timber as possible.
Cut back to sound wood, ideally over a joist, and square the ends neatly. Check the existing board’s thickness, width, species and edge profile before sourcing a repair piece.
Material selection matters: use reclaimed pine, oak or deal of similar age, grain and density where possible. This supports Historical accuracy and helps the patch move and wear like the surrounding floor.
Acclimatise replacement timber indoors before fitting. Scribe its edges for a tight, honest joint, then fix it through the tongue or face with appropriate cut nails or screws.
Countersink fixings carefully, plug where needed, and avoid excessive filler. Finish the repair to match the floor’s existing treatment.
Prepare and Sand Period Floorboards Safely
Before sanding, clear the room, lift any remaining carpet grippers or staples, and punch protruding nail heads below the board surface. Check each repaired board is firmly fixed, then vacuum gaps and edges to remove grit that could score the timber. Open windows where possible, but seal doorways to limit dust travelling through the house. Wear appropriate safety equipment: a fitted dust mask, goggles, hearing protection, and sturdy footwear.
Use a drum or belt sander only on sound, level boards, moving steadily with the grain and never pausing in one place. Start with a coarse abrasive only where old coatings or unevenness demand it, then progress through finer grades.
Use an edging sander carefully around skirting boards. These sanding techniques preserve the boards’ character while removing splinters, paint residue, and surface wear. Vacuum thoroughly between passes.
Choose the Best Finish for Period Floorboards
With the boards clean, smooth, and fully dust-free, you can choose a finish that protects the timber without masking its age and grain. Test samples beneath furniture first, as old pine, elm, and oak absorb products differently.
Hardwax oil is a practical choice: it penetrates the fibres, leaves a low-sheen surface, and allows local repairs without stripping the whole floor. Use a clear or lightly tinted oil to avoid an overly new appearance.
Finish options also include traditional shellac, wax, and durable water-based lacquer. Wax suits low-traffic rooms but needs regular buffing and offers limited spill resistance.
Antique varnishes can give a convincing period look, yet some darken quickly or form a brittle film. Choose breathable products where possible, especially over old boards, and apply thin coats along the grain.
Let each coat cure fully before replacing rugs or furniture.
Frequently Asked Questions
How Much Does Professional Floorboard Restoration Typically Cost?
You’ll typically pay £25–£50 per m² for professional restoration, depending on floorboard materials, damage, access, and restoration techniques. Expect higher costs for repairs, gap filling, stain matching, or replacing unsalvageable boards.
Can Underfloor Insulation Be Added During Restoration?
Yes, you can add thermal insulation during restoration by lifting boards carefully, fitting breathable materials between joists, and installing moisture barriers where appropriate. You’ll improve comfort while protecting timber, ventilation paths, and the floor’s original character.
Will Restored Floorboards Increase My Home’s Value?
Yes, restored floorboards can increase your home’s value by highlighting original timber, sound condition, and careful craftsmanship. You’ll attract buyers with authentic Floorboard patterns and durable Decorative finishes that suit the property’s period character.
How Do I Reduce Noise Between Floors After Restoration?
You can reduce noise by fitting acoustic mineral wool between joists, adding resilient underlay beneath carpets or rugs, and using floorboard sealing to close gaps. These soundproofing techniques preserve restored timber while limiting airborne and impact noise.
Are There Listed-Building Rules for Restoring Original Floorboards?
Yes, listed building regulations may require consent before you lift, replace, or alter historic boards. Check original flooring guidelines with your conservation officer, retain sound timber, document repairs, and use matching species, dimensions, and fixings.