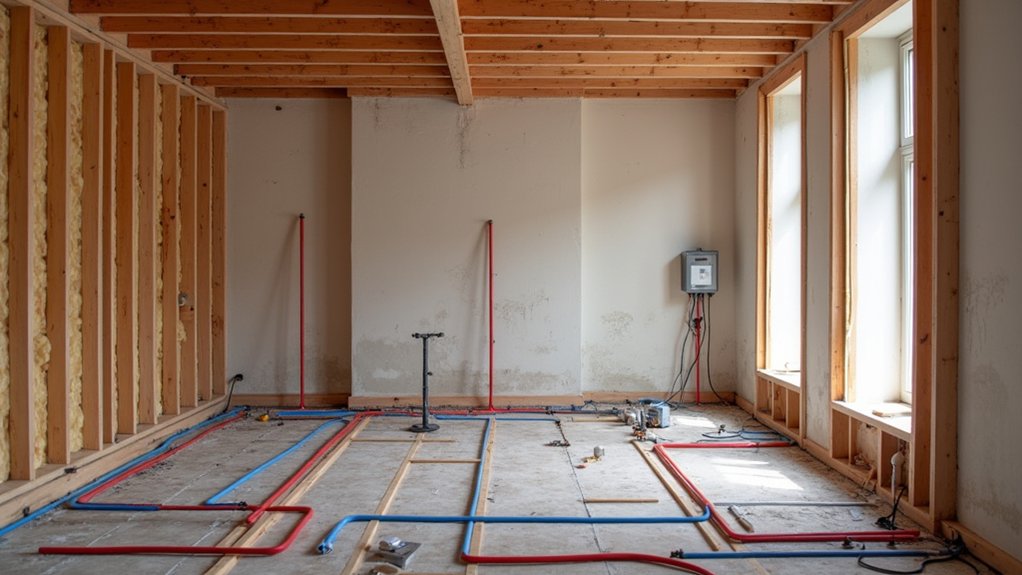

Retrofitting underfloor heating can improve comfort and efficiency, but you’ll need to verify that your existing floors, insulation, and electrical or plumbing systems can support it. Start by evaluating floor construction, available height, moisture levels, and the final floor covering. Then compare electric and wet systems against each room’s size, heat loss, and installation limits. Small planning errors can affect performance, costs, and floor levels, so the right sequence matters.
Key Takeaways
- Assess floor construction, subfloor condition, available height, insulation, moisture, and compatibility with the intended floor covering.
- Choose electric systems for targeted, shallow installations, or wet systems for efficient whole-home heating integrated with boilers or heat pumps.
- Plan zones, thermostats, schedules, manifolds, heat-loss calculations, and compatibility with existing controls before ordering equipment.
- Remove finishes carefully, install insulation and heating elements correctly, pressure-test or electrically test systems, and photograph concealed work.
- Confirm moisture levels before reinstating flooring, then coordinate thresholds, skirtings, ventilation, maintenance, and future access.
Check If Your Floors Suit Retrofit Heating
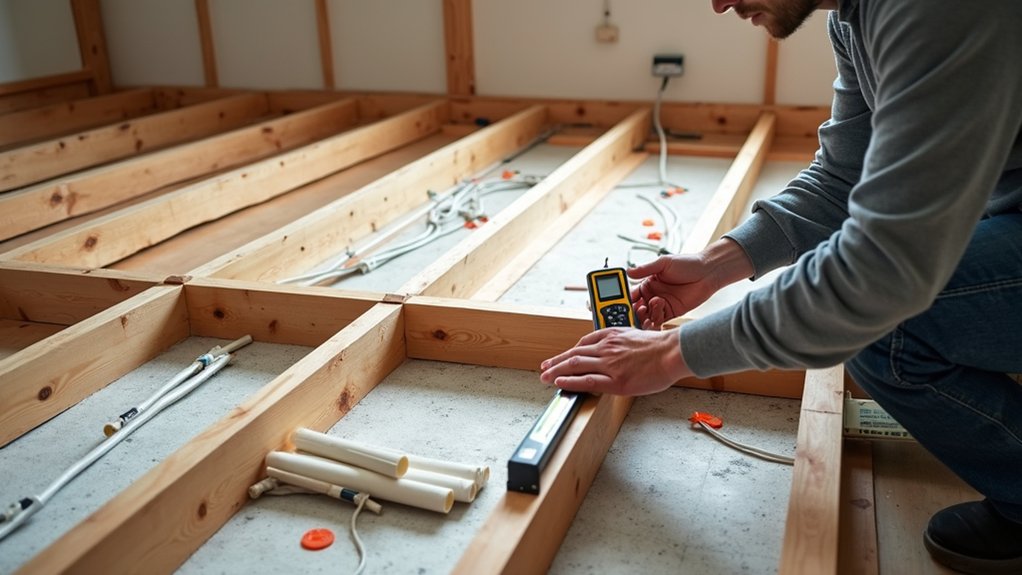
Before choosing a retrofit underfloor heating system, check your floor construction, available build-up height, and finished-floor materials. Measure door clearances, skirting levels, stairs, and thresholds to confirm the new assembly won’t obstruct movement or require extensive alterations.
Assess the subfloor condition before installation. It must be sound, dry, level, and free from movement, dampness, contamination, and loose sections. Repair cracks, replace damaged boards, and correct uneven areas within the manufacturer’s permitted tolerance.
On suspended timber floors, inspect joists, ventilation, insulation, and structural deflection. Solid floors may require moisture testing and a compatible damp-proof treatment.
Evaluate each Floor material for thermal compatibility. Tile, stone, engineered timber, and approved resilient coverings usually transfer heat effectively, while thick carpet and insulating underlays can restrict output. Confirm manufacturer limits for temperature, adhesion, and dimensional stability before proceeding. Installing underfloor heating Ireland wide is becoming the top choice for modern homeowners seeking energy efficiency.
Compare Electric and Wet Retrofit Systems
Choose an electric system for targeted rooms, simpler installation, and independent zone control; choose a wet system when you’re heating larger areas or integrating with a boiler or heat pump.
Electric mats or cables fit shallow build-ups and connect directly to your electrical supply, but running costs can rise with extensive use.
Wet systems circulate heated water through pipes, typically delivering better energy efficiency with low-temperature heat sources, although they require manifolds, pumps, controls, and suitable pipe routes.
You’ll need to assess floor height, available electrical capacity, heat-loss calculations, and heat-source compatibility before selecting either option.
Electric installations usually involve fewer components, so maintenance requirements remain minimal.
Wet systems demand periodic checks of pressure, pumps, valves, and controls.
Both systems require reliable insulation and accurate thermostatic control to limit heat loss and operating costs.
Choose the Best System for Each Room
Choose the system by evaluating each room’s size and layout, including available installation zones and heat-loss patterns.
Confirm that your flooring can tolerate the selected system and delivers heat efficiently.
Then match the installation to your existing heating system, choosing electric or wet heating based on compatibility and control requirements.
Room Size and Layout
Room size and layout determine whether electric or water-based underfloor heating will deliver the best result.
In a compact bathroom, electric mats suit irregular areas and provide rapid, controllable heat without requiring extensive pipework. You can also zone individual rooms, reducing unnecessary energy use.
For large, open-plan spaces, water-based heating usually offers better running efficiency, particularly when paired with a heat pump or efficient boiler.
Assess the room’s usable floor area rather than its total dimensions. Fixed units, kitchen cabinets, and wardrobes reduce coverage and create exclusion zones.
Plan furniture placement before selecting the system, ensuring heating elements don’t sit beneath permanent fixtures.
Consider natural light, too: rooms with substantial glazing may need higher output near external walls to offset cooler surfaces and maintain even comfort.
Calculate heat loss for each zone before installation.
Flooring Compatibility
Once you’ve mapped each zone and its heat loss, match the system to the finished floor. Tile and stone transfer heat efficiently, making them reliable choices for kitchens, bathrooms, and hallways.
Engineered timber can work well when the manufacturer approves underfloor heating; maintain the specified moisture content and surface-temperature limit to prevent movement.
Use compatible vinyl, laminate, or carpet products, checking their combined tog rating, including underlay. Lower resistance improves response and reduces required operating temperatures.
Existing floor levels, door clearances, insulation, and subfloor condition create installation challenges. You may need to remove thick finishes, repair uneven substrates, or adjust thresholds before installation.
Don’t place high-resistance rugs over heated areas, and confirm adhesive, grout, and levelling compounds tolerate repeated temperature changes.
Coordinate every flooring material with the installer before ordering.
Heating System Type
Select the heating system for each room according to its floor construction, heat loss, available build height, and control requirements. Choose wet underfloor heating where you’re refurbishing floors extensively or connecting to an efficient heat pump. Pipe spacing and circuit length must match the room’s calculated heat demand, while manifold placement should limit concealed pipe runs.
Use electric mats or loose cables for bathrooms, kitchens, and individual rooms when you need minimal floor buildup and straightforward installation. Confirm the existing electrical supply can handle the designed load and provide suitable residual-current protection.
Check Thermostat compatibility before purchasing controls, particularly if you’re integrating smart zoning or a heat-pump system. Finally, assess maintenance requirements: wet systems need accessible manifolds and isolation valves, whereas electric systems require sound testing records and protected connections beneath the finished floor.
Plan Insulation, Floor Height, and Flooring
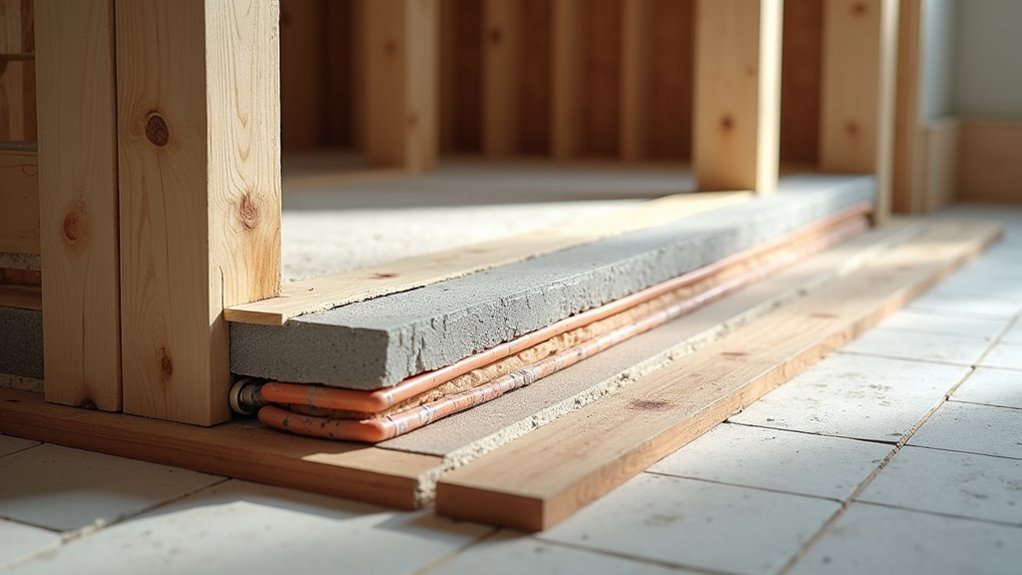
Before you choose an underfloor heating system, plan the insulation, finished floor height, and floor covering together.
Check the existing floor structure, available buildup, door clearances, stairs, skirting, and thresholds.
A low-profile electric or hydronic system may suit limited height, while thicker insulation can improve efficiency but raise the floor level.
Specify insulation with low thermal resistance beneath the heating layer, and avoid placing high-resistance materials above it.
Confirm that your chosen timber, vinyl, tile, or carpet carries the manufacturer’s maximum temperature and thermal resistance limits.
For solid floors, address damp risks with suitable moisture barriers and guarantee the substrate remains stable and level.
Allow expansion gaps where required, particularly with timber.
Coordinate these dimensions before ordering materials, so the finished floor meets adjacent rooms cleanly and safely.
Follow the Retrofit Installation Process
How should you sequence the work? Begin with a site survey, confirming joist direction, floor condition, manifold location, and the heating design.
Remove floor finishes carefully, recording their positions for reinstatement. Protect retained features, especially in listed buildings, where Historical preservation may dictate reversible methods and minimal fabric removal.
Install insulation, then fit the chosen pipe or electric-mat system to the manufacturer’s spacing and fixing requirements. Route circuits without sharp bends, secure every run, and label each loop at the manifold.
Pressure-test wet systems before covering them; test electrical resistance and insulation on electric systems. Photograph the installation for future maintenance.
Add the specified screed or overlay, allowing full curing and controlled drying. Reinstate flooring only after moisture levels meet its requirements.
Coordinate thresholds, skirtings, and vents for clean aesthetic integration, then commission each zone systematically.
Compare Costs, Running Costs, and Controls
Compare the installed cost with expected running costs, because a low-cost system may be less economical if it needs higher water temperatures or delivers uneven heat.
Assess pipework, insulation, floor alterations, controls, and labour before choosing between wet and electric systems.
A wet system usually suits whole-home heating and can support heat-pump Energy efficiency, but installation complexity and floor buildup may increase costs.
Electric mats often install faster and cost less initially, yet they can cost more to operate across large areas.
Ask installers for heat-loss calculations, design temperatures, projected annual consumption, and maintenance requirements.
Specify room thermostats, programmable schedules, weather compensation, and zoning so you’ll control output precisely.
Confirm compatibility with your boiler, heat pump, tariff, and smart-home platform before approving the quotation.
Avoid Common Retrofit Heating Problems
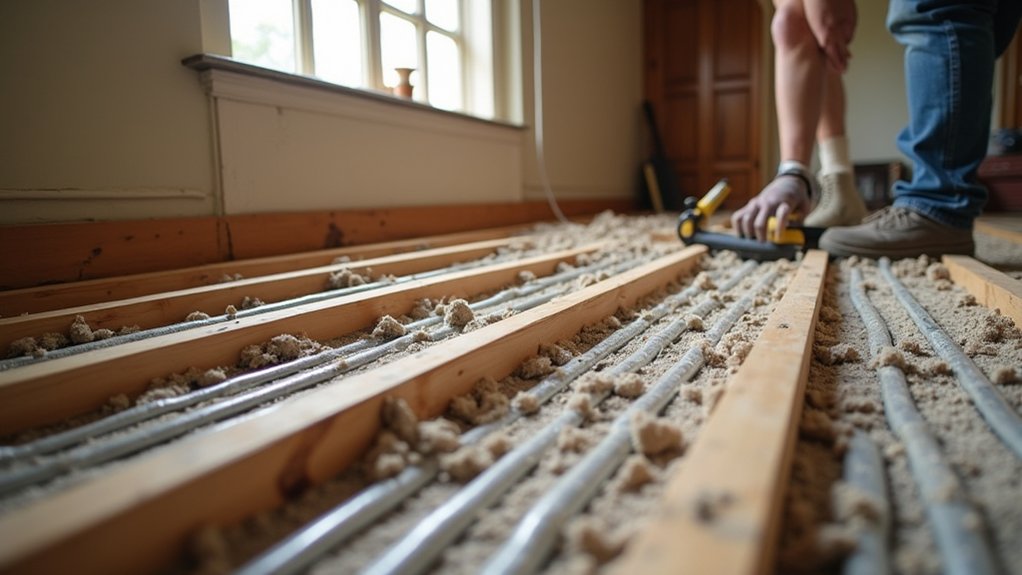
Avoid retrofit problems by evaluating how the system will affect finished floor height, door clearances, and shifts. Check insulation levels before installation so heat moves upward rather than escaping into the subfloor.
You’ll also need to plan compatible heating controls, including thermostats, zoning, and sensor placement.
Assess Floor Height
Before choosing a retrofit underfloor heating system, measure the available floor buildup and confirm how much finished-floor height the room can accommodate. Include the heating system, adhesive or screed, floor covering, and any required changeover strips in your calculation.
Compare this total with door clearances, skirting boards, stairs, thresholds, and fitted furniture. If the buildup exceeds the available allowance, you’ll need a floor height adjustment, such as a low-profile system, recessed channels, or trimmed door leaves.
Don’t remove material from a structural floor without professional approval; structural support and load paths must remain intact. Coordinate levels between adjoining rooms to prevent trip hazards and preserve accessibility.
Record every dimension before ordering components, then confirm the final assembly with your installer and flooring manufacturer. This prevents costly alterations after installation.
Check Insulation Levels
Check the floor, wall, and perimeter insulation before selecting the heating output, because underfloor systems can’t compensate efficiently for excessive heat loss. Inspect suspended floors, slab edges, external walls, and junctions for gaps, dampness, compression, or missing thermal barriers. Upgrade weak areas before installation, using insulation materials compatible with the building fabric and available floor depth.
For suspended timber floors, support insulation securely between joists and maintain ventilation to prevent condensation and decay. On solid floors, verify that insulation beneath or above the slab meets current performance requirements; adding it may affect finished floor levels.
Pay particular attention to room perimeters, thresholds, and projecting elements, where heat can bypass the system. Improving the envelope reduces operating temperatures, limits heat loss, and helps the retrofit deliver consistent comfort without oversizing.
Plan Heating Controls
Plan the controls around the floor’s slow response and the building’s heat demand, rather than treating underfloor heating like a conventional radiator system. Set realistic temperature setbacks; switching the system off for several hours can create long recovery times and discomfort.
Use Smart thermostats with floor-temperature limits where required, especially beneath timber, vinyl, or other sensitive finishes.
Position room sensors away from direct sunlight, draughts, radiators, and heat-producing appliances so readings remain representative.
Install zoning controls to separate rooms with different occupancy patterns, insulation levels, or floor coverings.
Balance each circuit and commission flow rates before adjusting schedules.
If you’re connecting the system to a heat pump, use weather compensation and low flow temperatures to improve efficiency.
Test every zone, actuator, sensor, and override before handover.
Frequently Asked Questions
Can Underfloor Heating Improve Allergy Symptoms Compared With Traditional Radiators?
Yes, you may experience fewer allergy symptoms with underfloor heating because it creates gentler air movement than radiators, reducing dust circulation. However, it doesn’t provide Air filtration; combine heating with cleaning for allergen reduction.
How Long Does Retrofitted Underfloor Heating Typically Last Before Requiring Replacement?
You can expect retrofitted underfloor heating to last 25–50 years, depending on installation quality, thermal insulation, controls, and system maintenance. Replace components sooner only if damage, corrosion, or persistent performance problems develop.
Can Furniture, Rugs, or Built-In Wardrobes Safely Cover Heated Floor Areas?
You can cover heated floors selectively. Furniture placement should allow heat circulation; avoid thick, insulating rugs and coverings. Don’t install built-in wardrobes over heating zones unless the manufacturer confirms clearance, ventilation, and temperature limits.
Does Underfloor Heating Affect Indoor Air Quality or Household Humidity Levels?
Underfloor heating generally improves Air circulation and reduces Dust accumulation compared with radiators, but it doesn’t considerably alter humidity. You’ll still need ventilation, moisture control, and regular cleaning to maintain healthy indoor air quality.
Are There Environmental Grants or Financing Options Available for Retrofit Underfloor Heating?
You may find Government incentives or Green financing for retrofit underfloor heating, depending on your location and property. Check eligibility, approved installers, energy-performance requirements, application deadlines, interest rates, and repayment terms before committing.
Conclusion
Retrofitting underfloor heating works best when you treat it as a coordinated floor-build project, not a product swap. Check the structure, select electric or wet heating room by room, upgrade insulation, and protect finished floor levels. Accurate controls and sensor placement then deliver efficient comfort. One homeowner who skipped subfloor testing faced costly remedial work when tiles cracked—proof that small checks prevent large failures. Plan carefully, and your floor can become a reliable, silent radiator.