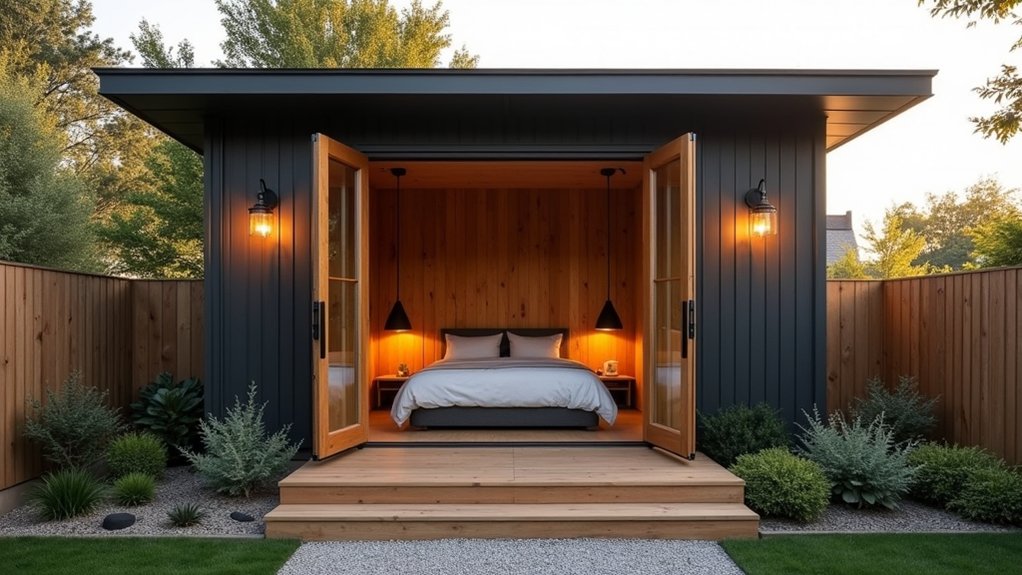

Turning an outbuilding into a guest suite is like converting wasted square footage into cashflow. You’ll define the non-negotiables—sleep, bath, and heat—then lock down permits, egress, and utility access before you spend a dollar on finishes. You’ll measure tight, optimize the layout, and map electrical, lighting, ventilation, HVAC, and a realistic plumbing route. Do this right and you avoid rework, protect resale, and raise nightly value—but one early decision can make or break your budget…
Key Takeaways
- Define guest priorities early: real mattress, acoustic insulation, blackout shades, durable bathroom finishes, and climate-appropriate heating for predictable comfort.
- Confirm permits, zoning, setbacks, and rental rules; design code-compliant egress windows and clear emergency paths before finalizing plans.
- Lock the footprint with exact measurements; verify ceiling heights, door swings, furniture clearances, and walkways to avoid costly layout rework.
- Plan utilities and mechanicals: map power, water, sewer, gas, and internet tie-ins, and keep shutoffs, cleanouts, panels, and filters accessible.
- Choose plumbing strategy upfront: tie-in for shorter runs and easier winterization, or legal off-grid systems with servicing plans, parts, and guest instructions.
Define Your Guest Space: Sleep, Bath, Heat
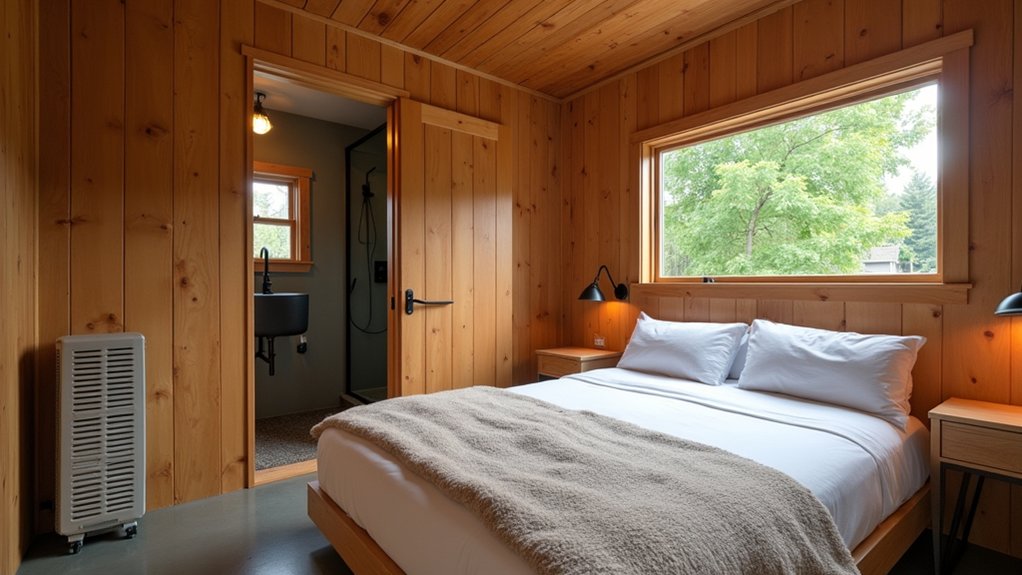
Before you buy materials or sketch a floor plan, lock in what your guest space must deliver: a comfortable place to sleep, a reliable bathroom setup, and heat that works in your climate.
Start with sleep comfort: size the room for a real mattress, not a sofa bed, and budget for acoustic insulation and blackout shades. These upgrades cut complaints and lift nightly rates.
Next, set your bath design around durability and easy cleaning: a one-piece shower, slip-resistant floor, and a vent fan sized for the room. Place wet walls back-to-back to reduce plumbing runs and labor.
Finally, choose heat for predictable operating costs: mini-split for most zones, radiant for cold floors, or direct-vent for simple installs. Document specs now to prevent rework later.
Check Permits, Egress, and Utility Access Early
Before you spend on finishes, you’ll confirm your local permit requirements so you don’t risk stop-work orders, redesign fees, or forced tear-outs.
You’ll also verify code-compliant egress—door and window sizes, clear paths, and emergency access—so the space can legally function as a guest suite.
Finally, you’ll map utility connection access (power, water, sewer/septic, gas, and internet) to keep trenching, upgrades, and tie-ins predictable and profitable.
Verify Local Permit Needs
Where do most outbuilding-to-guest-suite projects lose time and money—long after the framing’s done? In the permit office. Before you design, confirm whether your structure qualifies as habitable space and triggers plan review, inspections, or change-of-use paperwork.
Check local zoning for setbacks, lot coverage, height limits, parking requirements, and short-term rental restrictions that can shrink rentable square footage or kill the idea entirely. Then map the relevant building codes for insulation, fire separation, structural loads, and bathroom/kitchen requirements so your drawings match what inspectors expect.
Call the planning desk, ask for a written checklist, and budget fees, survey needs, and review timelines. Early answers prevent redesigns, stop-work orders, and costly rework.
Confirm Safe Egress Routes
Even if the layout looks perfect on paper, you’ll lose ROI fast if the suite can’t meet egress and access rules once utilities and finishes go in. Confirm window sizes, sill heights, and clear opening dimensions for sleeping areas, then map a direct path to exterior doors without pinch points.
Place Emergency exits where guests can find them in smoke or darkness, and make sure doors swing and hardware don’t create bottlenecks.
Test real walk paths with taped outlines for furniture, luggage, and a stroller or wheelchair.
Bake in Accessibility features like level thresholds, adequate hallway width, and reachable latches so you attract more renters and avoid costly rework.
Document measurements and keep them aligned with local code interpretations.
Plan Utility Connection Access
How will a plumber, electrician, or inspector reach every shutoff, cleanout, and panel once the guest suite’s finished and booked? You’ll protect your revenue by designing utility access before walls close. Place water shutoffs, hose bibs, and cleanouts in closets or exterior service bays with labeled doors, not behind built-ins. Keep the electrical panel clear, code-spaced, and reachable without moving furniture.
Map HVAC filters, condensate lines, and GFCI outlets so routine service doesn’t interrupt stays. During connection planning, verify trench routes, pipe sizing, venting, and backflow needs; conflicts get expensive after landscaping.
Pull permits early and schedule rough-in inspections so you don’t redo drywall. Add an as-built utility map for faster repairs and lower downtime later.
Measure and Finalize the Guest Space Layout
Before you buy materials or move a single wall, lock in the exact footprint of your guest space with real measurements and a scaled layout. Verify interior dimensions, ceiling height, and any out-of-square corners, then transfer them to graph paper or a digital plan at 1/4-inch scale.
Place door swings, window rough openings, and clear walking paths so you don’t waste rentable area. Use space optimization to right-size the sleeping zone, seating, and storage without overbuilding.
Confirm furniture sizes and required clearances, then mark them on the plan to prevent costly rework. Tight drawings also improve material selection: you’ll order accurate framing, sheathing, flooring, and trim quantities, cutting overages and trips.
Finally, confirm the layout matches code-required egress and accessibility goals before you commit.
Plan Electrical, Lighting, Ventilation, and HVAC
Next, you’ll map your electrical load and circuits so the panel, outlets, and dedicated runs for HVAC and appliances are sized right the first time—avoiding costly rework.
You’ll plan a lighting layout with the right fixture types and controls (switch locations, dimmers, and task vs. ambient zones) to boost comfort without inflating your power bill.
Finally, you’ll size ventilation and HVAC to the room’s volume, insulation, and occupancy so you don’t overpay for equipment that short-cycles or underperforms.
Electrical Load And Circuits
Where does your guest outbuilding’s power actually go once you add lighting, outlets, ventilation, and HVAC? It goes to a load calculation that should protect comfort and your budget.
List every fixed appliance, fan, heater, mini-split, water heater, and any EV outlet you might add later, then total watts and convert to amps.
Match loads to circuit capacity so high-draw equipment gets dedicated runs and nuisance trips don’t spoil guest stays. Use breaker selection to right-size protection: don’t oversize to “fix” tripping, and don’t undersize and waste service headroom.
Balance circuits across legs, plan for start-up surges, and leave spare breaker spaces for future upgrades. This reduces callbacks, avoids panel swaps, and improves rental uptime.
Lighting Layout And Controls
Although load calculations keep you from overbuilding your panel, a smart lighting layout and control plan is what makes the space feel premium while keeping energy and maintenance costs predictable.
Start by mapping tasks: reading, cooking, entry, and vanity.
Layer lighting—ceiling for ambient ambiance, wall or pendant for faces, and under-cabinet or toe-kick for safety.
Keep fixture types consistent so you can stock one spare driver or lamp and cut downtime.
Split the room into control zones: entry, main, kitchenette, bath, and exterior.
Put each zone on a dimmer or scene keypad so guests don’t hunt for switches, and you avoid “all-on” waste.
Add occupancy sensors in closets and bath, and use photocell timers outside to protect margins year-round.
Ventilation And HVAC Sizing
Two right-sized systems—fresh-air ventilation and HVAC—do more for guest comfort and your operating costs than any high-end finish. Start by estimating loads, not guessing: calculate heat gain/loss from insulation, window area, orientation, and occupancy, then pick HVAC capacity that meets design temps without short-cycling.
For ventilation, target code-minimum outdoor air and control it with a continuous or intermittent bath fan, or a small HRV/ERV if the unit’s tight. Prioritize ventilation efficiency by using smooth, short duct runs, sealed joints, and low-sone fans guests won’t switch off.
Add a dedicated dehumidification strategy in humid climates—right-sized cooling alone won’t always handle latent load.
Commission the system: verify airflow, refrigerant charge, and thermostat placement to prevent callbacks and protect ROI long-term.
Pick a Plumbing Path: Tie-In or Off-Grid
Before you buy a single fixture, decide whether your guest outbuilding will tie into the main house plumbing or run off-grid—because that choice sets your trenching, permitting, and long-term maintenance costs.
If you’re within a short run, a tie-in often wins on ROI: one water heater, one sewer line, fewer consumables, and easier winterization. Price the trench per foot, include cleanouts, backflow protection, and a licensed connection to avoid inspection delays.
If distance, slope, or septic capacity makes that expensive, explore off-grid Plumbing options: composting toilet, cassette toilet, or incinerating toilet plus a small graywater system where legal.
You’ll also gain Energy independence by pairing low-flow fixtures with a tankless propane or point-of-use electric heater.
Budget for servicing, parts, and user instructions.
Finish With Privacy, Sound Control, and Storage
Once you’ve locked in your plumbing approach, make the space feel like a real guest suite by controlling what people hear, see, and can put away. Start with soundproofing techniques that deliver measurable comfort: add mineral wool in walls, use resilient channel on shared partitions, seal gaps with acoustic caulk, and upgrade to a solid-core door with perimeter gaskets. You’ll cut complaints and protect nightly-rate value.
Then install privacy barriers that prevent sightlines without shrinking the room: frosted glass on bathroom windows, a pocket door or barn door with floor guide, and blackout shades for sleeping.
Finish with built-in storage to reduce clutter and maintenance time: a wardrobe cabinet, under-bed drawers, a luggage bench, and a lockable owner’s closet for supplies.
Frequently Asked Questions
How Much Does a Guest-Ready Outbuilding Conversion Typically Cost?
You’ll typically spend $30,000–$120,000+—it can balloon faster than a runaway budget. You’ll boost ROI by tracking Outdoor landscaping, Building permits, utilities, insulation, bathrooms, and finishes; price swings with size, access, and labor.
How Long Does a Full Outbuilding Guest Space Build Usually Take?
You’ll usually need 8–20 weeks for a full guest-space build, depending on scope. You’ll speed ROI by securing building permits early, confirming zoning regulations, locking trades, ordering long-lead materials, and avoiding rework.
Will Adding a Guest Space Increase My Property’s Resale Value?
Yes, adding a guest space can boost resale value if you control costs and meet buyer demand. Check zoning regulations, address privacy considerations, document permits, and estimate rental or flex-use income to justify ROI.
Do I Need Special Insurance Coverage for a Detached Guest Suite?
Yes—you’ll usually need added coverage; 1 in 20 insured homes files a claim yearly. Review Insurance requirements for detached structures, liability, and rental use. Compare Coverage considerations, endorsements, and limits to protect ROI.
How Can I Design the Space to Be Accessible for Aging Guests?
Use Universal design: step-free entry, 36-inch doors, wide halls, lever handles, and a curbless shower. Add Safety features like grab bars, non-slip floors, bright lighting, and reachable switches to reduce accidents and increase ROI.