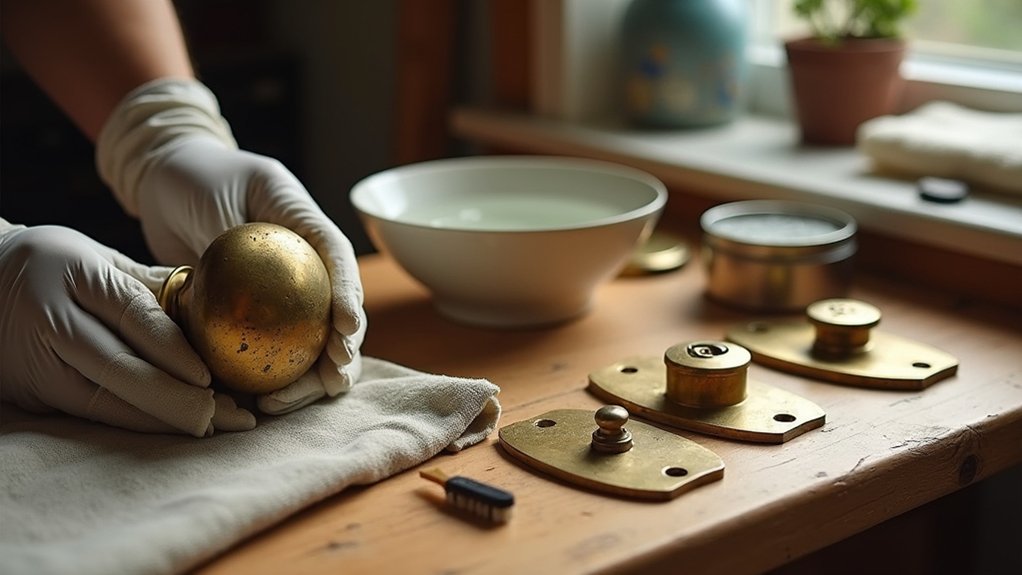

You can bring vintage brass door hardware back to life without spending much, but you’ve got to start with the right call: clean what’s worth saving and strip only what’s failing. First, you’ll identify the finish so you don’t ruin a plated surface, then you’ll remove each piece, label it, and keep the screws matched. After that, the real work begins—getting old coating off and tarnish down without scratches or blotches.
Key Takeaways
- Verify solid brass versus plated metal with a magnet and worn-edge inspection, and check for lacquer by shine, peeling, or ambering.
- Remove hardware carefully, label each piece, bag screws, and photograph placement to ensure accurate reassembly.
- Choose cleaning for intact, even finishes, or stripping when lacquer peels, paint is thick, or sheen is mismatched.
- Strip coatings with gel remover, rinse and dry thoroughly, then remove tarnish using soap wash, vinegar wipe, or gentle baking soda paste.
- Polish lightly by hand, protect with microcrystalline wax or clear lacquer, then reinstall with original screws and test latch operation.
Figure Out Your Brass Hardware and Finish
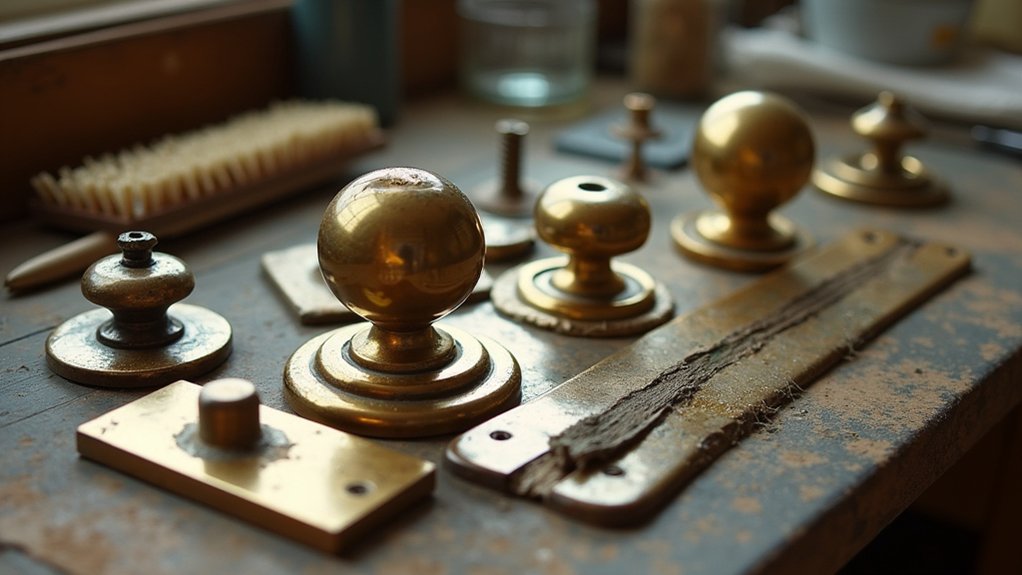
Before you buy cleaners or start polishing, take a minute to identify what you’re actually working with—solid brass, brass-plated steel, or a lacquered finish—because the right approach (and cost) depends on it. Use a magnet: no pull usually means solid brass; a strong pull suggests steel under plating. Check worn edges and high spots for a silvery base metal—another plating clue.
Next, look for lacquer: a uniform shine that won’t darken, plus peeling or ambered patches, often signals a clear coat. Do a small test spot in a hidden area with mild soap and water; if it stays bright, you’ve likely got lacquer.
This quick triage protects Antique authenticity and saves you from mismatched repairs that hurt Hardware compatibility later.
Remove Hardware and Choose: Clean or Strip
Once you’ve identified the metal and finish, pull the hardware off the door so you can work cleanly and avoid damaging the wood. Back out screws by hand, label each piece, and bag fasteners so reassembly stays quick and accurate. Photograph the layout, too, especially for mortise locks and stacked escutcheons.
Now decide whether you’ll clean or strip. If the surface looks even, the coating isn’t peeling, and you like the tone, choose cleaning; it’s cheaper, faster, and supports hardware durability by preserving the original protective layer.
If you see flaking lacquer, thick paint, sticky residue, or mismatched sheen, plan to strip so you don’t polish problems deeper. Also check finish compatibility: a new topcoat won’t bond well over failing or unknown layers.
Strip Coatings, Then Remove Tarnish Safely
If the finish is failing or you’re dealing with paint, strip the coating first so you can treat the brass itself instead of grinding contaminants into it. Pick a low-odor stripper or gel, brush it on, and cover with plastic wrap to slow drying. Let it work, then lift softened layers with a plastic scraper or fine steel wool only if the brass is solid. Rinse per label and dry completely.
Next, remove tarnish with mild chemical solutions: warm water plus dish soap, or a 1:1 vinegar-and-water wipe for light oxidation.
For stubborn spots, use a paste of baking soda and water, rubbing gently with a microfiber cloth. Wear gloves, ventilate, and avoid ammonia, which can stress brass.
Skip new protective coatings for now; focus on clean, bare metal.
Polish, Protect, and Reinstall Brass Hardware
After you’ve got clean, bare brass in front of you, polish it just enough to bring back shine without rounding crisp edges or erasing age. Use a mild metal polish on a soft cloth, work in small circles, then buff with a clean rag. Skip power tools; they’re fast but expensive in detail loss, and they can blur the hardware’s Historical significance.
Next, protect the finish. Apply a thin coat of microcrystalline wax or a clear lacquer made for brass; choose based on Material compatibility with your door’s environment (wax for easy touch-ups, lacquer for longer intervals). Let it cure fully before handling.
Reinstall carefully: replace stripped screws, add a dab of beeswax to threads, align plates, and tighten evenly. Test latch action, then wipe fingerprints.
Frequently Asked Questions
How Do I Match New Screws to Antique Brass Hardware?
Like a careful curator, you’ll match new screws by measuring gauge, length, and head style, then Selecting compatible fasteners in solid brass. For Matching screw finishes, patinate with liver of sulfur or use matching plated screws.
Can I Restore Brass Hardware Without Removing It From the Door?
Yes, you can restore it in place if you protect the door. Mask wood, use gentle Brass cleaning paste, wipe fast, then finish with careful Hardware polishing. You’ll save time and avoid misalignment risks.
What’s the Safest Way to Dispose of Used Stripping Chemicals?
About 40% of household hazardous waste gets trashed wrong—don’t. You’ll seal used stripper in its original labeled container, follow local Chemical safety rules, and use approved Disposal methods: hazardous-waste drop-off or retailer take-back; never pour drains.
How Do I Repair Loose Knob Mechanisms or Worn Spindles?
Tighten the knob mechanism by snugging set screws and replacing missing grub screws. For worn spindles, flip or shim them, or swap in a cheap new spindle. Repack springs, then test for play.
Will Restoring Brass Hardware Affect My Home’s Historical Designation or Value?
Restoring brass hardware usually won’t hurt your designation or value if you preserve original pieces and finishes. You’ll boost Historical authenticity through Antique preservation. Avoid aggressive polishing, document changes, and match period-correct parts to protect appraisal.