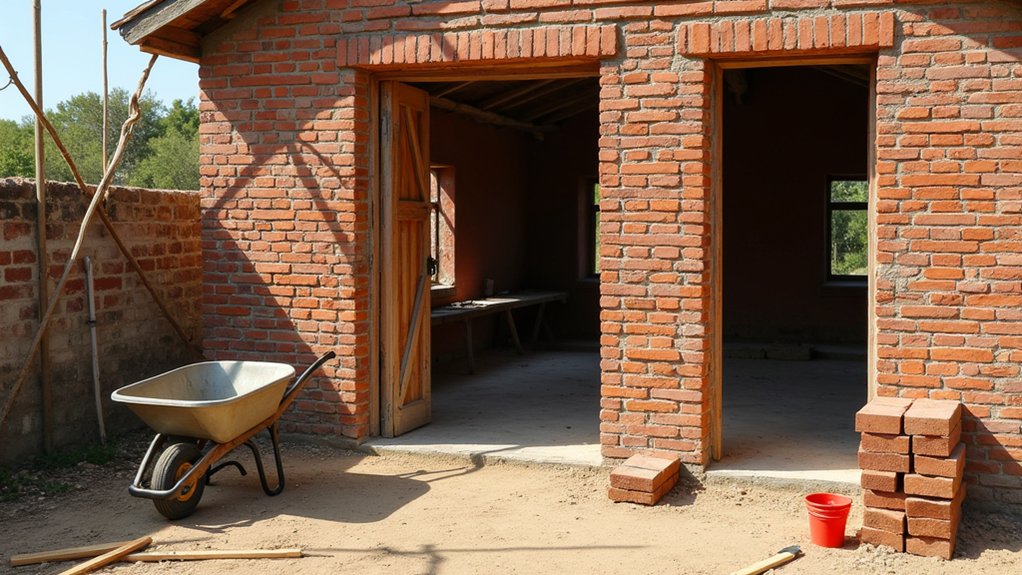

You’ve just taken on a 1920s brick outbuilding renovation project with flaking mortar, a sagging ridge, and tide marks along the lower courses. You can’t start with plasterboard and paint; you first confirm it’s safe, then set a use that drives permits and budget. You chase water at the source with drainage and foundation checks, repoint with breathable mortar, and seal the roof. Get that order wrong, and your “upgrade” won’t last…
Key Takeaways
- Inspect for structural hazards, rot, leaks, and utility risks; stop and isolate services if gas, live wiring, or friable insulation is found.
- Diagnose drainage and foundation movement by checking gutter run-off, ground fall, moisture marks, and measuring cracks; get structural advice for active shifting.
- Confirm zoning, setbacks, permitted uses, and permit triggers; create a scope-based budget including drawings, inspections, utilities, and 10–25% contingency.
- Restore the exterior shell first: repair brickwork with compatible lime-rich mortar, replace damaged units, and make the roof watertight with renewed flashings and ridges.
- Complete the interior in sequence—insulation, electrics, moisture-resistant boards, finishes, then flooring and trim—while maintaining vapour control and ventilation paths.
Check the Outbuilding Is Safe to Work On
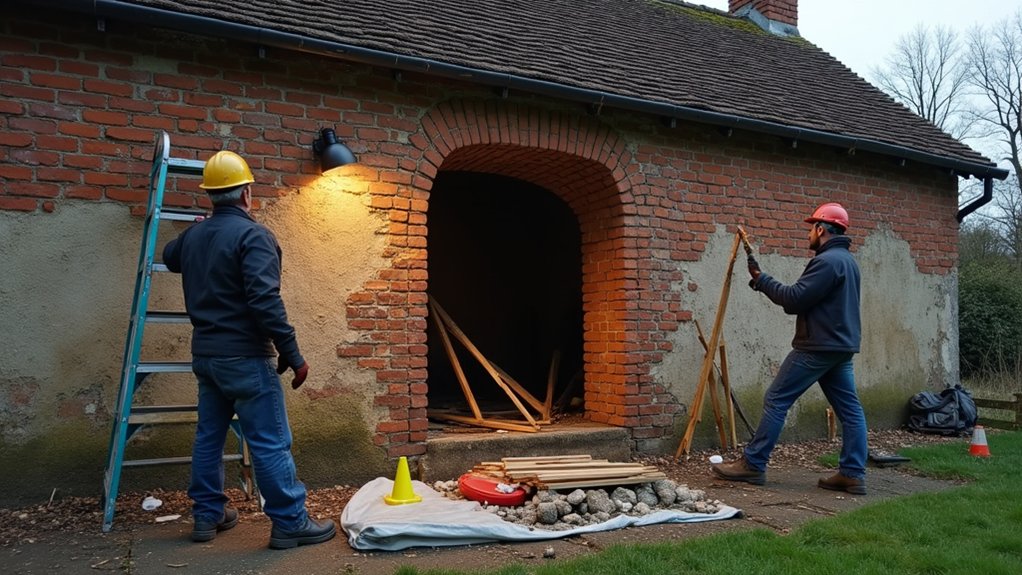
Before you pick up a tool, walk the outbuilding and confirm it’s stable and hazard-free: check the roofline for sagging, inspect walls for leaning or cracked framing, and probe the floor for soft spots around doors, corners, and any old leaks.
Continue your hazard assessment by clearing debris and spotting trip points, exposed nails, and broken glass.
Test doors and windows for binding that signals racking.
Look for water entry at eaves, flashing, and sill plates; follow stains to their source.
Verify structural integrity by checking posts for rot at grade, joists for insect tunneling, and fasteners for corrosion.
If you smell gas, see active wiring, or find friable insulation, stop and isolate utilities.
Wear eye protection, gloves, and a respirator.
Decide the Use, Then Plan Permits and Budget
Decide exactly what you’re turning the outbuilding into—storage, workshop, office, or living space—because that use sets the required utilities, insulation, access, and safety upgrades.
Next, check zoning, setbacks, and local permit triggers (electrical, plumbing, structural, change of use) before you buy materials or book trades.
Build a budget that matches the scope, then add a contingency for hidden rot, foundation repair, and code-driven changes you won’t see until walls open up.
Define Outbuilding Purpose
Once you’ve nailed down exactly what the outbuilding will do—storage shed, workshop, home office, guest suite, or rental—you can plan the renovation around real site constraints instead of guesses.
Walk the space and measure clearances, door swings, headroom, and slab condition. Note daylight, prevailing wind, drainage, and how you’ll route power, water, and data without tearing up mature landscaping.
Match the purpose to the structure’s limits: heavy tools need floor capacity; a suite needs quiet separation and safe egress paths.
List must-haves and nice-to-haves, then sketch a simple layout with zones for storage, work, and circulation.
If the building has Historical significance, choose changes that respect original openings while delivering Aesthetic enhancement through repaired brickwork, consistent trim, and lighting.
Permitting And Zoning Checks
Because the intended use triggers different code paths, start your permitting and zoning check by confirming what your municipality actually allows on the lot—shed, workshop, home office, guest suite, or rental—and what that choice requires.
Pull the zoning map, read your district’s table of uses, and verify zoning restrictions on setbacks, height, lot coverage, and allowable floor area.
Ask whether the structure counts as accessory, ADU, or commercial, and note any limits on plumbing, cooking, or sleeping.
Check Local regulations for historic overlays, floodplains, wildfire zones, or coastal rules that affect materials and openings.
Confirm utility tie-ins, driveway access, and fire separation from the main house and property lines.
Then schedule a quick pre-application call to confirm submittal items and inspection sequence.
Budget Scope And Contingencies
Whether you’re converting an outbuilding into a simple workshop or a code-compliant guest suite, lock in the intended use first, then build your budget around the scope that use demands—permits, drawings, inspections, and utility work included.
Walk the site and list every scope line: roof repairs, masonry repointing, slab patching, drainage, insulation, windows, electrical service, plumbing tie-ins, and HVAC.
Get contractor quotes for high-risk trades and use unit pricing for the rest to tighten cost estimation. Add permit fees, survey, engineered plans, and test reports where required.
Then do contingency planning: 10% for straightforward refreshes, 15–25% for unknown foundations, rot, or buried utilities.
Keep allowances separate, track change orders, and don’t start demo without cash reserved.
Diagnose and Fix Damp, Drainage, and Foundations
Before you insulate walls or hang new doors, diagnose damp, drainage, and foundation issues on site so you don’t trap moisture or build on movement.
Start outside: check gutters, downpipes, and splash zones; make sure water discharges away from the slab. Confirm ground levels fall 1:40 for at least 1–2 m, and clear soil bridging to vents or thresholds for moisture control.
Inside, map tide marks, salts, and musty corners; use a moisture meter to compare suspect areas to dry baseline readings.
Test drainage solutions by hosing and watching where water pools.
For foundations, look for stepped cracks, racked openings, and settled corners; measure crack width, photograph, and date-mark. If movement’s active, get structural advice before further work.
Repair Brickwork and Repoint Without Trapping Moisture
Once you’ve confirmed the outbuilding’s staying dry and stable, tackle brick repairs with a “breathable-first” mindset so you don’t seal moisture into the wall. Start with proper brick cleaning: dry-brush loose grit, then rinse lightly; avoid acids and high-pressure jets that scour faces and drive water inward.
Mark spalled or cracked units and cut them out carefully to preserve surrounding arrises. Bed replacements on compatible mortar, not hard cement. For repointing, rake joints back 15–20mm until sound, vacuum dust, and mist the joint so it won’t suck water too fast.
Your mortar mix selection should match the original—often lime-rich—so joints stay sacrificial and vapor-open. Pack in two lifts, tool flush or slightly recessed, and cure damp-shaded for several days.
Make the Roof Watertight (Repair or Replace)
Start at the roofline and work down, looking for slipped tiles, split felt, rusted flashings, open ridge joints, and damp staining on rafters that points to an active leak.
Trace each drip to its entry point in dry weather with a hose test.
Then decide if you can patch locally (replace units, re-bed ridges, renew flashings) or if widespread failure means you’ll save time by re-roofing.
Don’t close up the ceiling until you’ve fixed the source and confirmed the roof stays watertight after a hard rain.
Inspect And Diagnose Leaks
Although the roof might look fine from the ground, you’ll only make it watertight by tracking leaks to their entry points and confirming what’s actually failing—covering, flashing, fasteners, or decking.
Start inside: map water stains, damp rafters, and mold lines, then mark them with tape so you can align them outdoors. Check during or right after rain, or run a controlled hose test from low to high while a helper watches.
Outside, inspect valleys, penetrations, ridge lines, and junctions where moisture intrusion often begins. Look for lifted edges, cracked sealant, rusted nails, and soft decking underfoot. Use a flashlight and awl to probe suspect areas safely.
Photograph findings and note locations for leak detection follow-up.
Repair Or Replace Roofing
Where do you draw the line between patching a few weak points and rebuilding the whole roof system? Use your Leak detection notes: if stains track to one flashing joint or a single puncture, repair makes sense. If multiple bays show rot, sagging rafters, or widespread nail pops, you’re past patchwork.
Match the fix to the Roof material. For corrugated metal, replace rusted sheets, renew neoprene washer screws, and bed laps in butyl tape. For shingles, swap cracked tabs, reset loose nails, and reflash valleys and penetrations.
Strip and reroof when underlayment is brittle, decking is soft, or previous layers hide failures. On site, start at the ridge, work downslope, and confirm watertightness with a controlled hose test.
Fit Out the Interior: Insulation, Electrics, Finishes
Once the shell’s weather-tight, you can shift to the interior fit-out—insulation first, then electrics, then finishes—so each trade has clean access and you don’t undo work later. Start by checking damp risk and ventilation paths, then choose insulation options that suit the build: PIR boards for thin walls, mineral wool between studs, or insulated plasterboard for speed. Tape and seal joints, fit a vapour control layer where required, and leave a service void to prevent punctures.
Next, plan electrical wiring with socket, lighting, and data locations marked on the floor and studs; run cables in safe zones, protect with conduit, and label circuits. Finally, close up with moisture-resistant boards, skim or tape, then paint, fit flooring, and install trim after the space acclimates.
Frequently Asked Questions
Can I Convert an Outbuilding Into a Rentable Dwelling or Airbnb Legally?
Yes, you can, but you must verify zoning regulations allow a dwelling, secure building permits, meet fire/egress and utility codes, and obtain rental licensing. Check site setbacks, parking, septic capacity, and HOA rules.
How Do I Handle Asbestos, Lead Paint, or Contaminated Soils During Renovation?
Like opening a sealed tomb, you’ll test first, then stop work and isolate zones. Hire certified Asbestos removal, use Lead paint safety practices, and sample soils. Bag debris, wet-scrape, HEPA-vac, document, dispose legally.
What Are the Best Ways to Soundproof an Outbuilding for Music or Workshop Use?
Use soundproofing techniques: decouple walls with resilient channels, add mass with double drywall and Green Glue, seal gaps. Install insulation materials like mineral wool. Treat doors/windows, build a floating floor, and hang bass traps.
How Can I Heat and Cool the Space Efficiently Without Extending Central HVAC?
Seal the space like a thermos in winter fog: install a ductless mini-split heat pump, then cut loads with Energy efficient windows, taped air-sealing, and Insulation materials in walls/roof; add ceiling fans for balanced airflow.
Will Renovating the Outbuilding Increase Property Value, and by How Much?
Yes—renovating the outbuilding can raise your property value, often 5–15%, depending on comps. You’ll boost returns by documenting Historic preservation, completing Structural reinforcement, and delivering permitted, insulated, functional square footage on-site.